Getting Started
Welcome to the PortalJS documentation!
If you have questions about anything related to PortalJS, you're always welcome to ask our community on GitHub Discussions or on our chat channel on Discord.
Setup
Prerequisites
- Node v16.20.0 LTS or Node.js 18.16.0 LTS (recommended)
- MacOS, Windows (including WSL), and Linux are supported
Create a PortalJS app
To create a PortalJS app, open your terminal, cd into the directory you’d like to create the app in, and run the following command:
npx create-next-app my-data-portal --example https://github.com/datopian/portaljs/tree/main/examples/learn
TipYou may have noticed we used the command create-next-app. That’s because PortalJS is built on the awesome NextJS react javascript framework. This means you can do everything you do with NextJS with PortalJS. Check out their docs to learn more.
Run the development server
You now have a new directory called my-data-portal. Let’s cd into it and then run the following command:
npm run dev
This starts the NextJS (and hence PortalJS) "development server" on port 3000.
Let's check it's working and what we have! Open http://localhost:3000 from your browser.
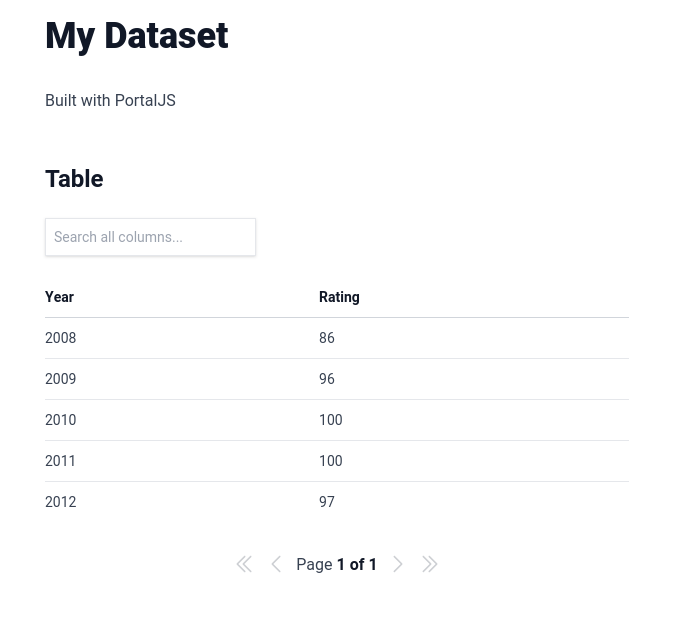
You should see a page like this when you access http://localhost:3000. This is the starter template page which shows the most simple data portal you could have: a simple README plus csv file.
Editing the Page
Let’s try editing the starter page.
- Make sure the development server is still running.
- Open content/index.md with your text editor.
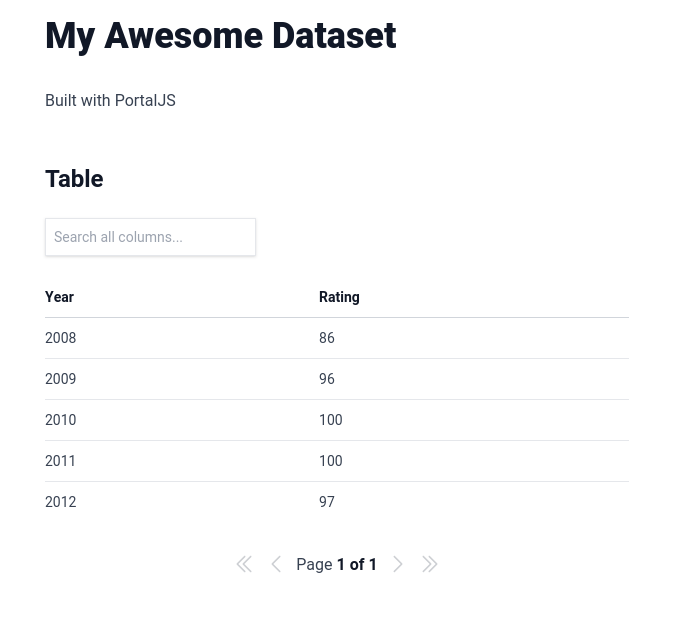
- Find the text that says “My Dataset” and change it to “My Awesome Dataset”.
- Save the file.
After refreshing the page, you should see the new text:
Congratulations! The app is up and running and you learned how to edit a page. In the next lesson, you are going to learn how to create new datasets.