Tutorial 2: Edit your Flowershow website locally on your computer

Ola Rubaj
In this tutorial, we will walk you through the process of editing your Flowershow website locally on your computer.
By the end of this tutorial, you will:
- Understand what is Markdown and why you should use Obsidian to edit content on your Flowershow websites in most cases.
- Gain a deeper understanding of working with Git and GitHub Desktop.
- Learn how to clone your website's repository to your computer.
- Learn how to edit content using Obsidian and what are the benefits of it.
- Learn how to commit (save) your changes locally and push them back to the GitHub repository.
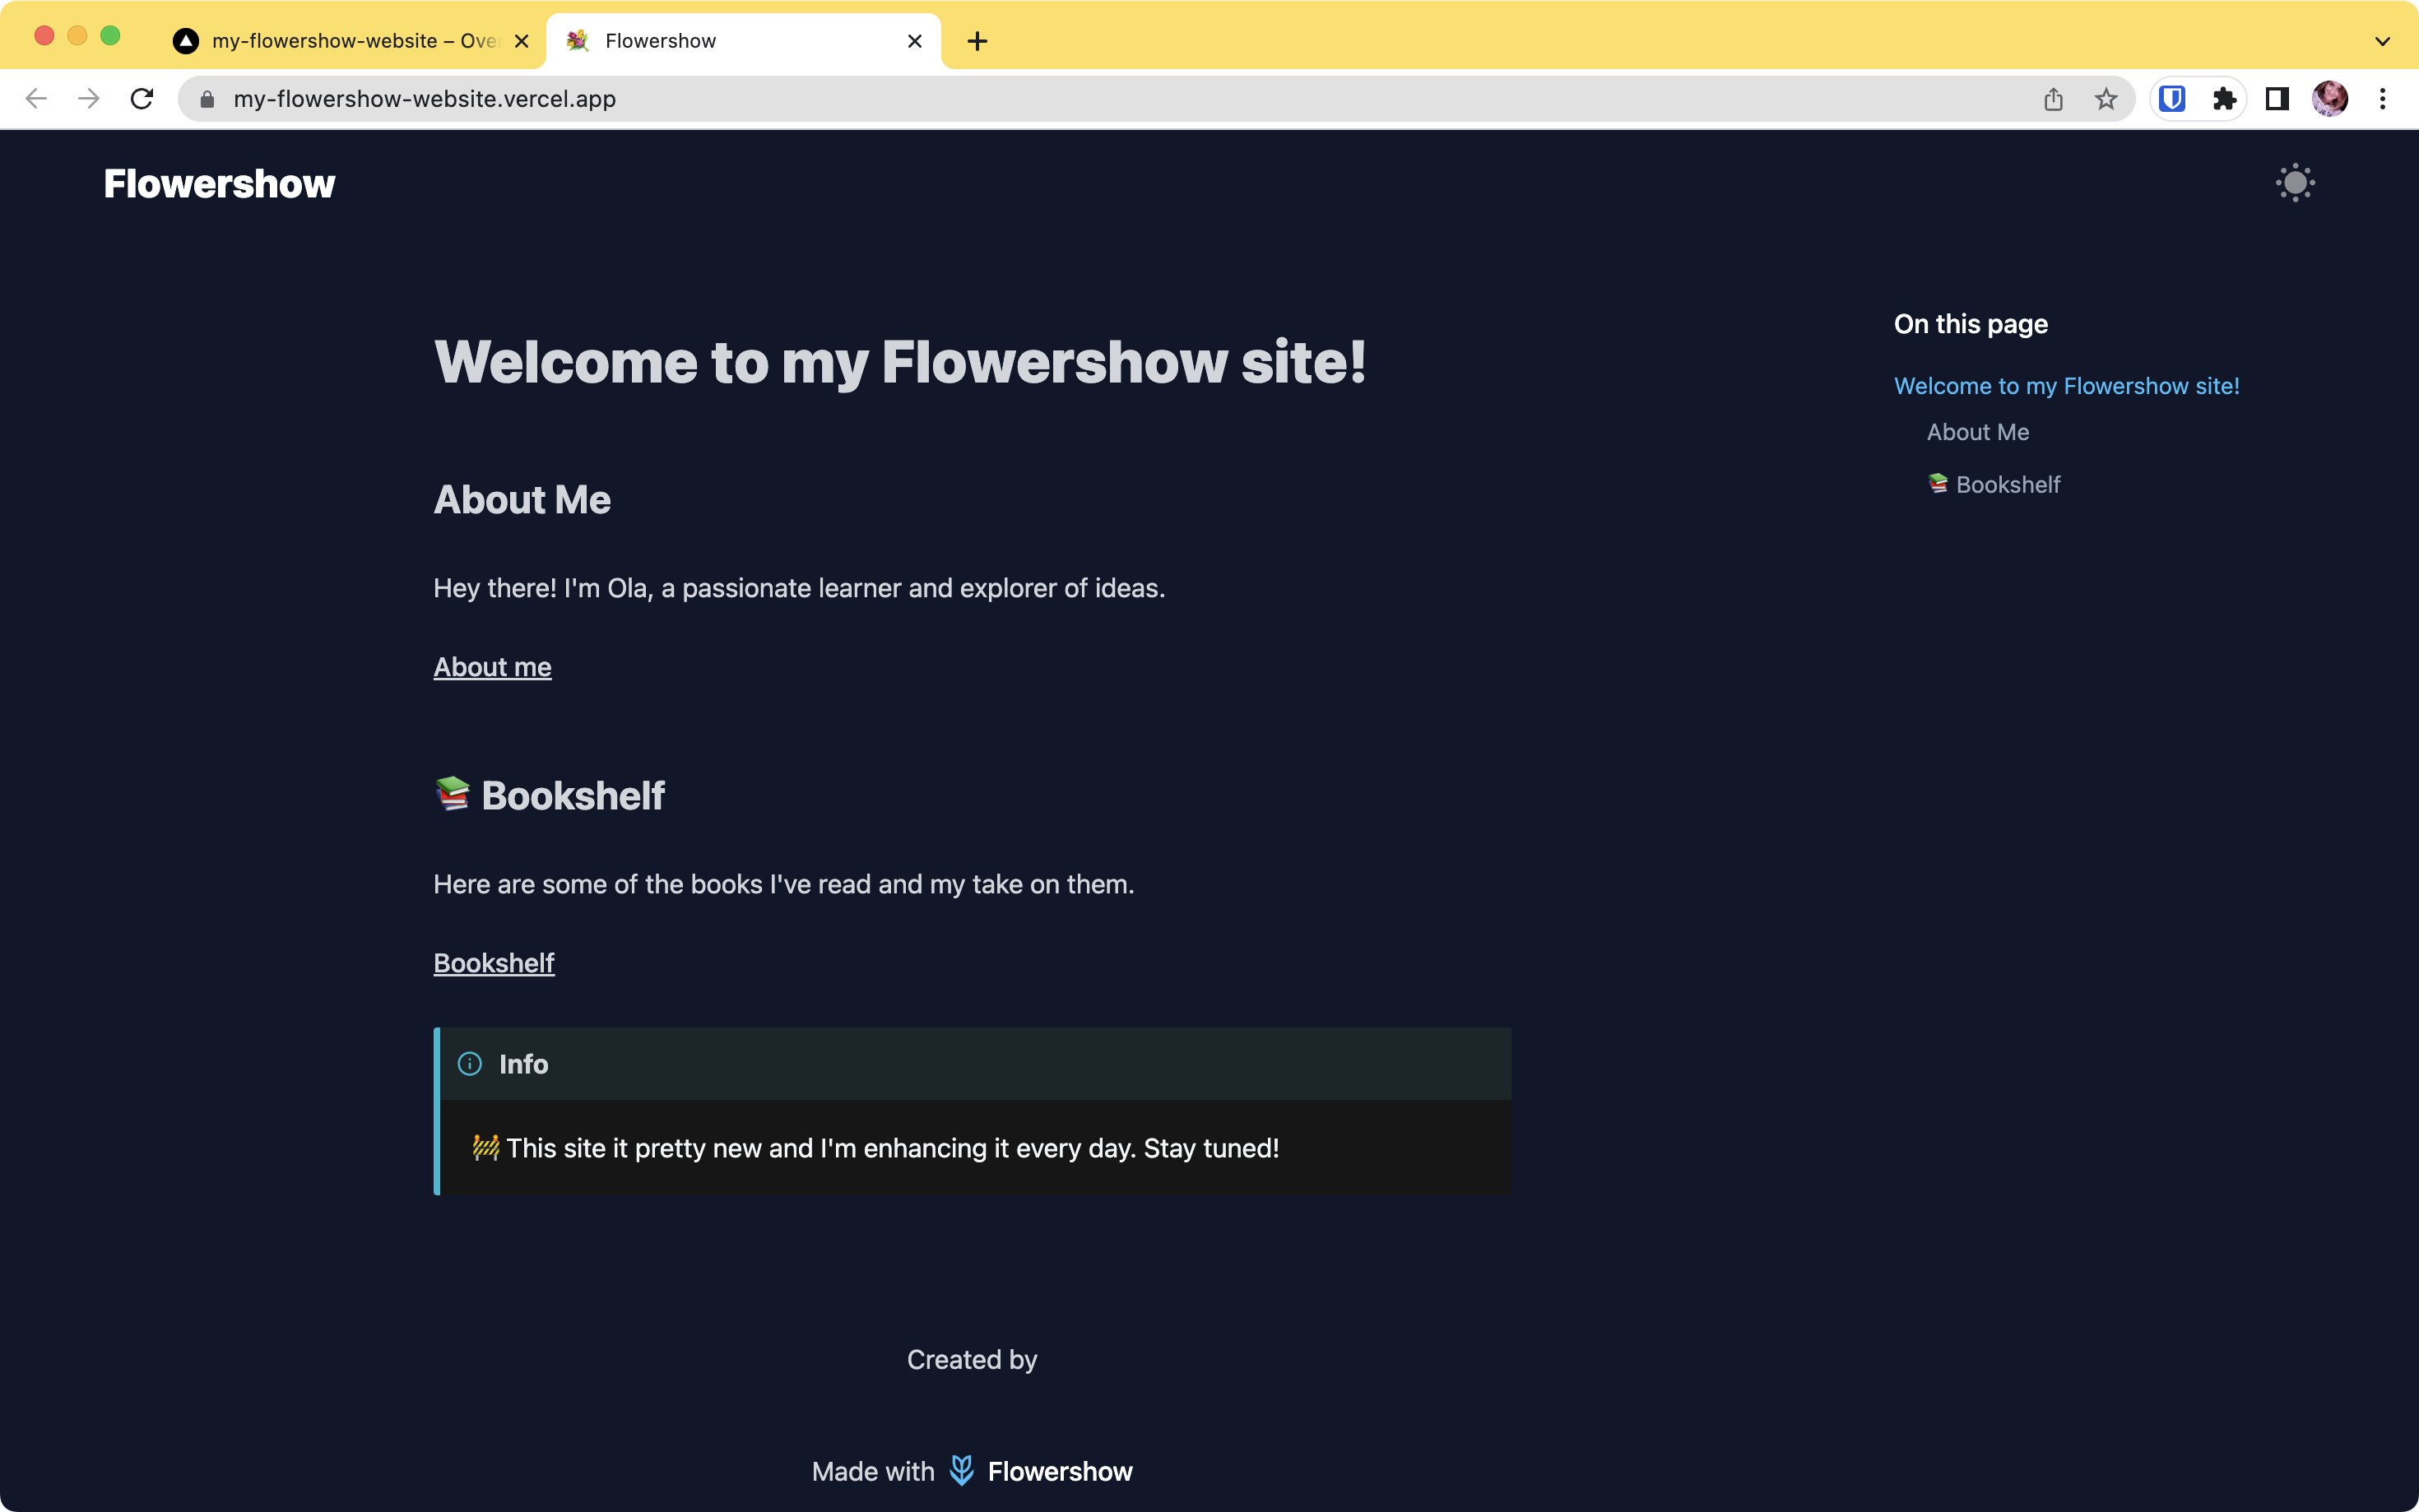
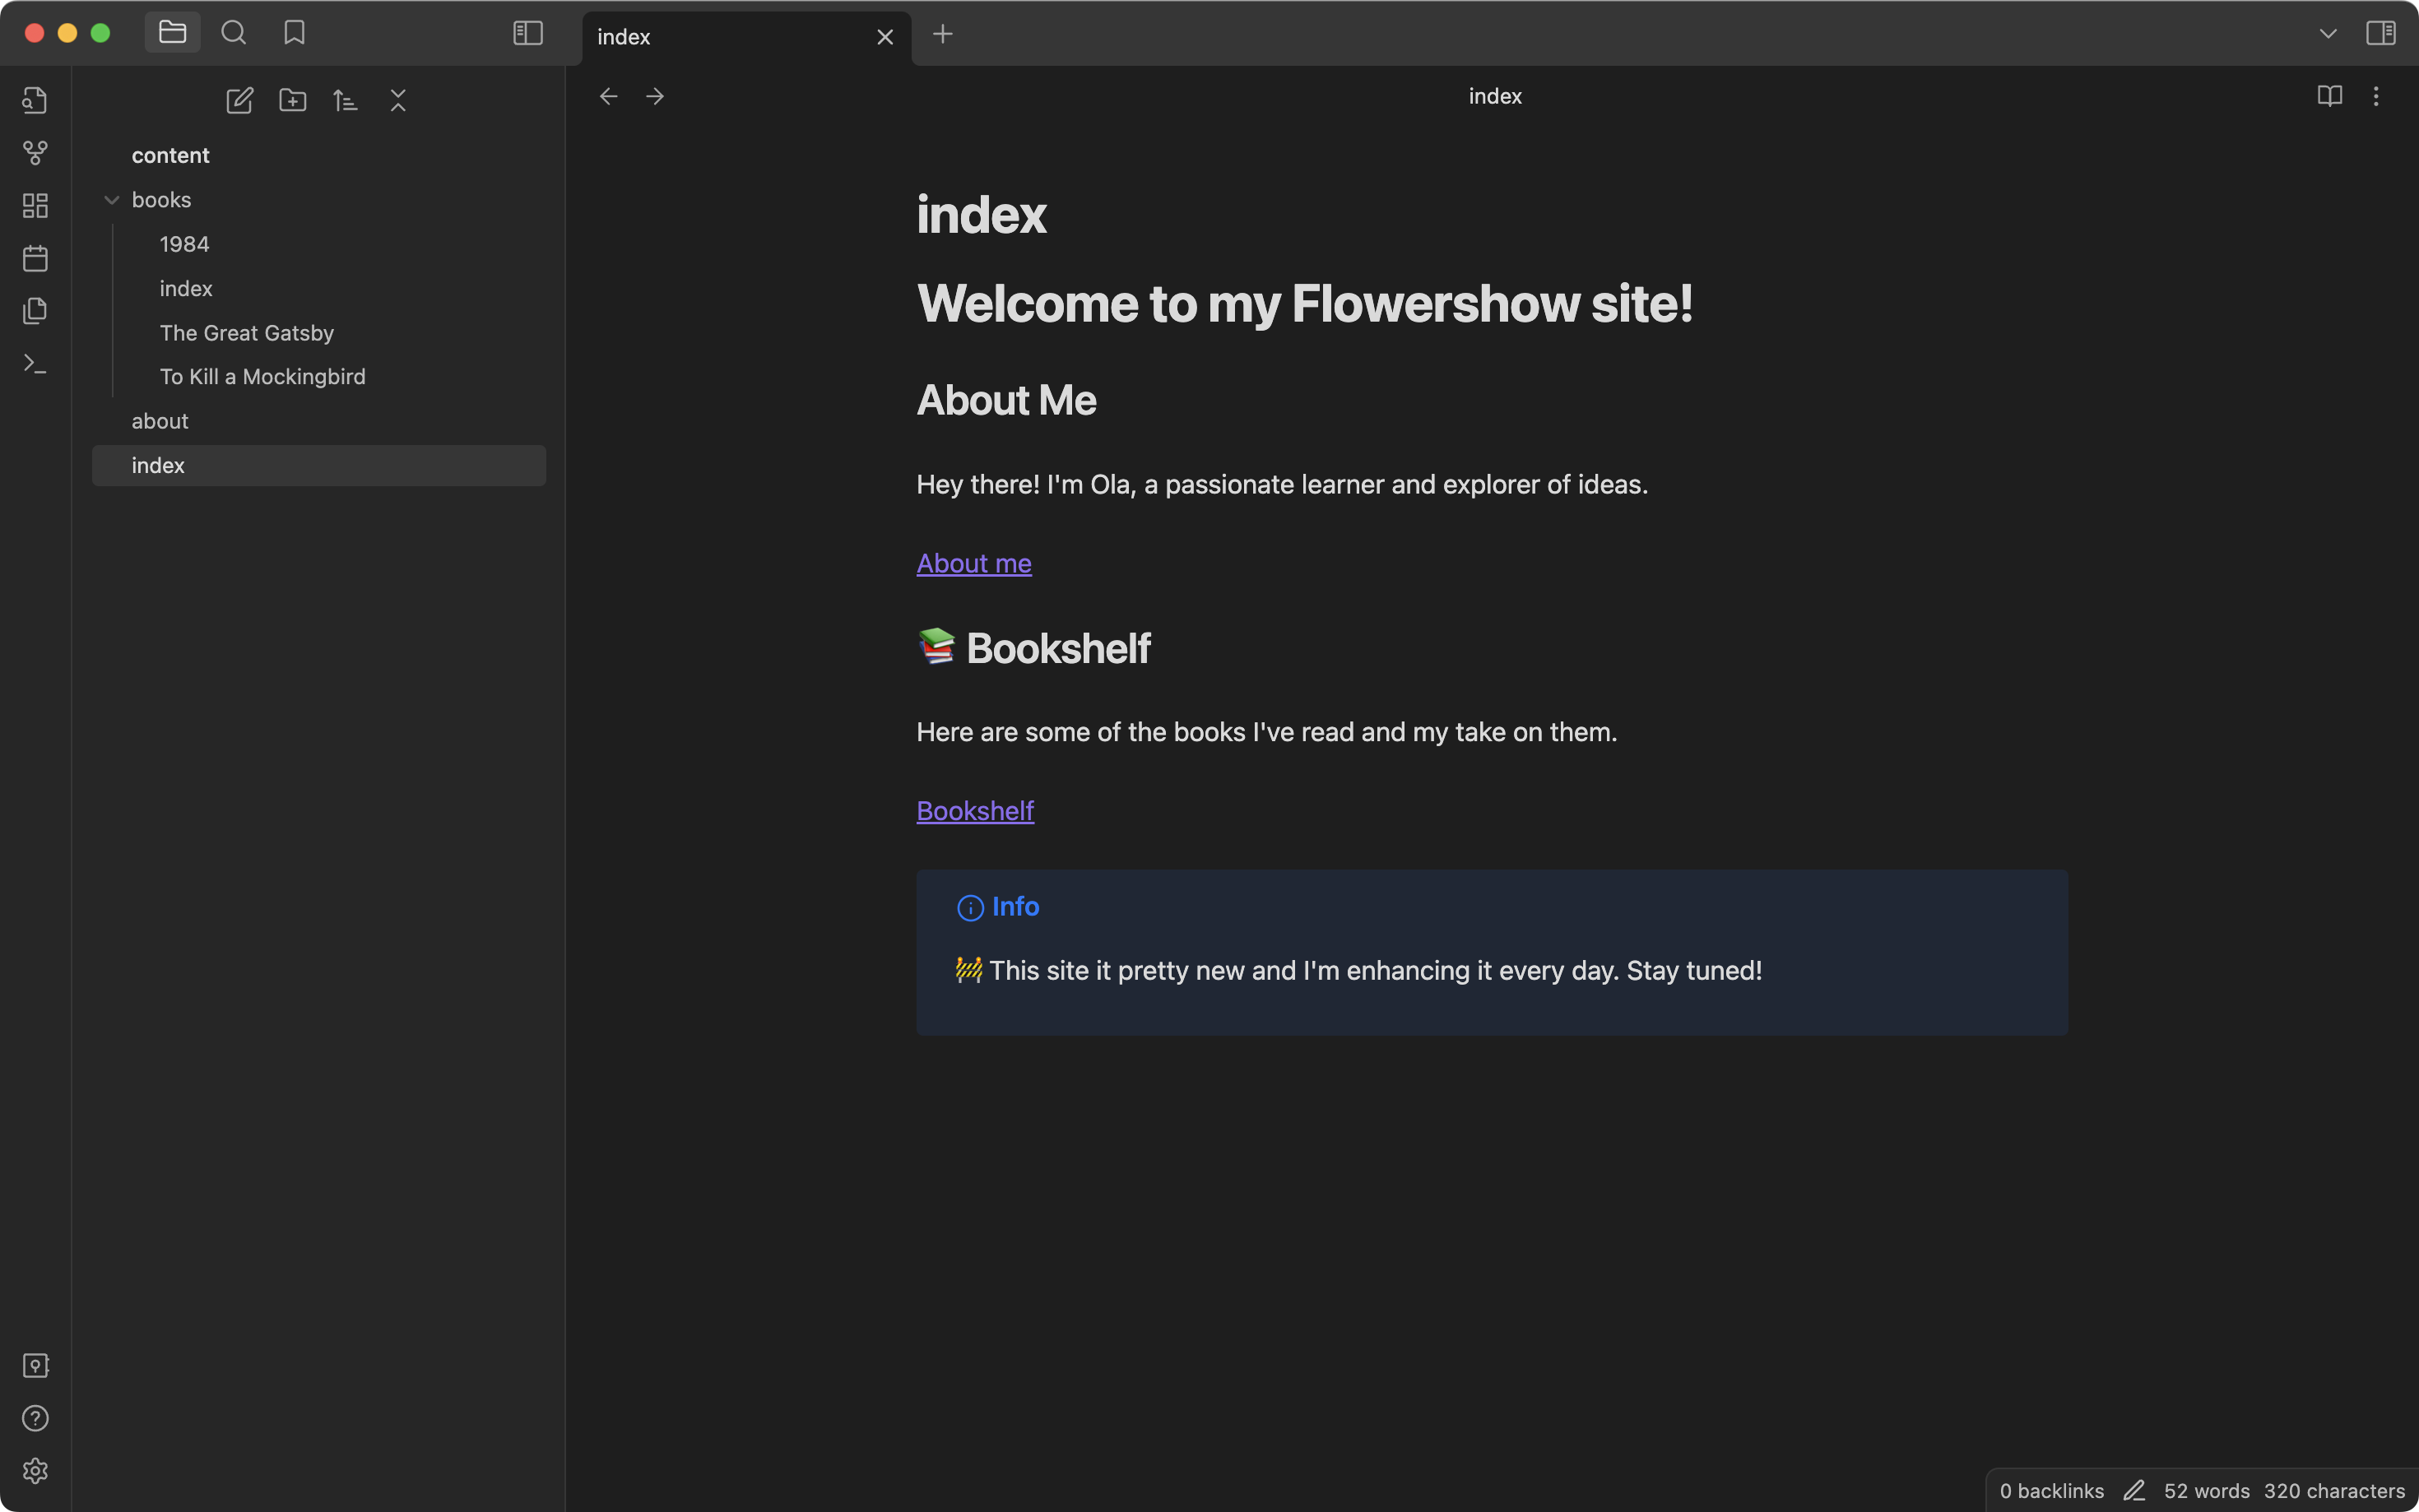
Below is a screenshot of how the final website will look like:
Let's start by understanding why using GitHub UI as we did in tutorial 1 is not always a good choice.
What is Markdown and why use Obsidian for editing it in Flowershow-based websites
While editing on the GitHub UI is convenient, there are certain limitations and drawbacks to consider. For example, you can't work offline, can't add or edit multiple files simultaneously, and the GitHub UI's preview doesn't render all the Markdown syntax elements that are supported by Flowershow-based websites.
Ok, but, what exactly is Markdown?
Markdown is a simple and intuitive syntax, that allows you to structure your text documents. It's widely used for creating content on the web. As Wikipedia puts it:
Markdown is a lightweight markup language for creating formatted text using a plain-text editor.
The key term here is "markup language". In simple terms, it is a way to annotate or "mark up" a plain text document with symbols that describe how the document is structured and so, how it should be understood, processed, or displayed. These tags can tell a computer program that supports this syntax (e.g. a website) how to format the rendered text, for example: which words should be bold or italic, where to insert images, when to start new paragraphs, how to create tables, and so forth. It's important to note, that even though Markdown symbols change how the text is displayed when it's rendered by a Markdown-compatible viewer, the underlying document in still just a plain text. For instance, if you want to create a heading in Markdown, you use the "#" symbol before your heading text, like this:
# This is a Heading
BUT, there is no single version of Markdown. It comes in different "flavours", with CommonMark and GitHub Flavoured Markdown (GFM) being the most popular ones. And different tools supporting Markdown may use their own specific versions of Markdown. The two tools relevant in the context of this guide are Obsidian and Flowershow.
Obsidian supports an extended version of Markdown that includes majority of elements from CommonMark and GFM, while also introducing its own unique features, like wiki-links or callouts. And Flowershow template is Obsidian-compatible, meaning it supports (or aims to support) all of the Obsidian Markdown features.
To make things a bit clearer, there are:
- CommonMark
- GitHub Flavored Markdown (GFM) - superset of CommonMark
- "Obsidian flavoured Markdown" - majority of the GFM + some extra elements, like wiki-links or callouts
- "Flowershow flavoured Markdown" - majority of Obsidian-supported syntax
As you might have guessed by now, GitHub UI will only preview GitHub Flavoured Markdown. And while it's a majority of Markdown you would write, it won't be able to render Obsidian-only (or Flowershow-only) syntax elements, like callouts, wiki-links or inline table of contents.
Another drawback of GitHub UI, is that it doesn't allow you to make changes (or to add) multiple files at once. Changes to each file will have to be commited (saved) separately, which can introduce a bit of a mess to your GitHub history, and may be cumbersome (e.g. if you want to update a link to some page on 10 other pages…).
Ok, now we have this sorted, let's dive in and start editing your Flowershow website locally!
Prerequisites
- A GitHub account.
- A Vercel account. You can set it up using your GitHub account.
- Obsidian installed
- GitHub Desktop installed
- Tutorial 1: Create a website from scratch using Markdown and PortalJS completed - this one is recommended so that you have the same sandbox website we're working on in this tutorial.
Clone the GitHub repository on your computer
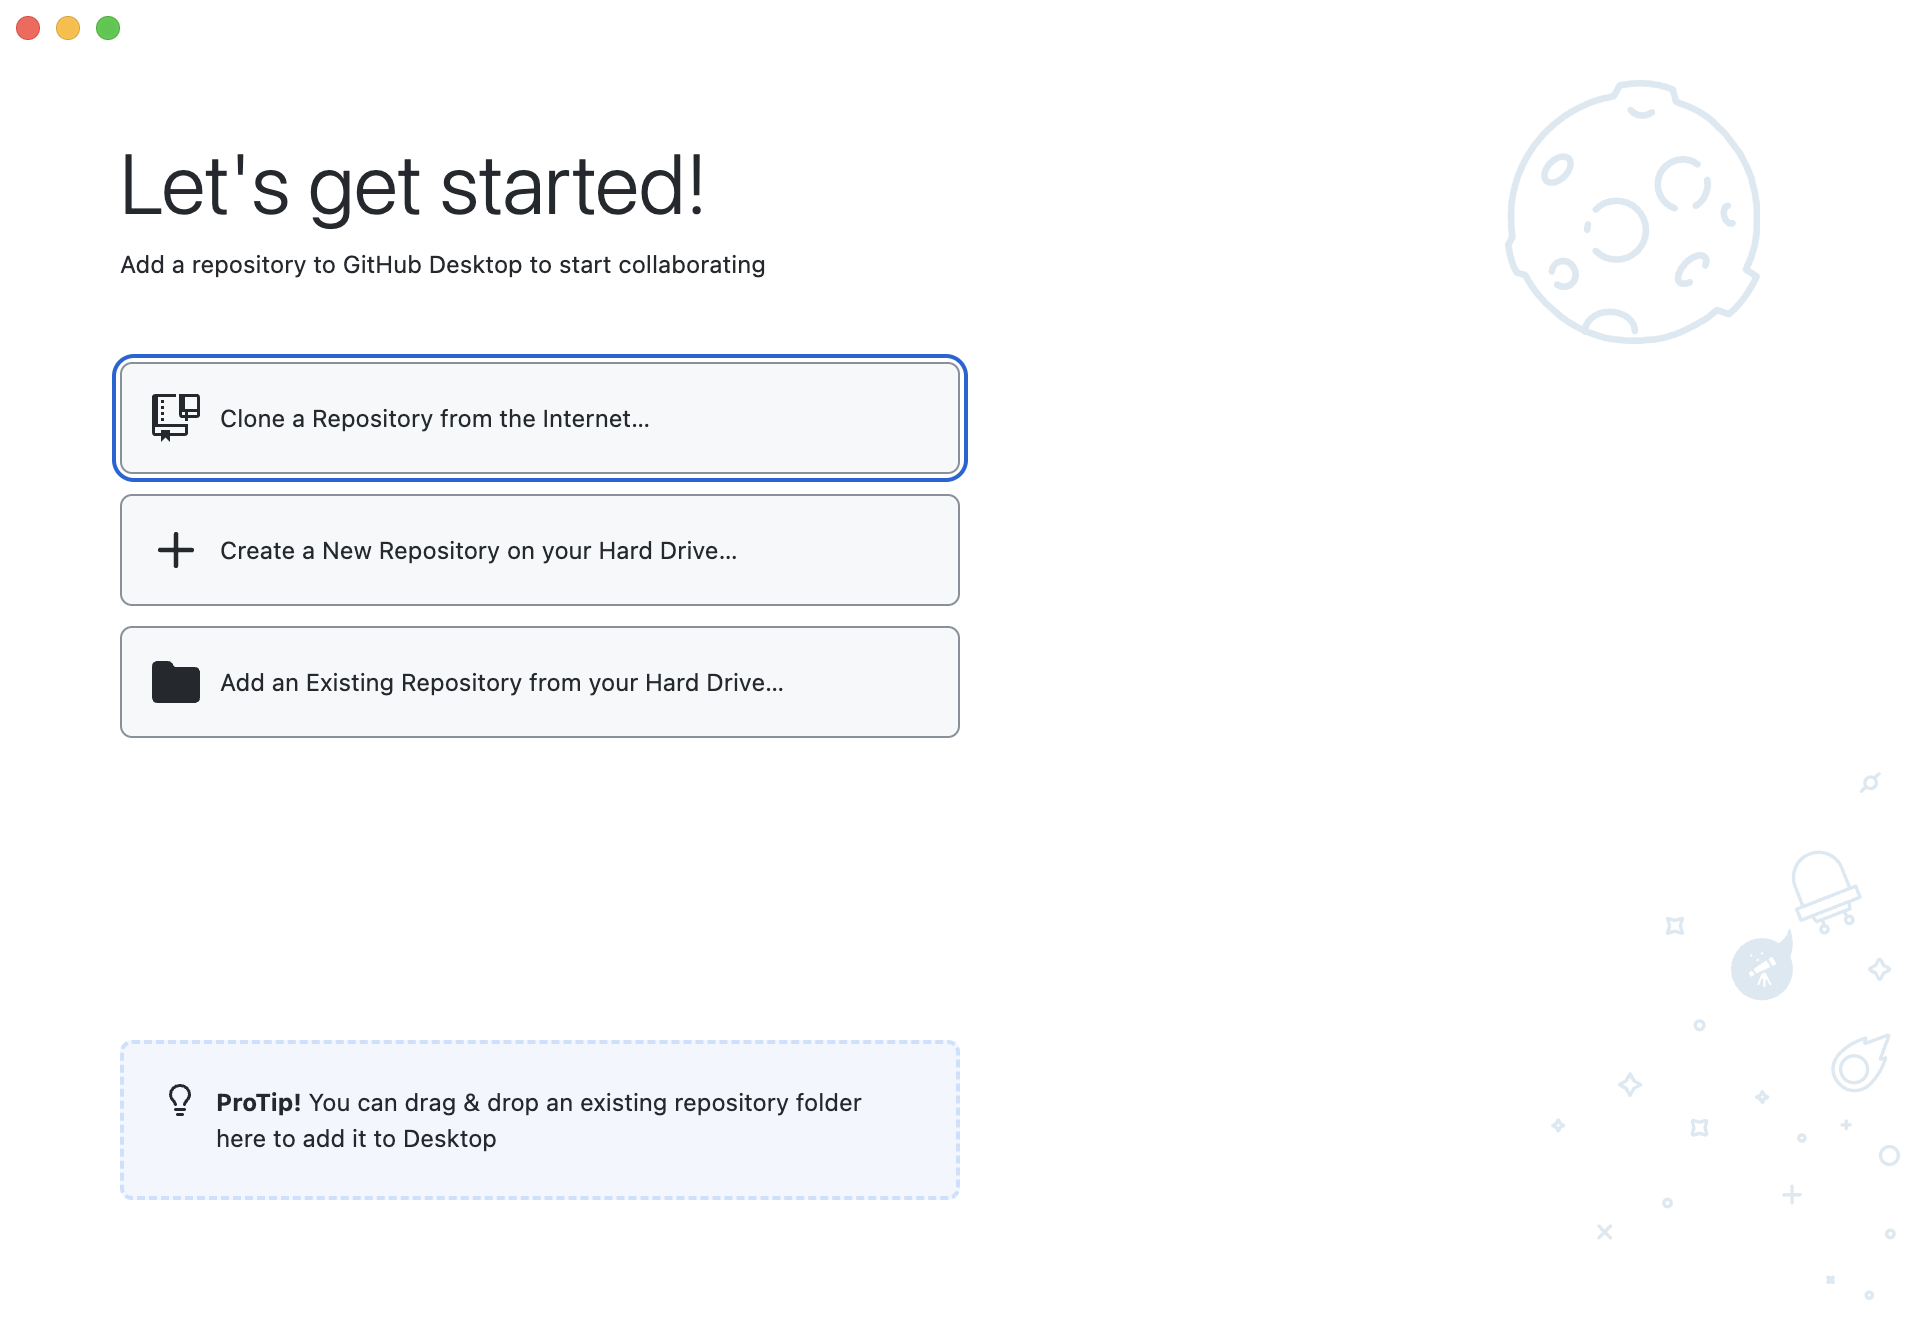
1. Open GitHub Desktop app
2. Click on "Clone a Repository from the Internet…"
Or click on "File" -> "Clone repository".
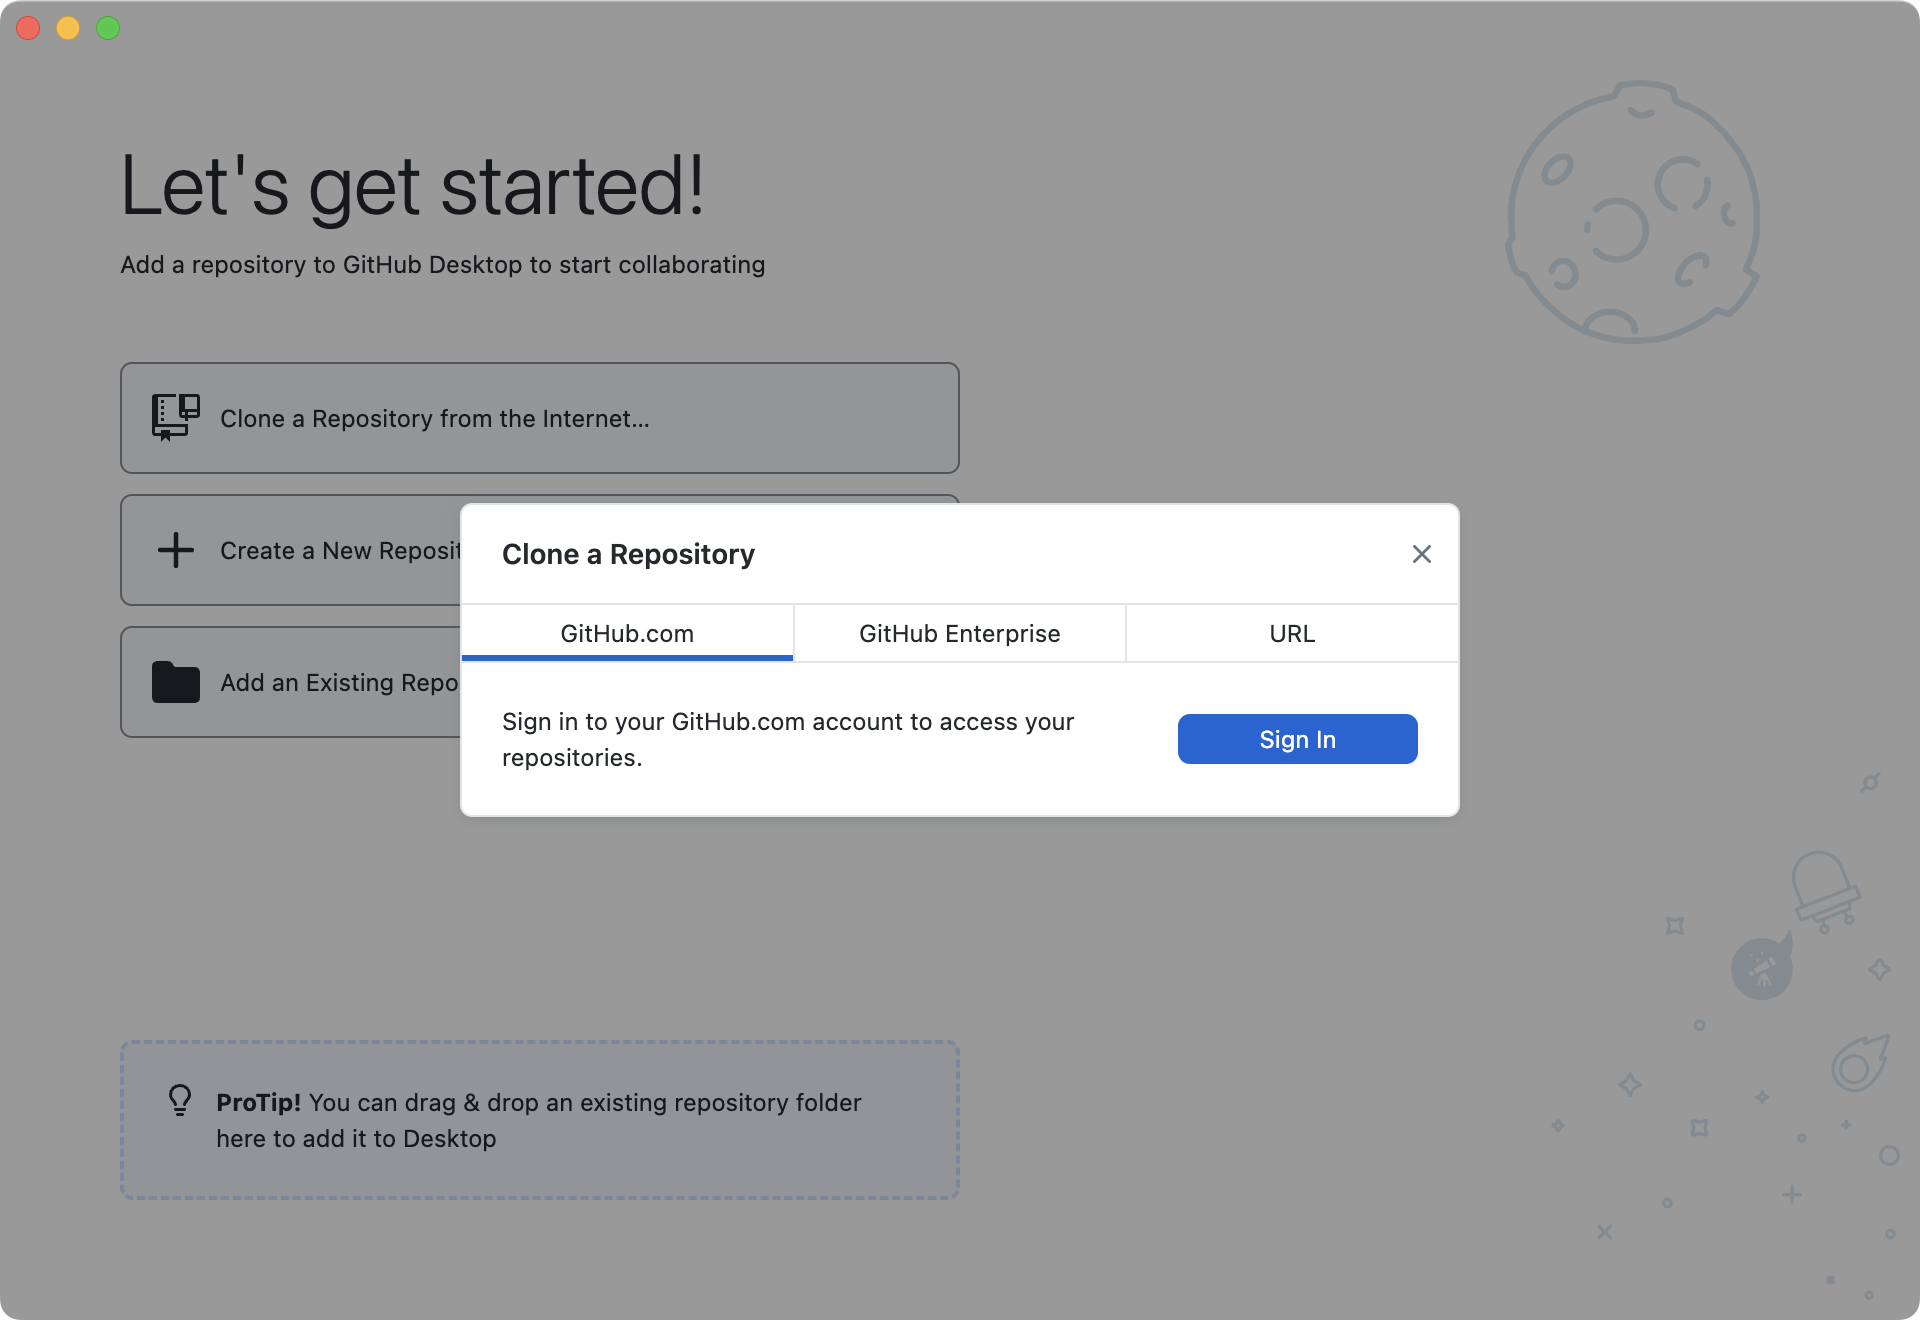
If this is the first time you're using GitHub Desktop, it will prompt you to log in to your GitHub account. Click "Sign In" and follow the prompts.
Once you're done and you've authorised GitHub Desktop to access your repositories, go back to GitHub Desktop. You should now see a list of all your GitHub repositories.
3. Select the repository you want to clone
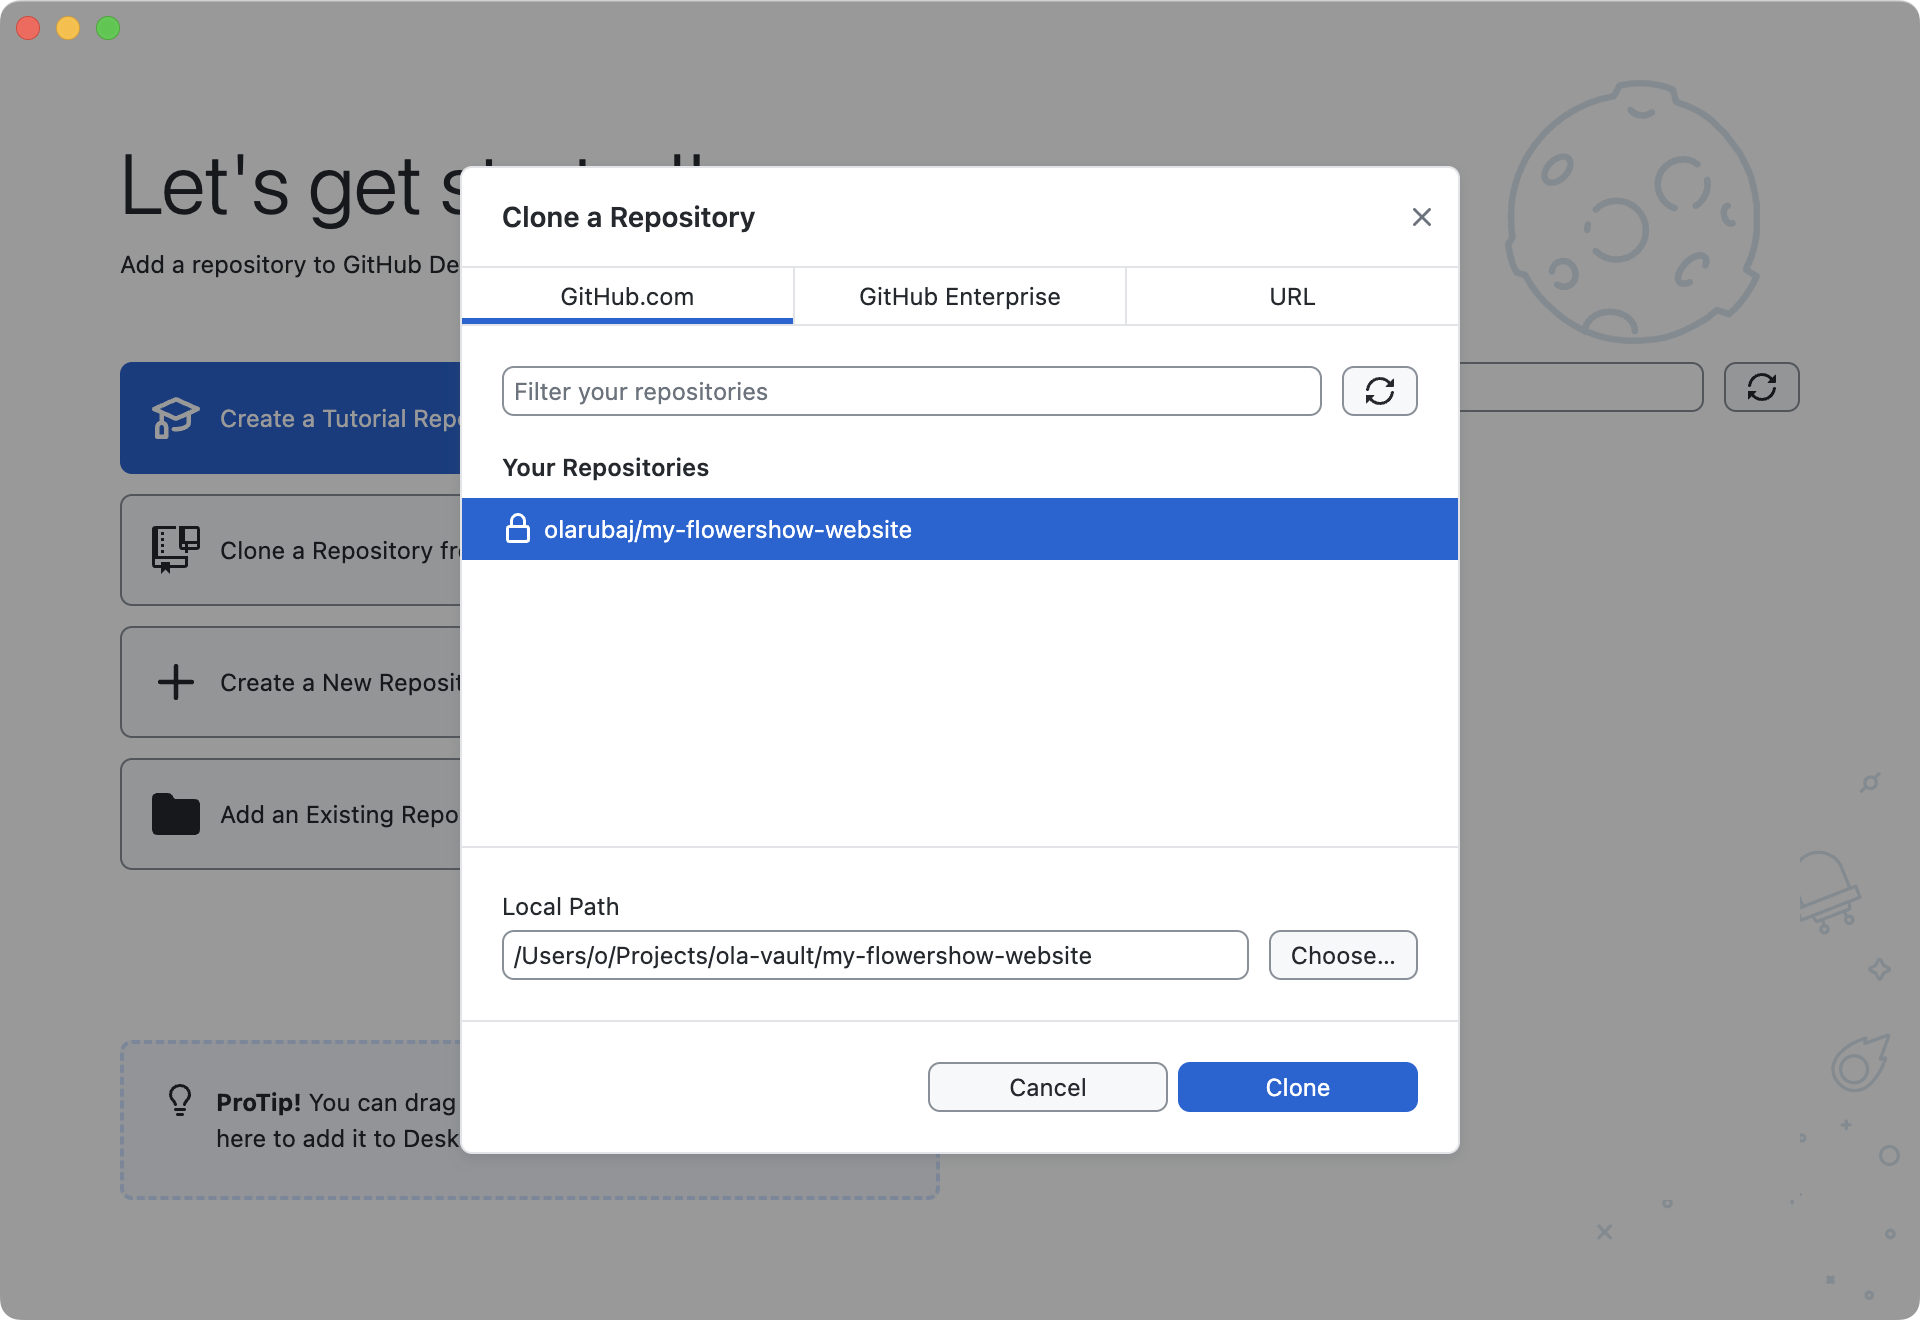
4. Choose where your repository should be saved
Type the path manually or click "Choose…" to find it using file explorer.
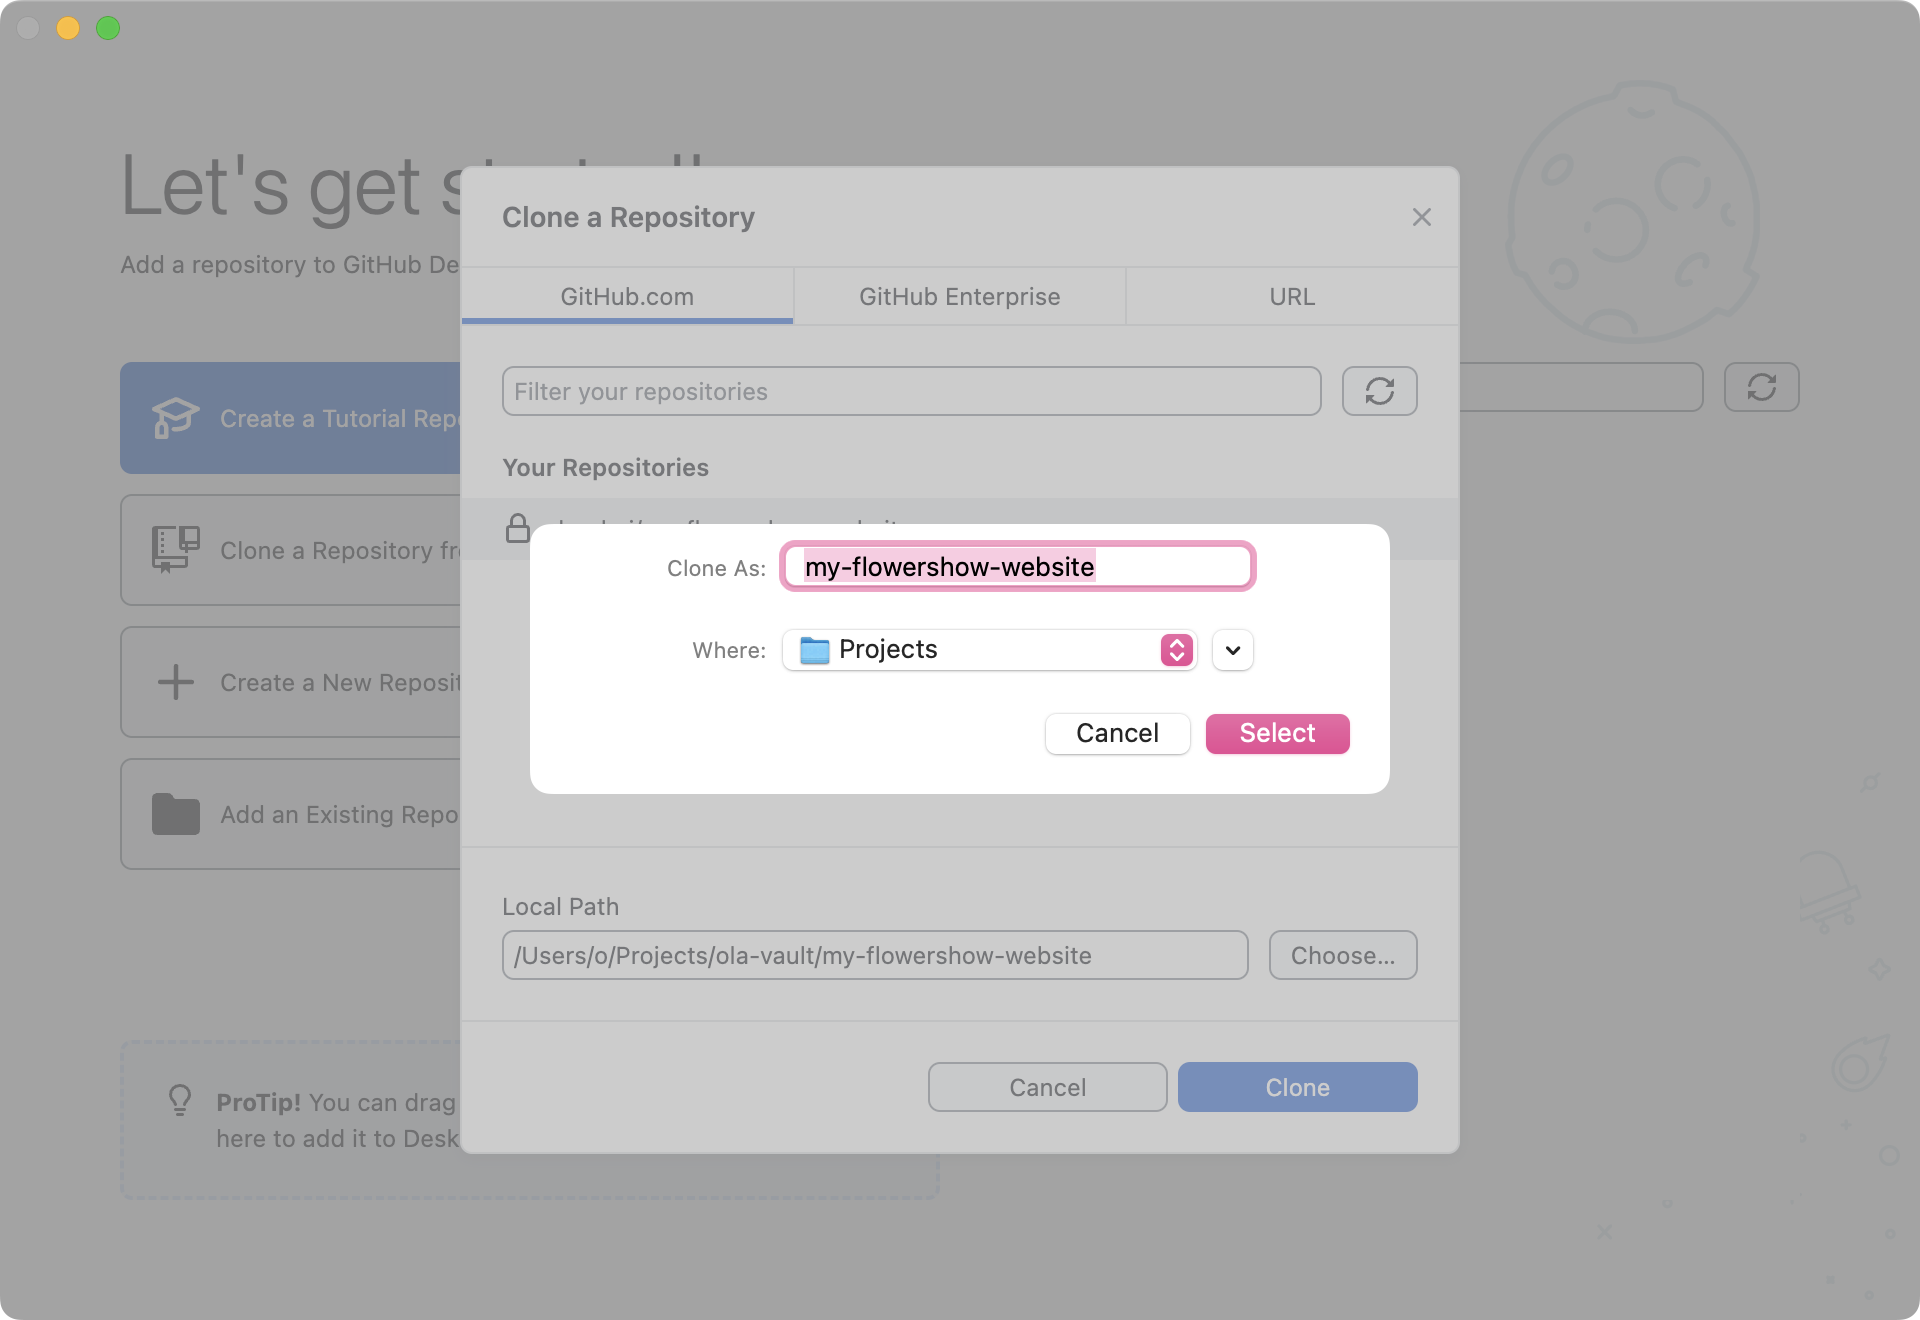
5. Click "Clone" and wait for the process to complete
You should now see the following screen:
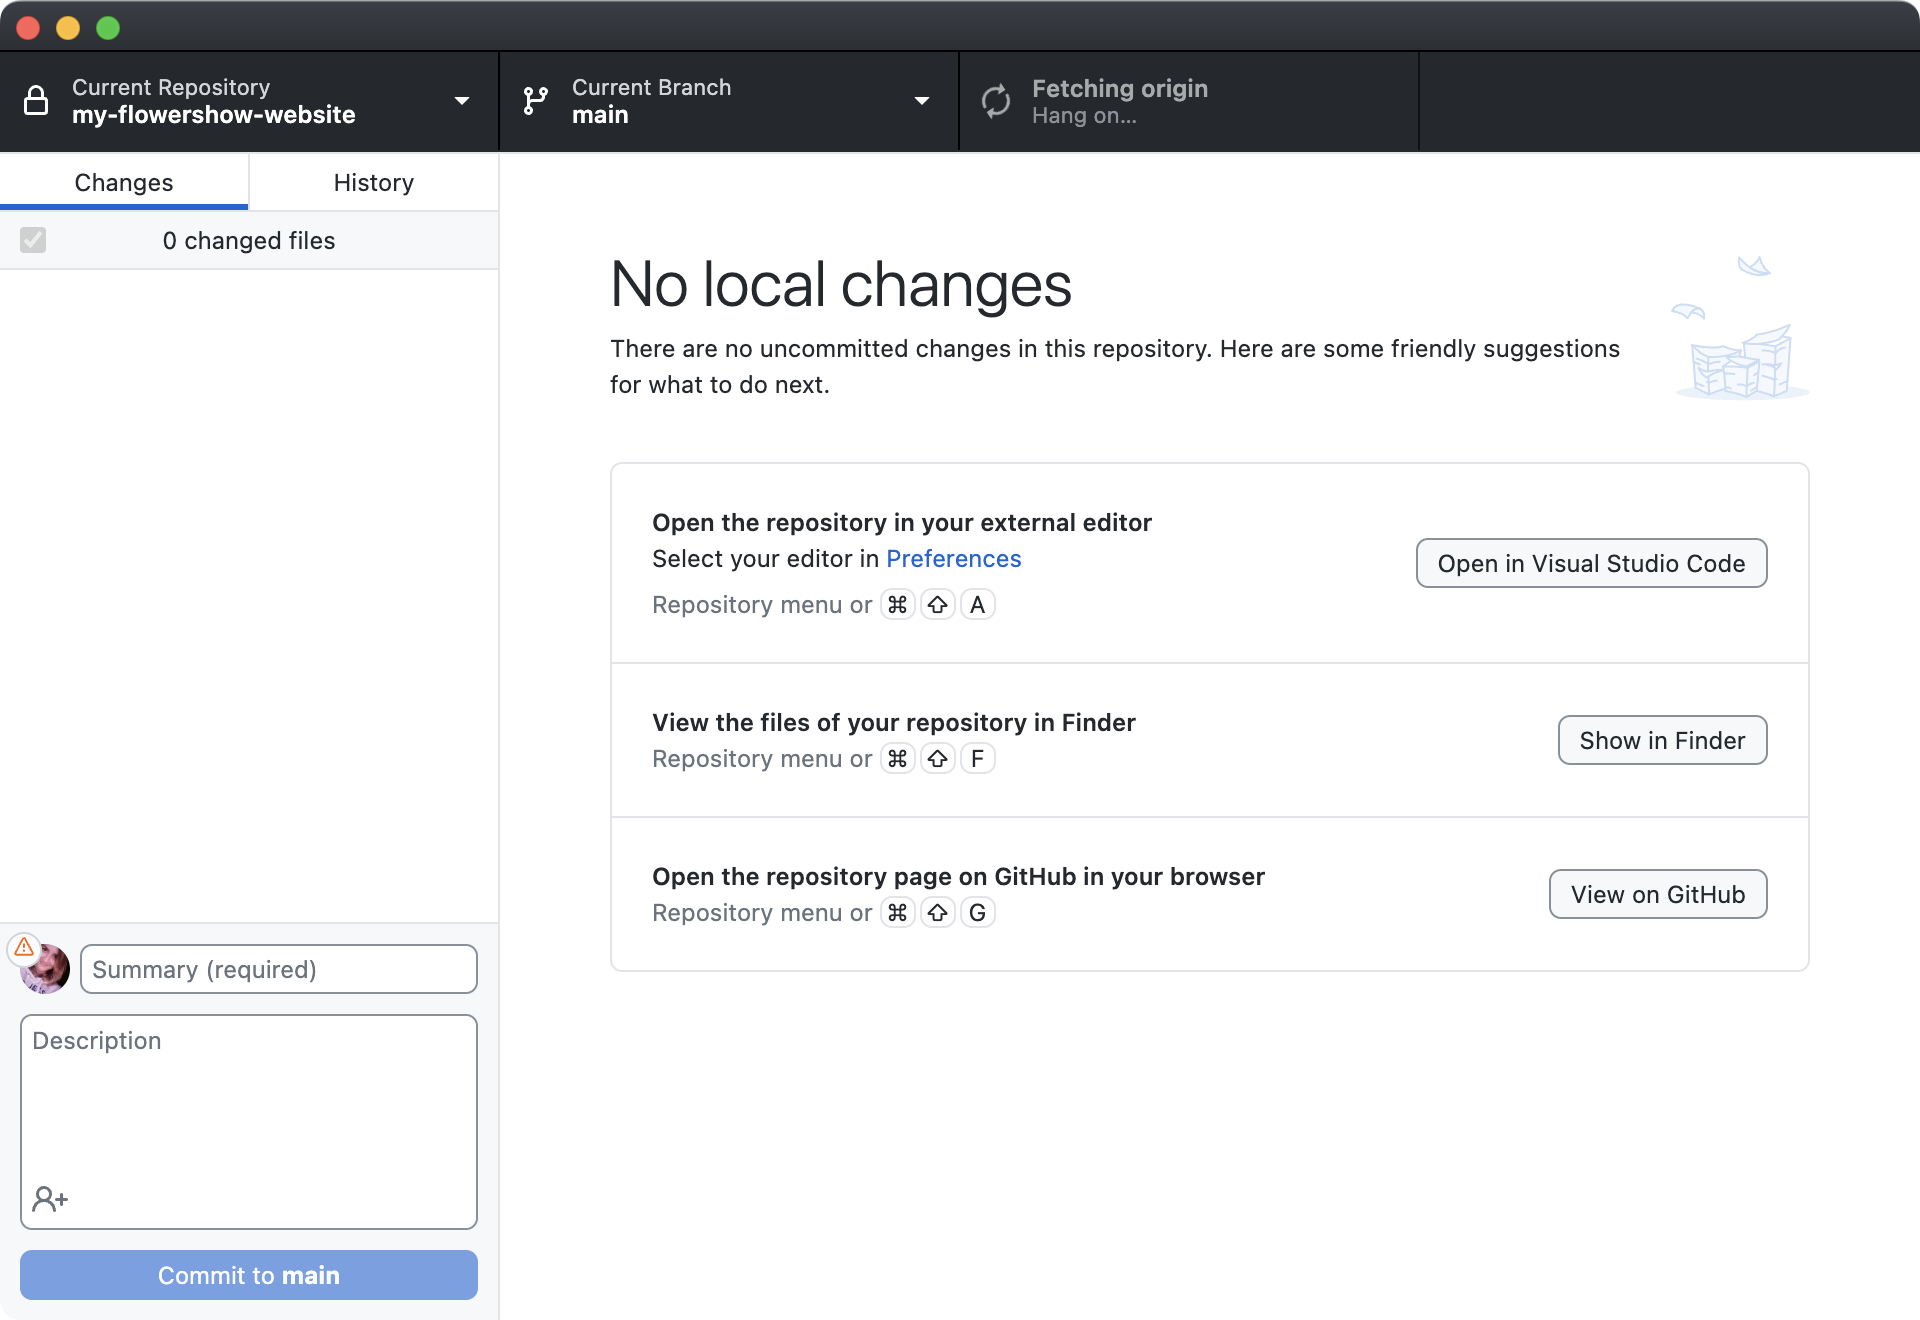
Done! You've successfully cloned your website's repository on your computer! 🎉
Edit your site in Obsidian
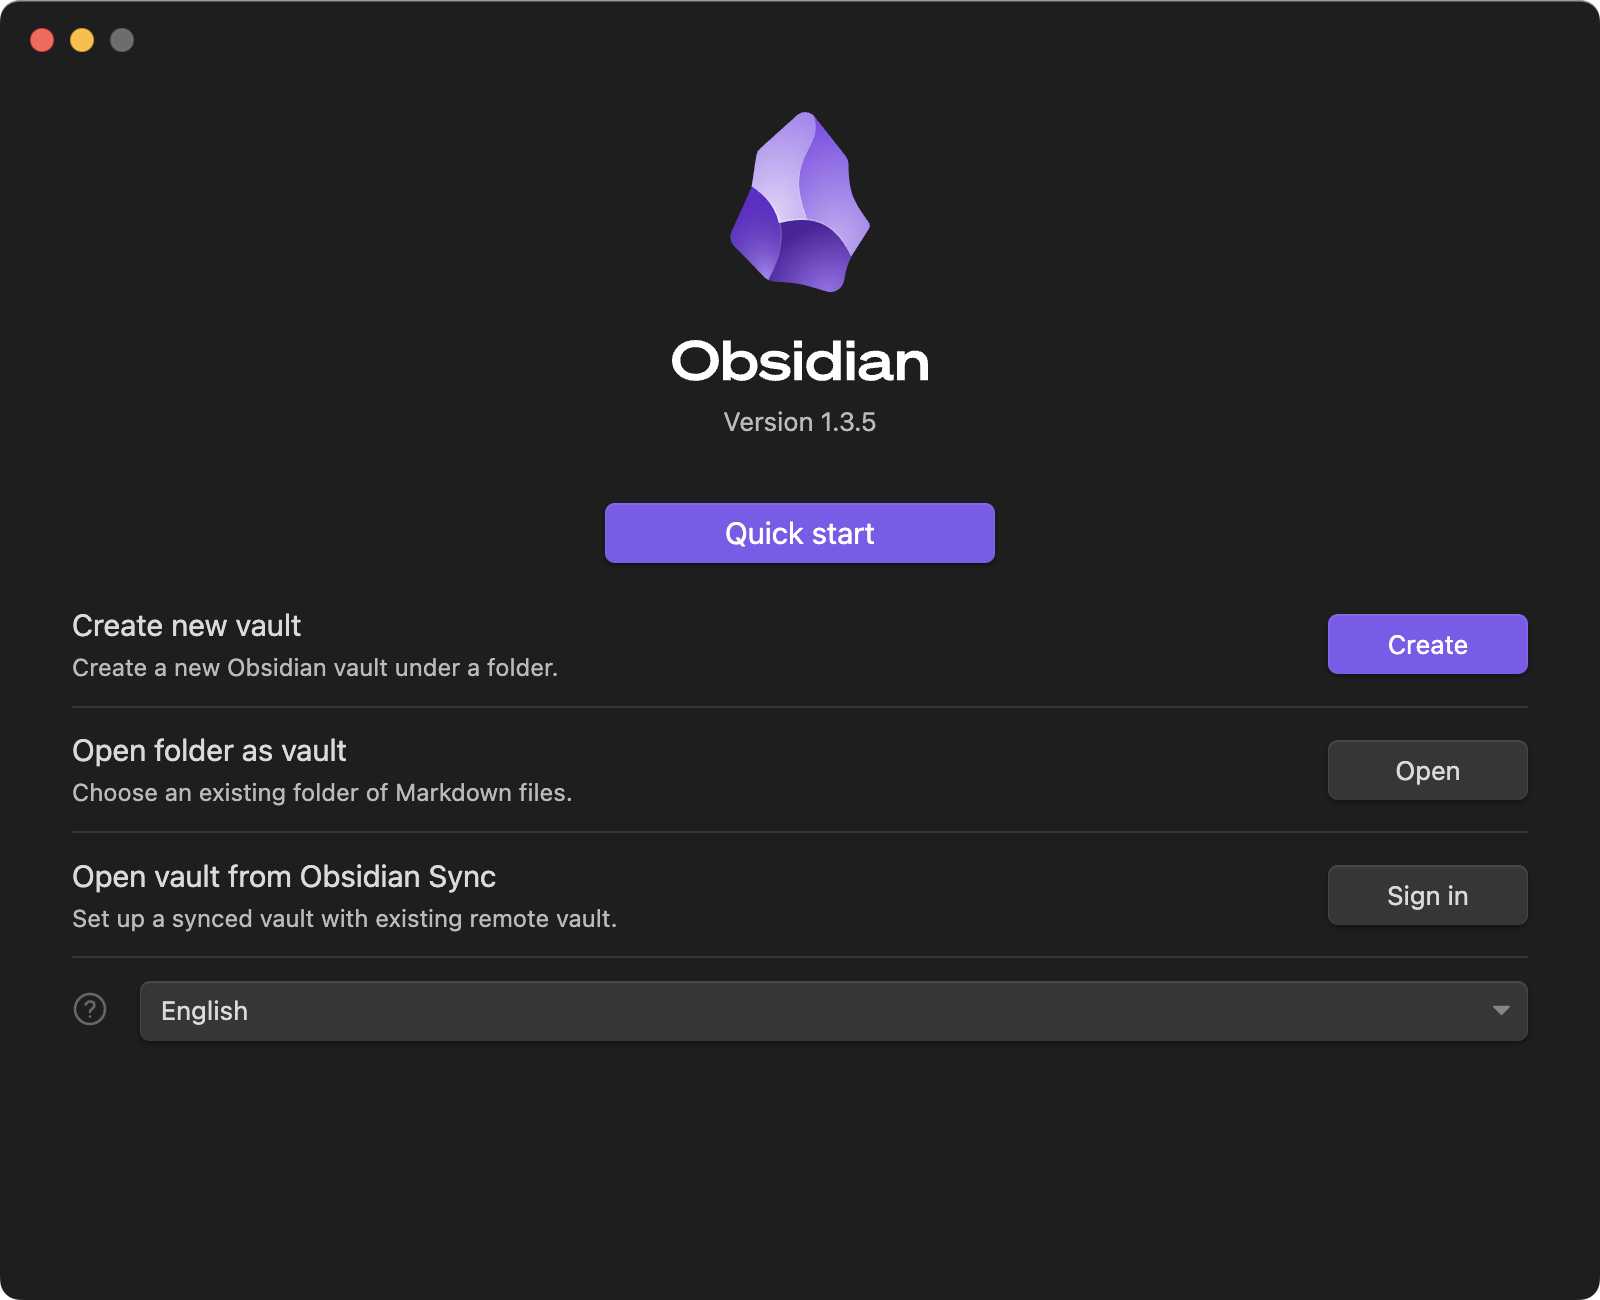
1. Open Obsidian
2. Open your repository's /content folder as vault
Click on "Open" in "Open folder as vault" section and select the path to the /content of the cloned repository.
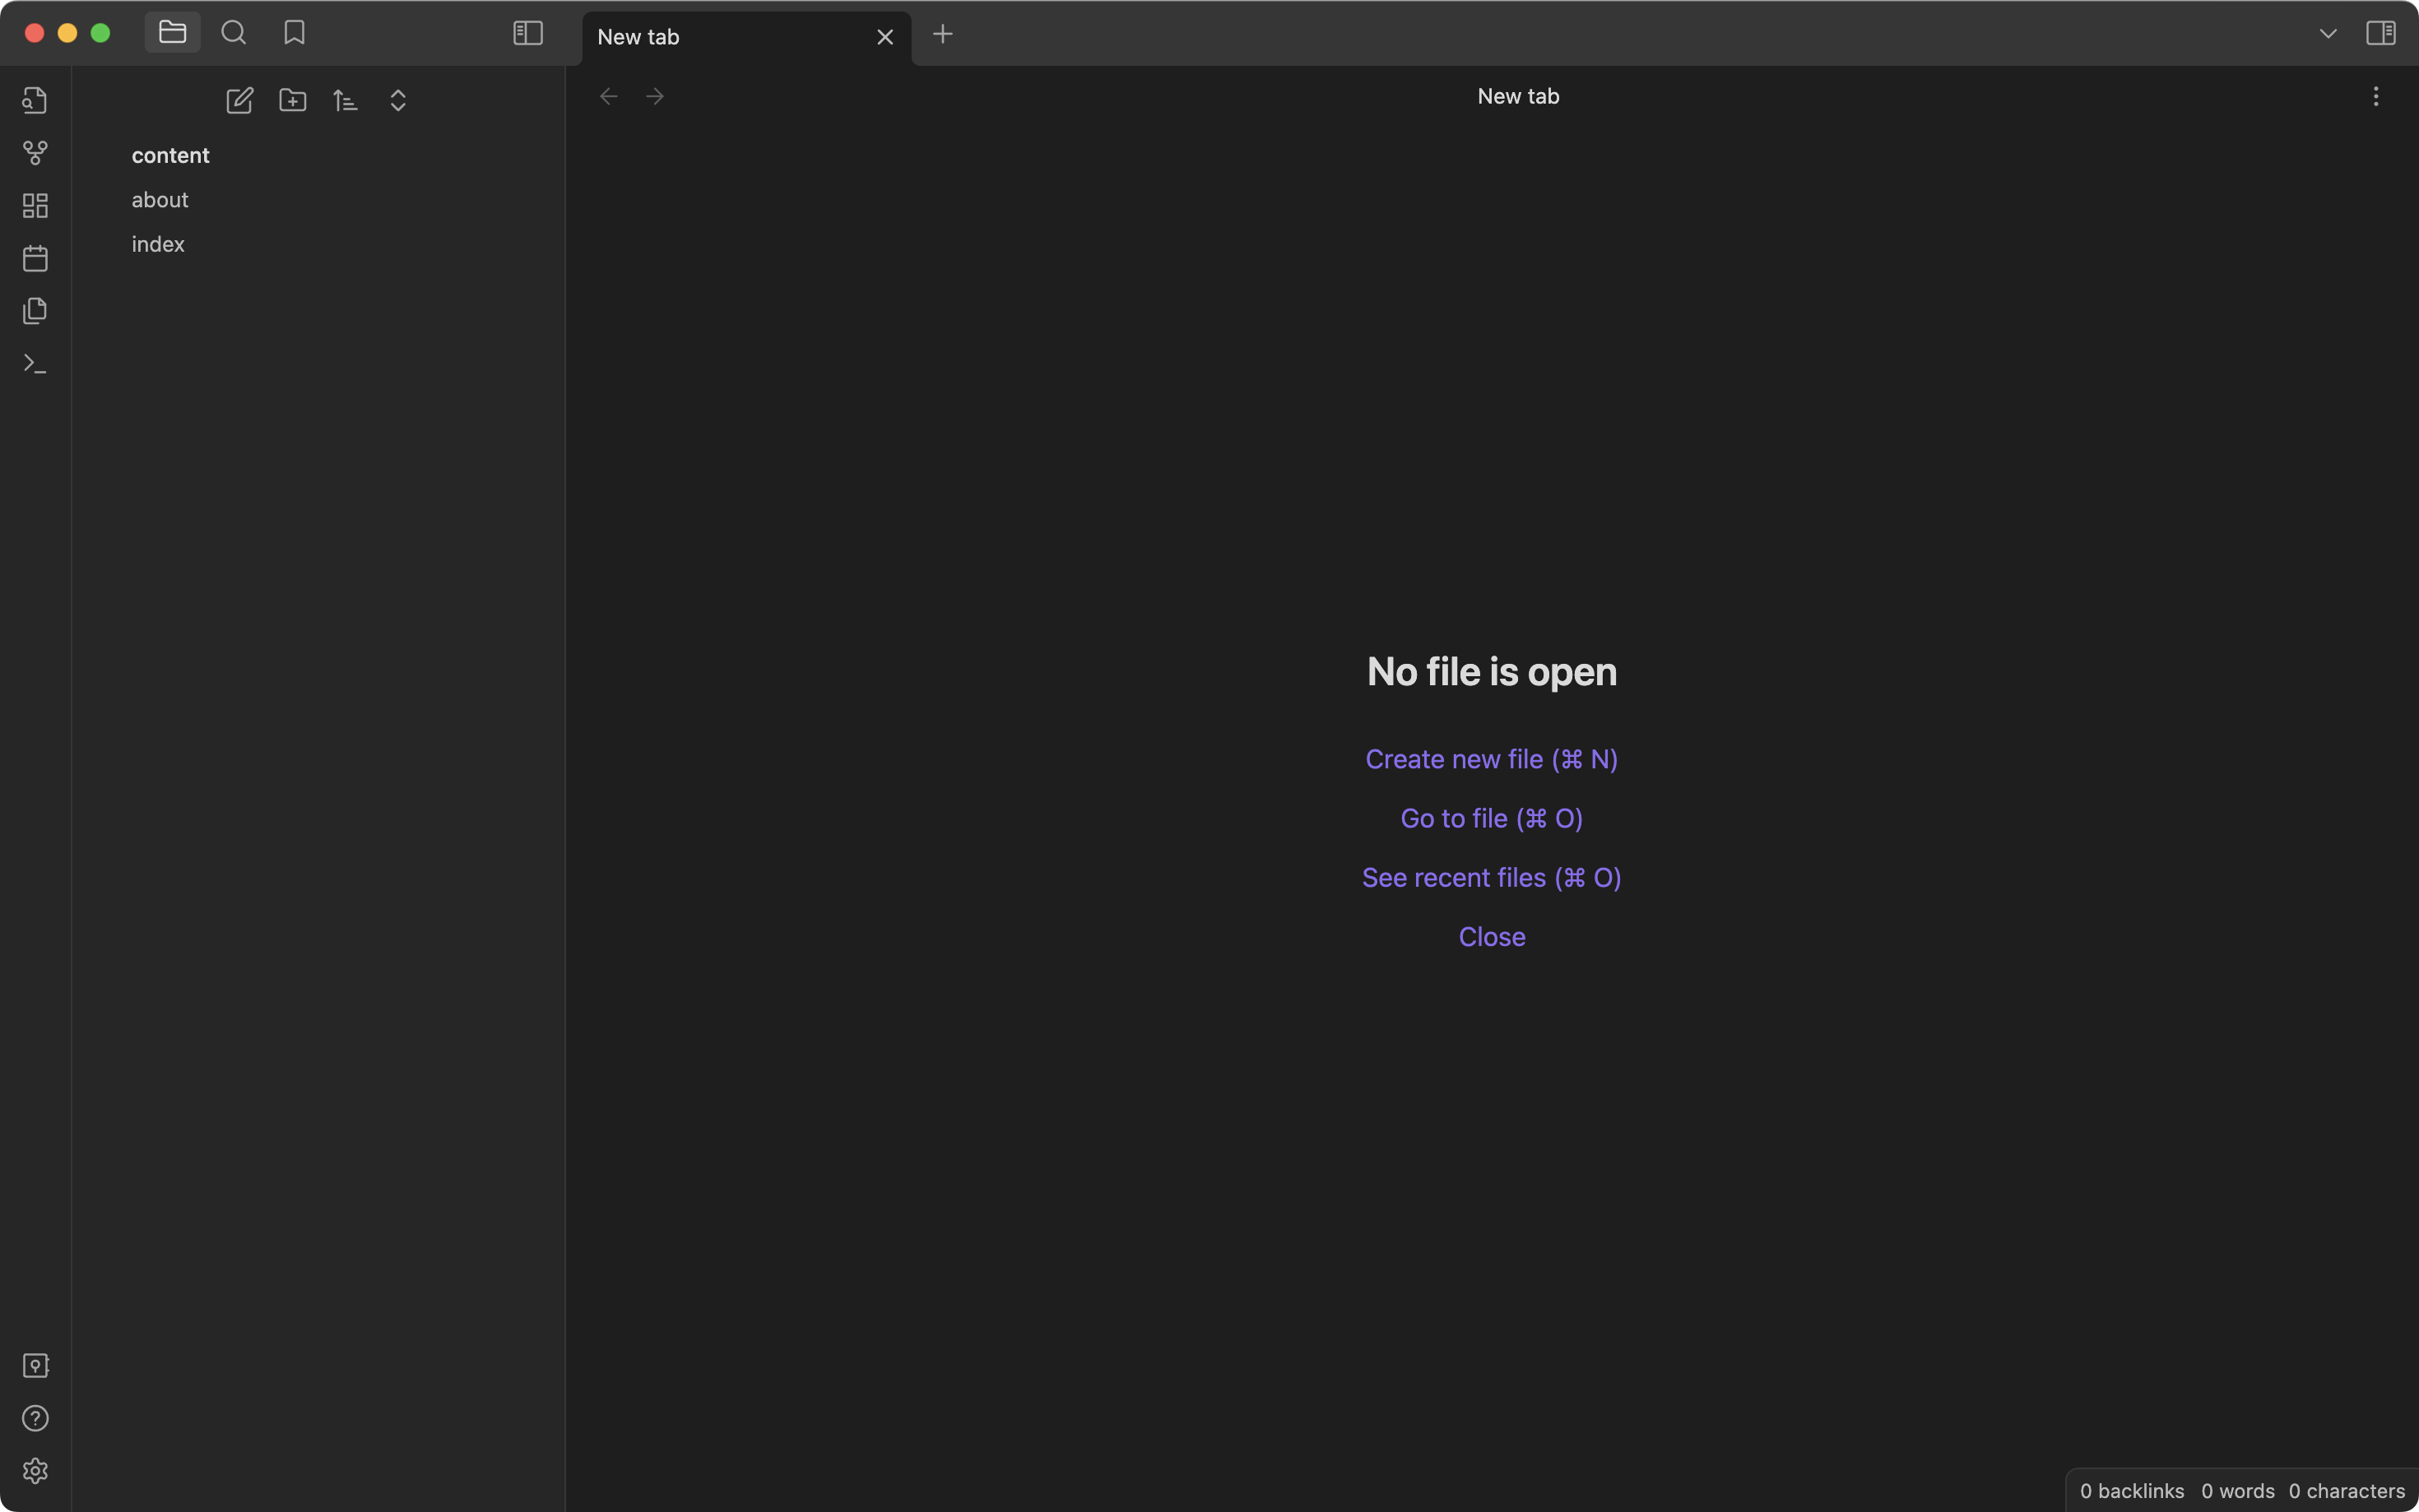
 Now you're ready to edit your site! In the left-hand side panel you should see the two files we created in tutorial 1:
 index.md and about.md.
3. Edit your site's content
Now, let's add some more stuff to the home page.
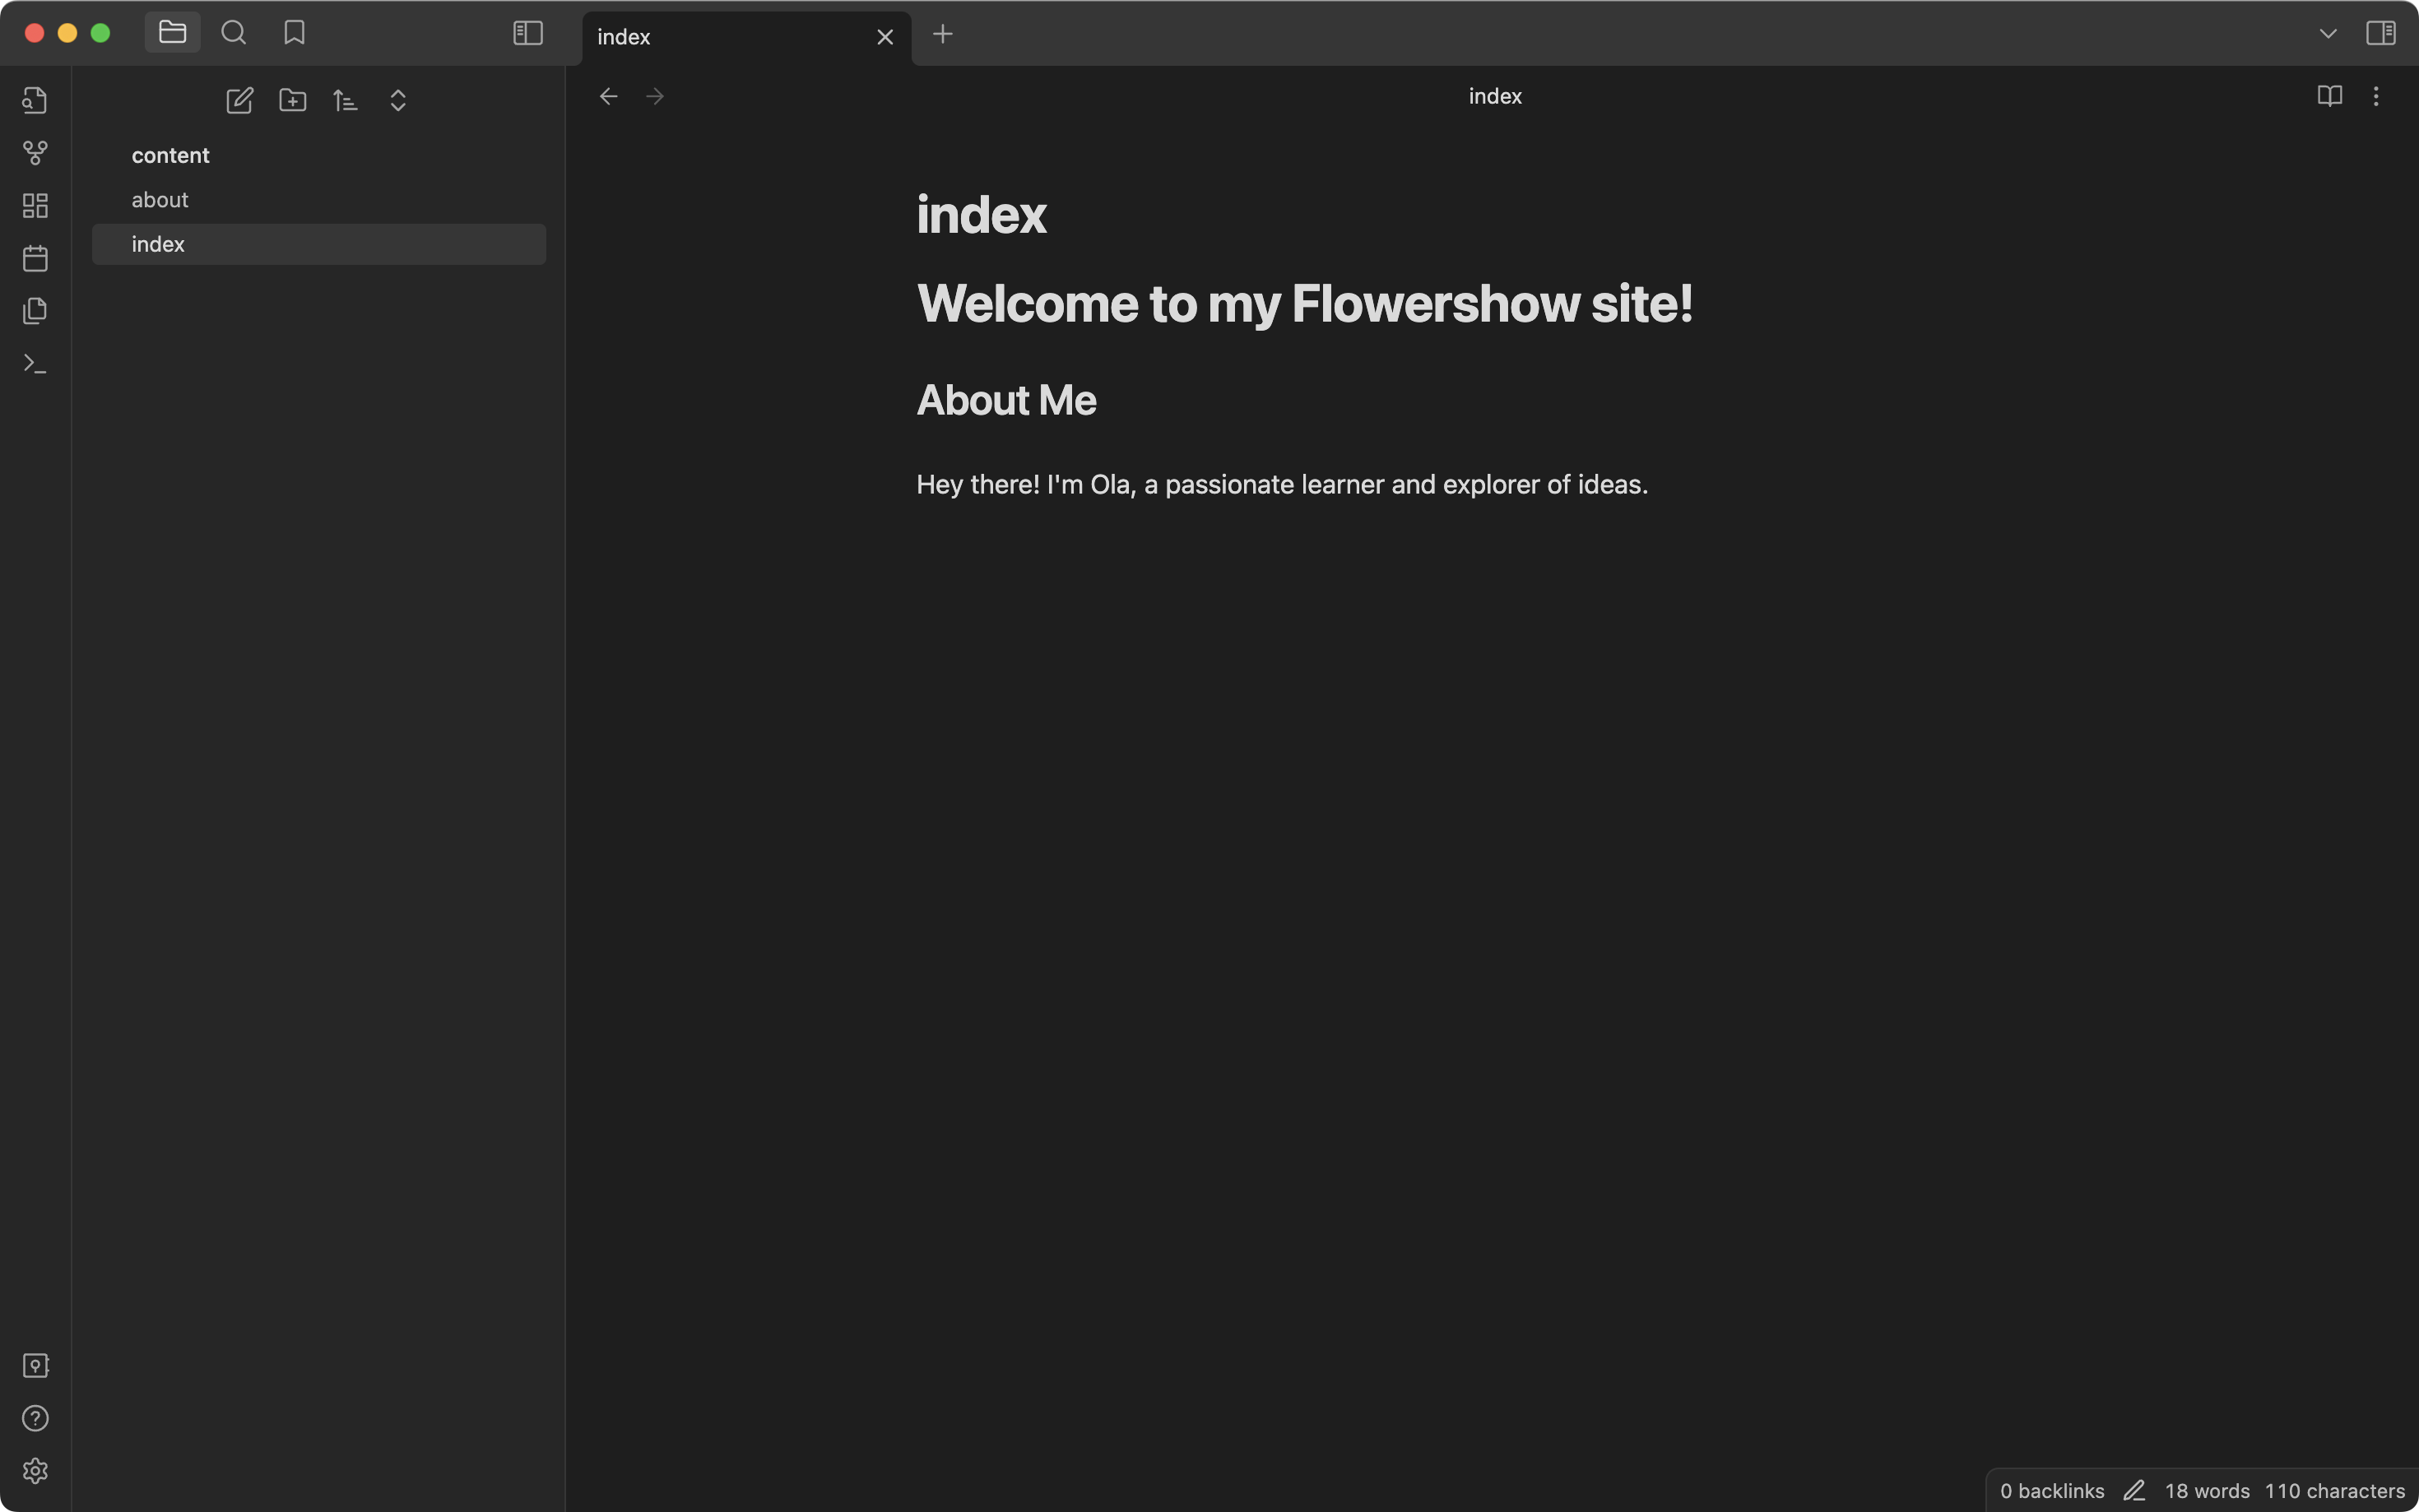
Click on index.md to open it and replace the dummy text with "About Me" section, .e.g.:
## About Me

Hey there! I'm Your Name, a passionate learner and explorer of ideas.
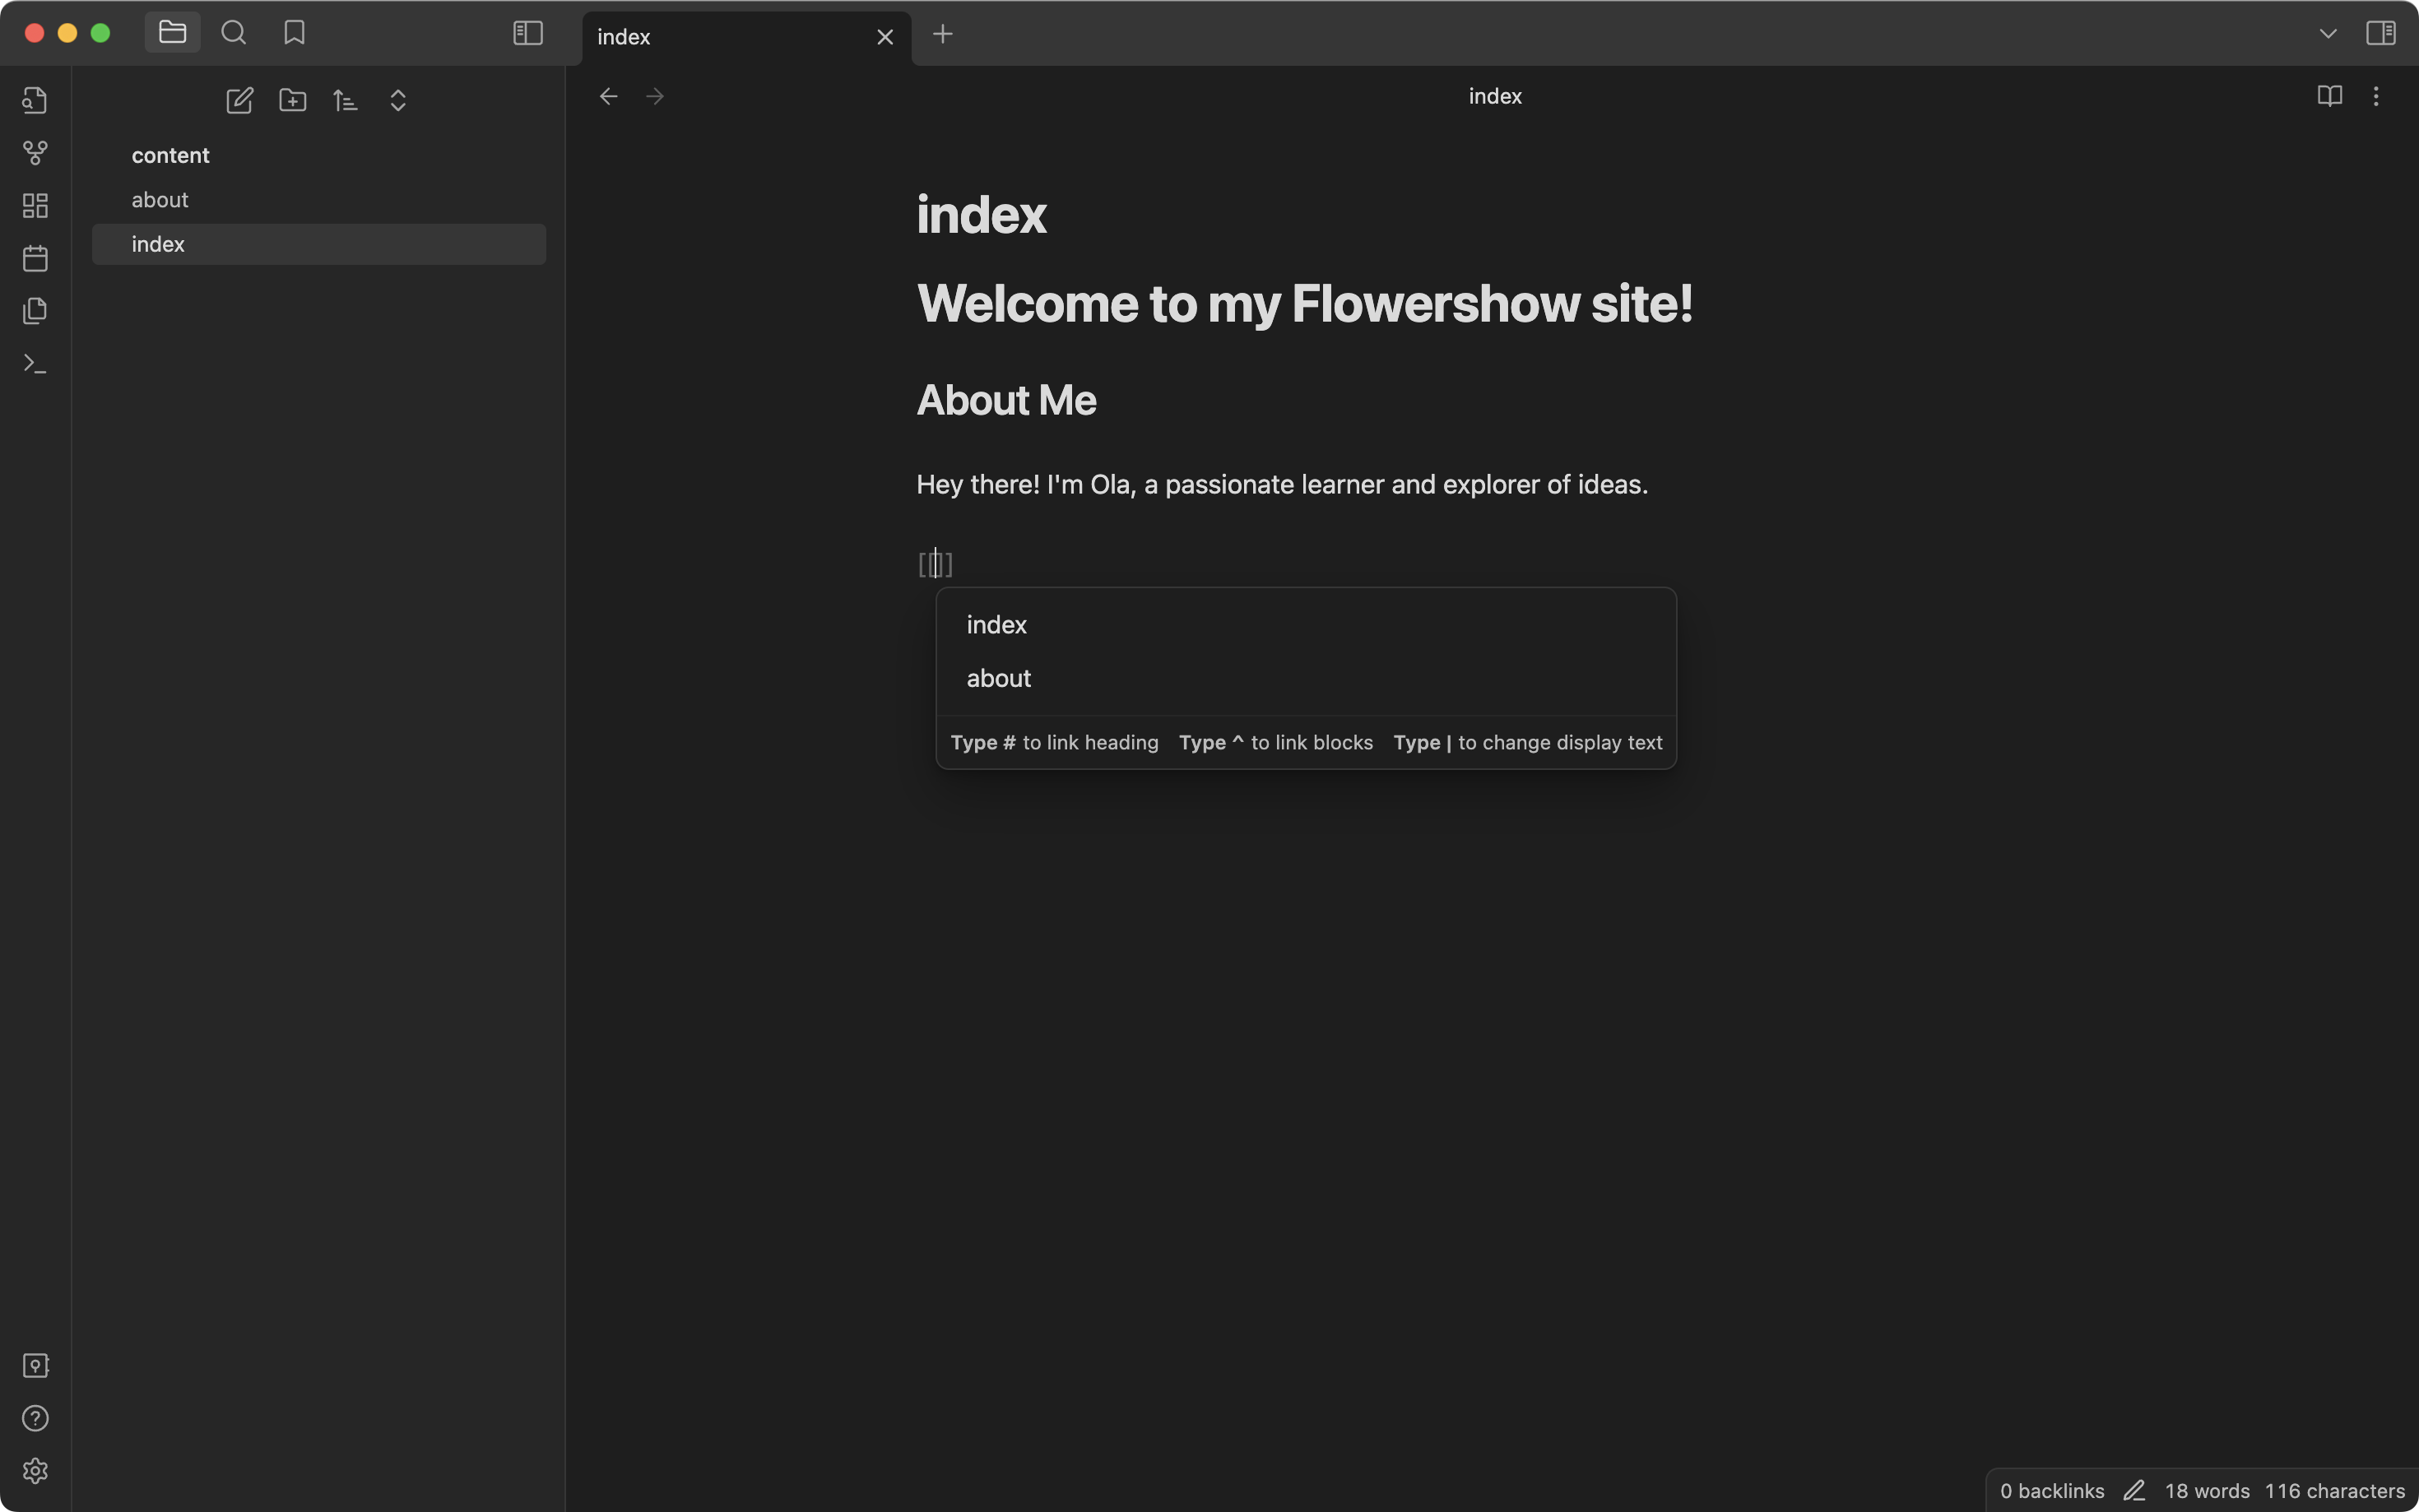
Now, let's say for more information about you and your site, you want to add link to the about page. You can do so, by creating a wiki-link to that page, like so:
[[about]]
When you start typing, after writing empty double brackets [[]], Obsidian will suggest all the available pages you can link to, and after you select one it will create the link automatically for you.

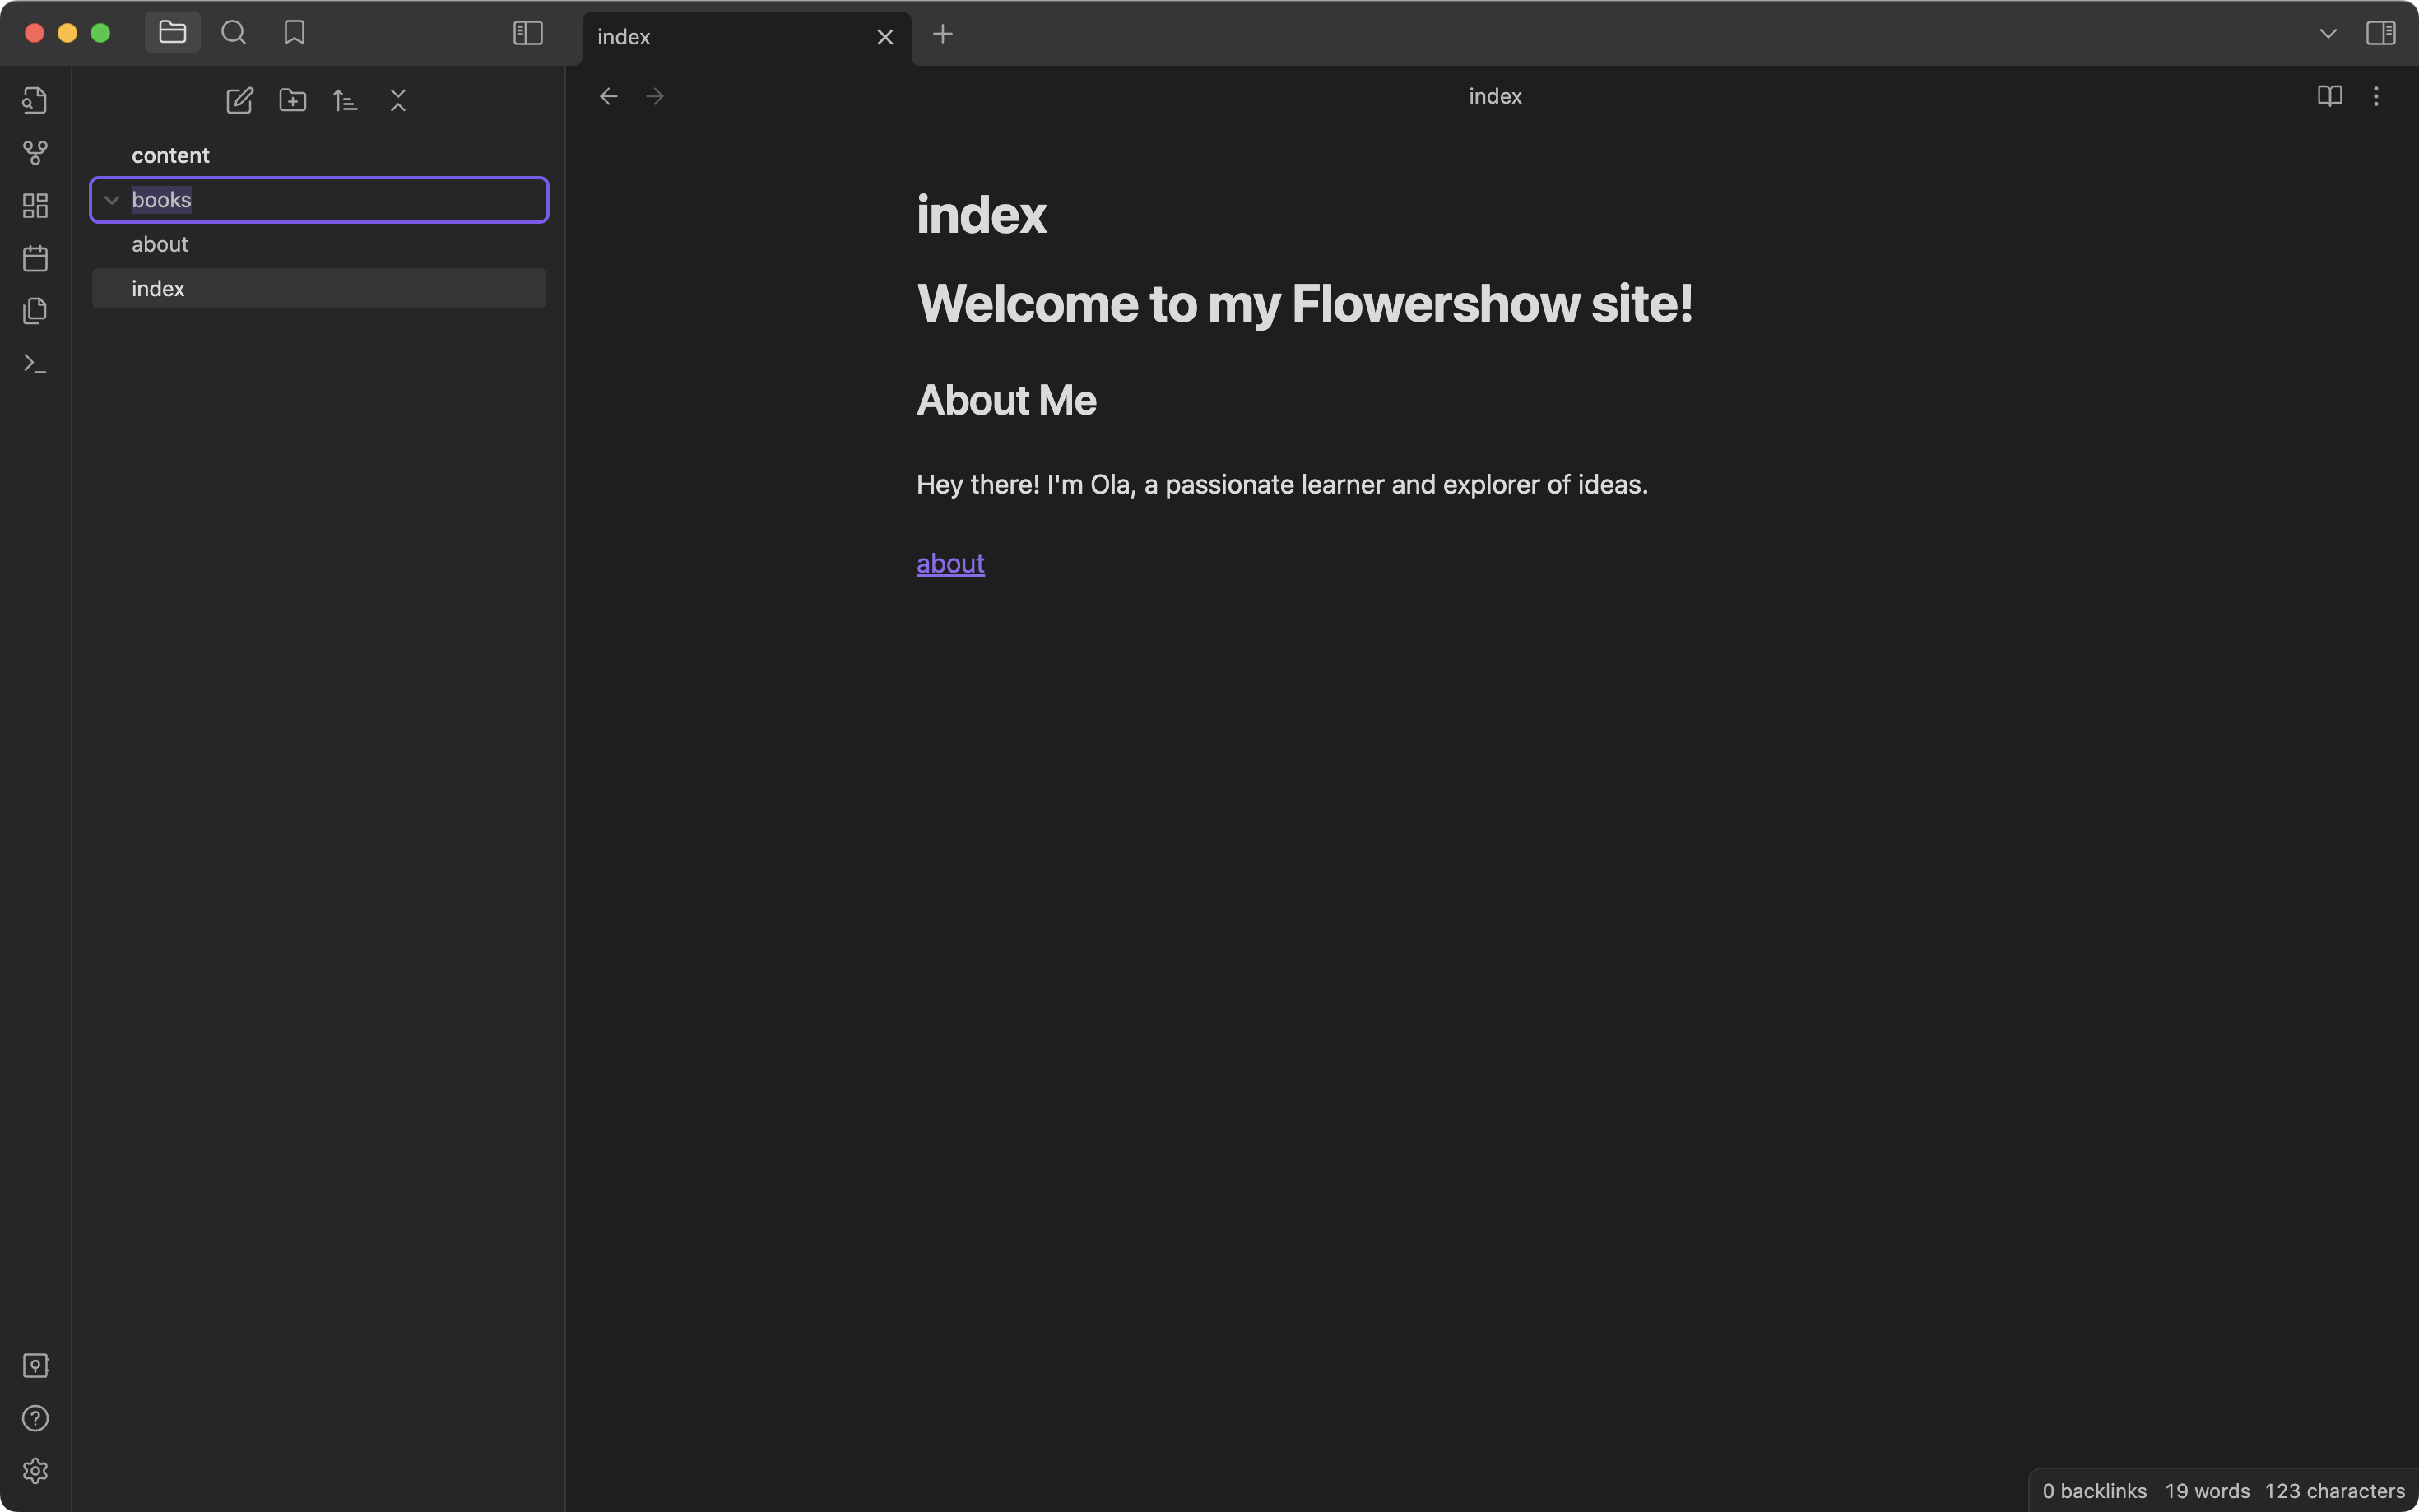
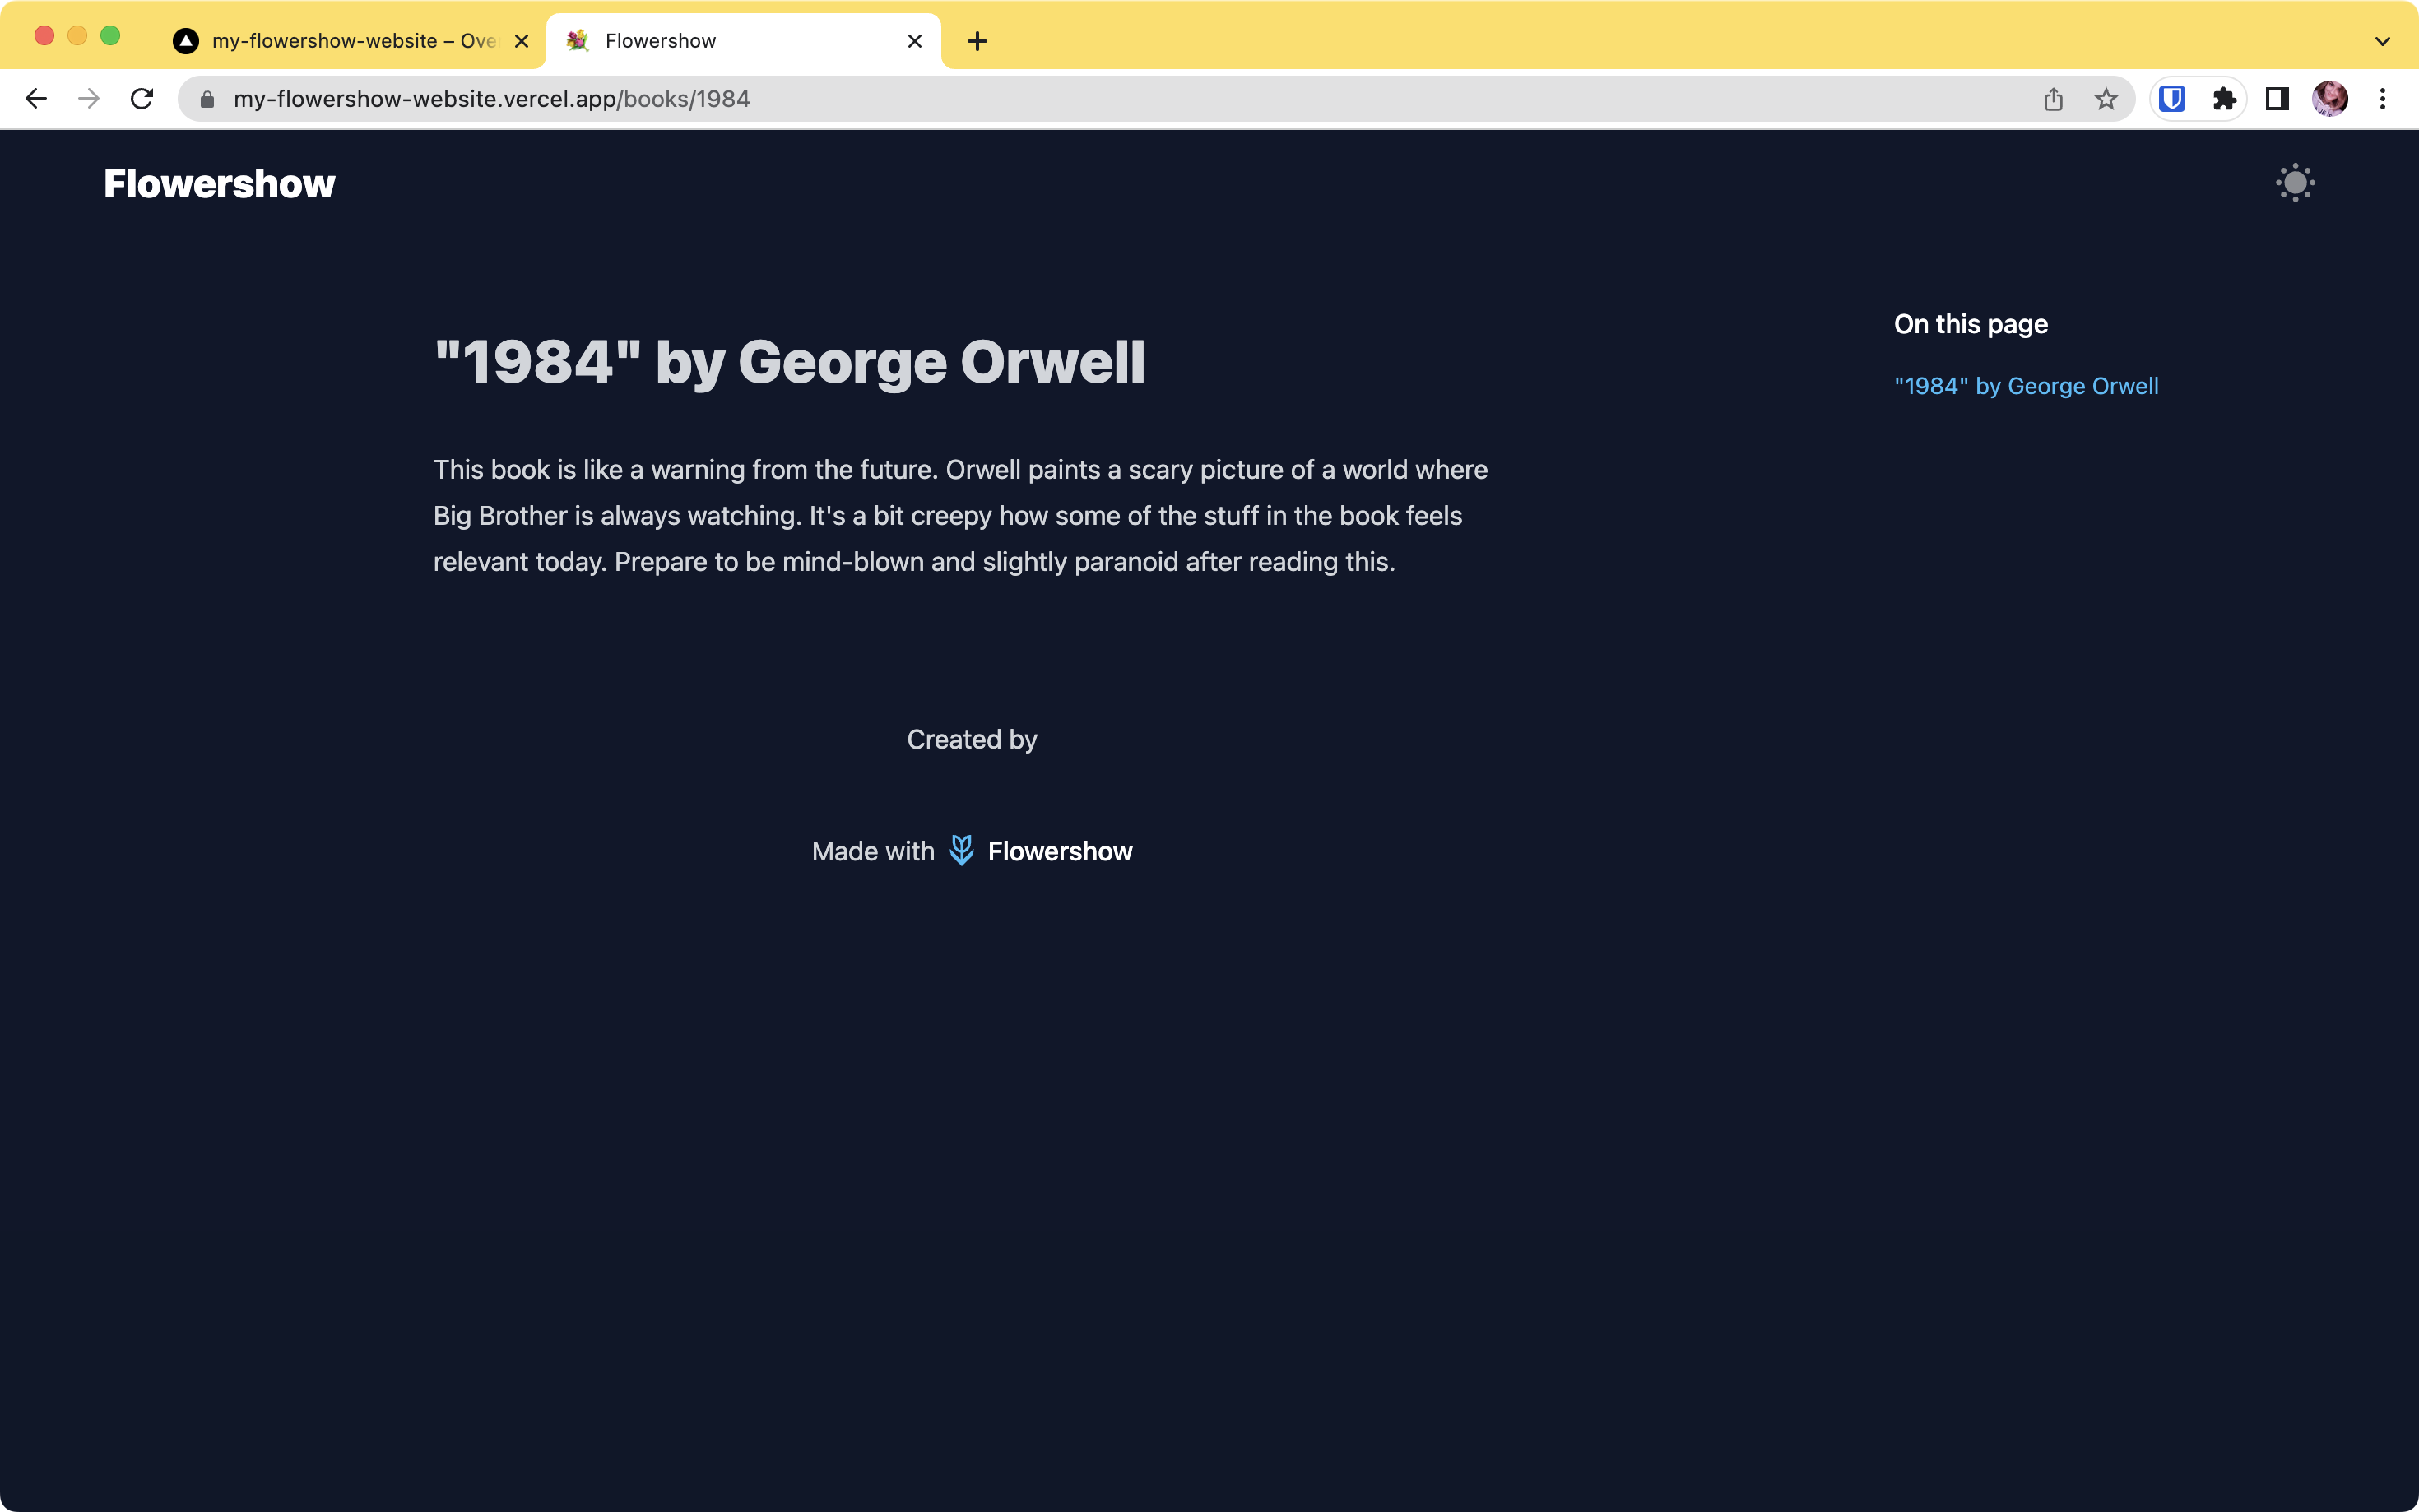
Now, let's say you want to show people what books you've read and share your reviews and other information on each one. And let's say information on each book should be available at /books/abc path on our website. To achieve this, you need to create a folder called books in your vault and add all the project-related files in there.
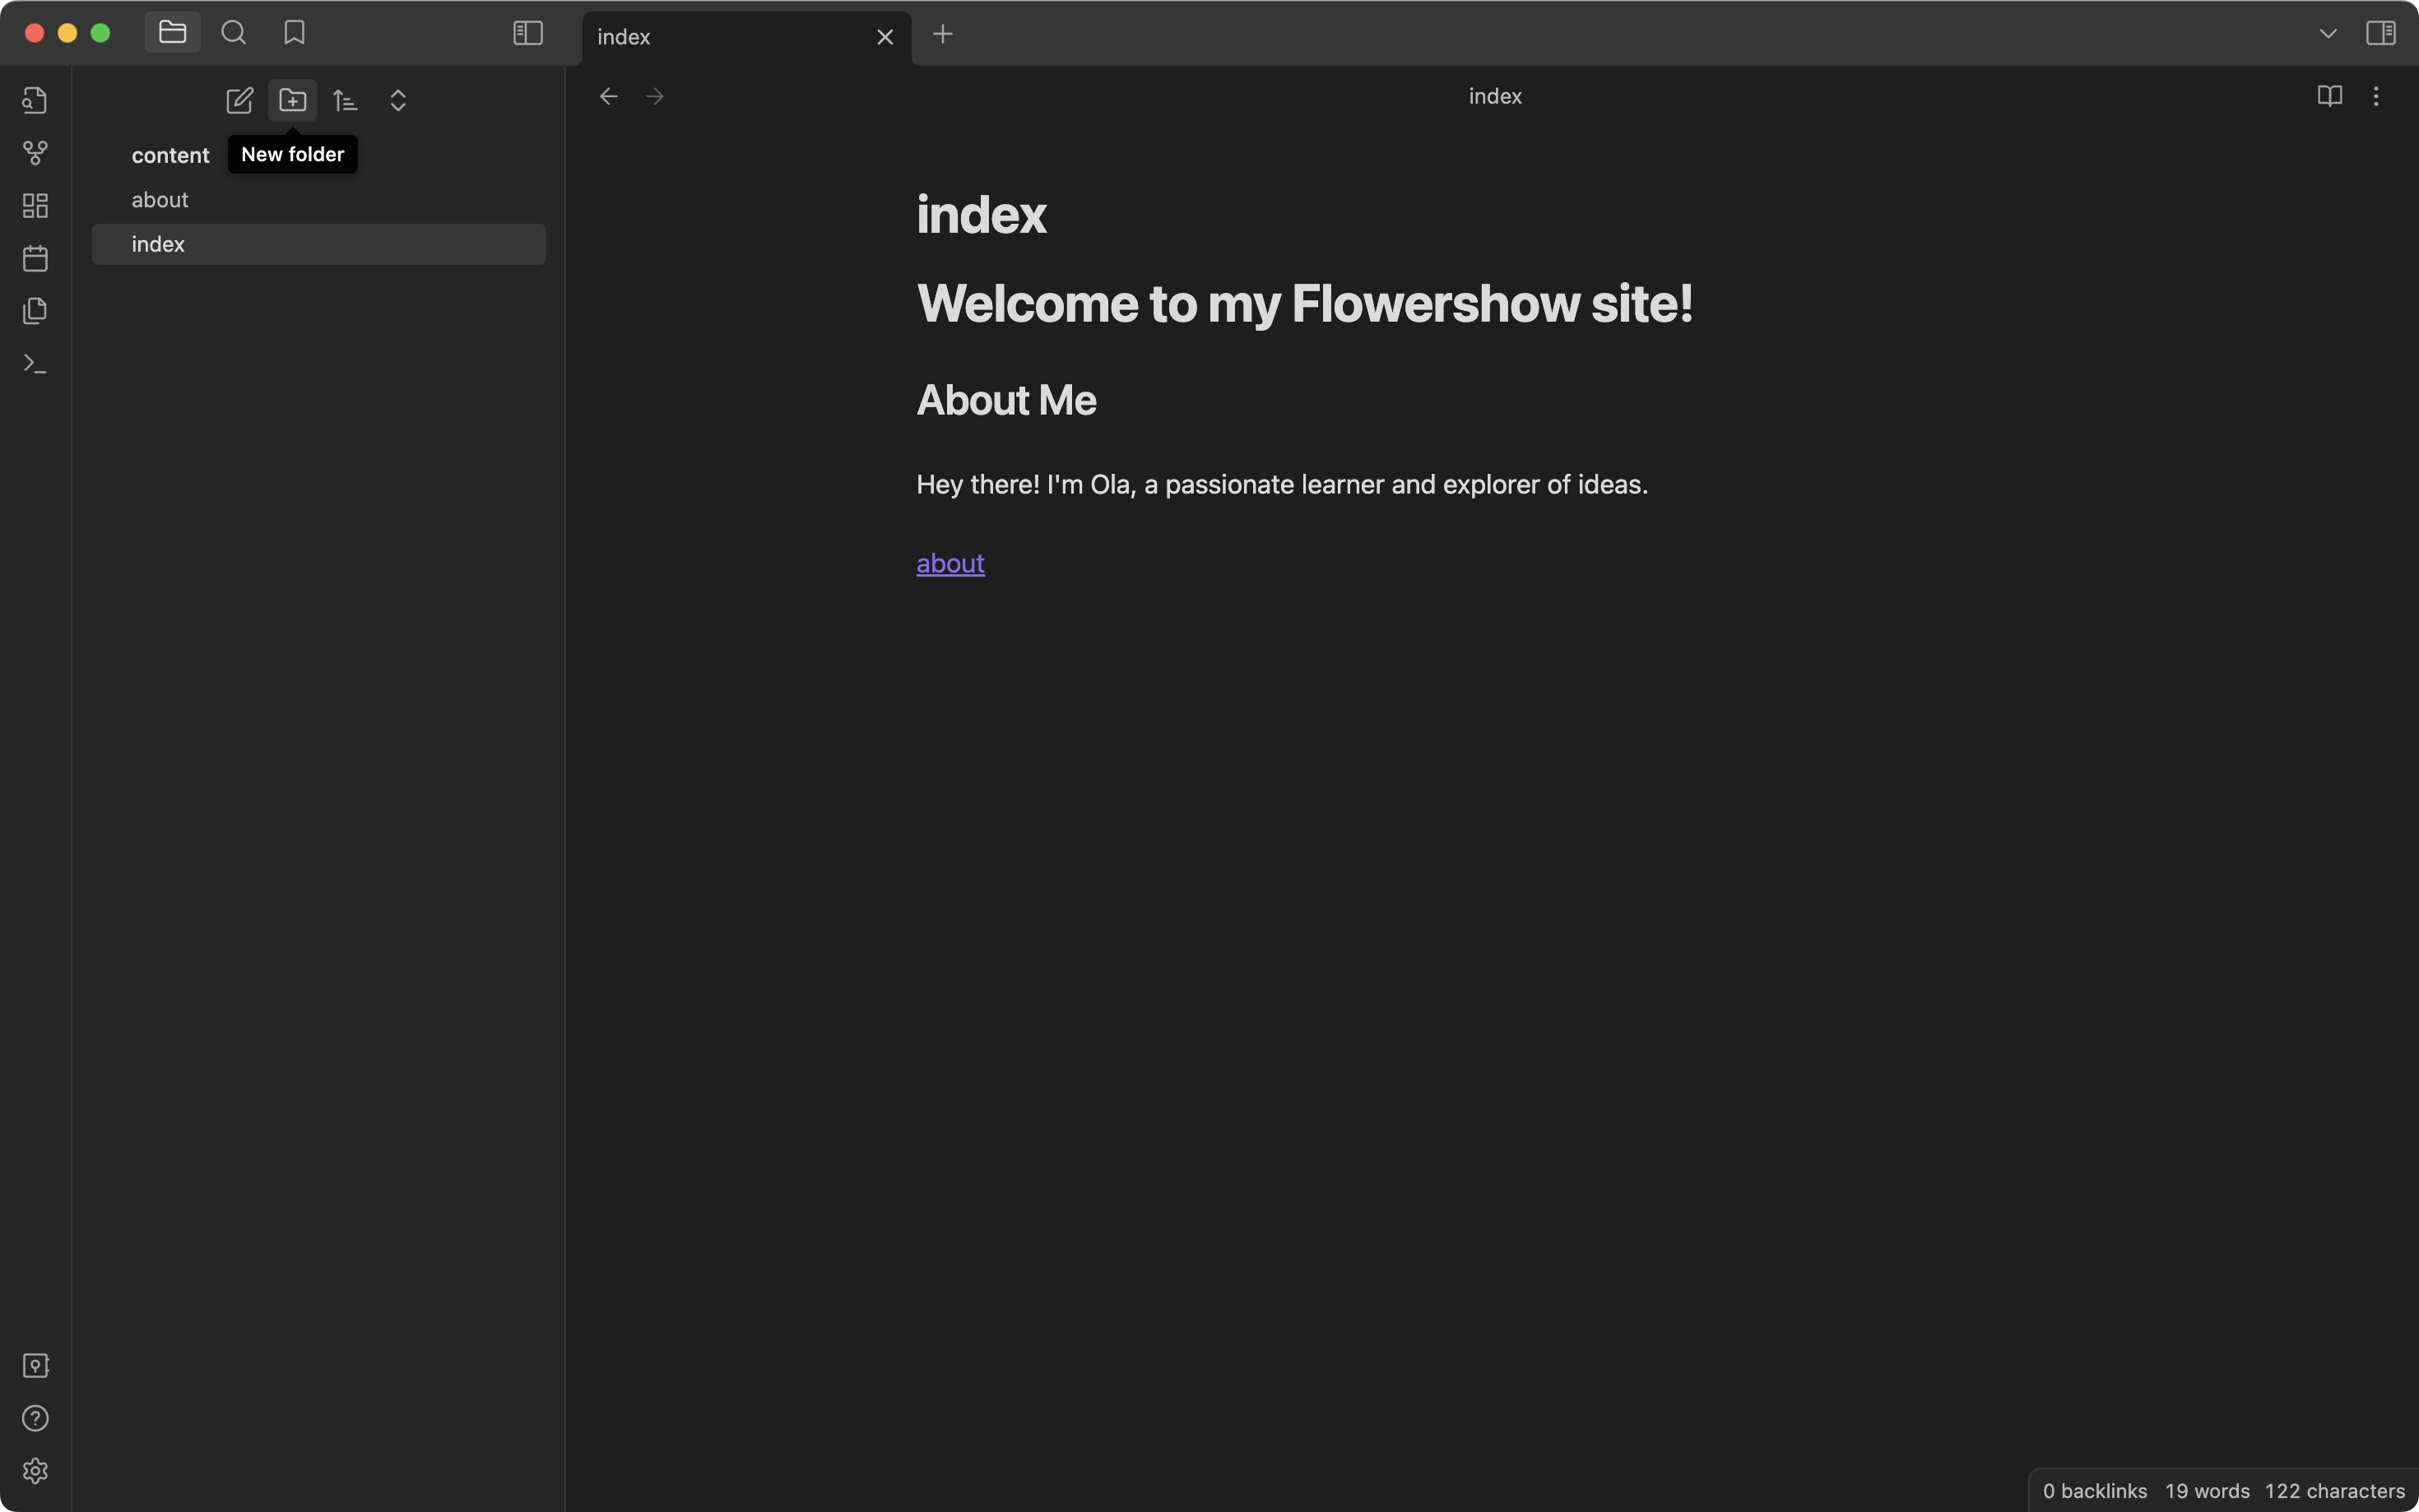
To create a new folder in Obsidian, click on the "New folder" icon, and give your folder a name:
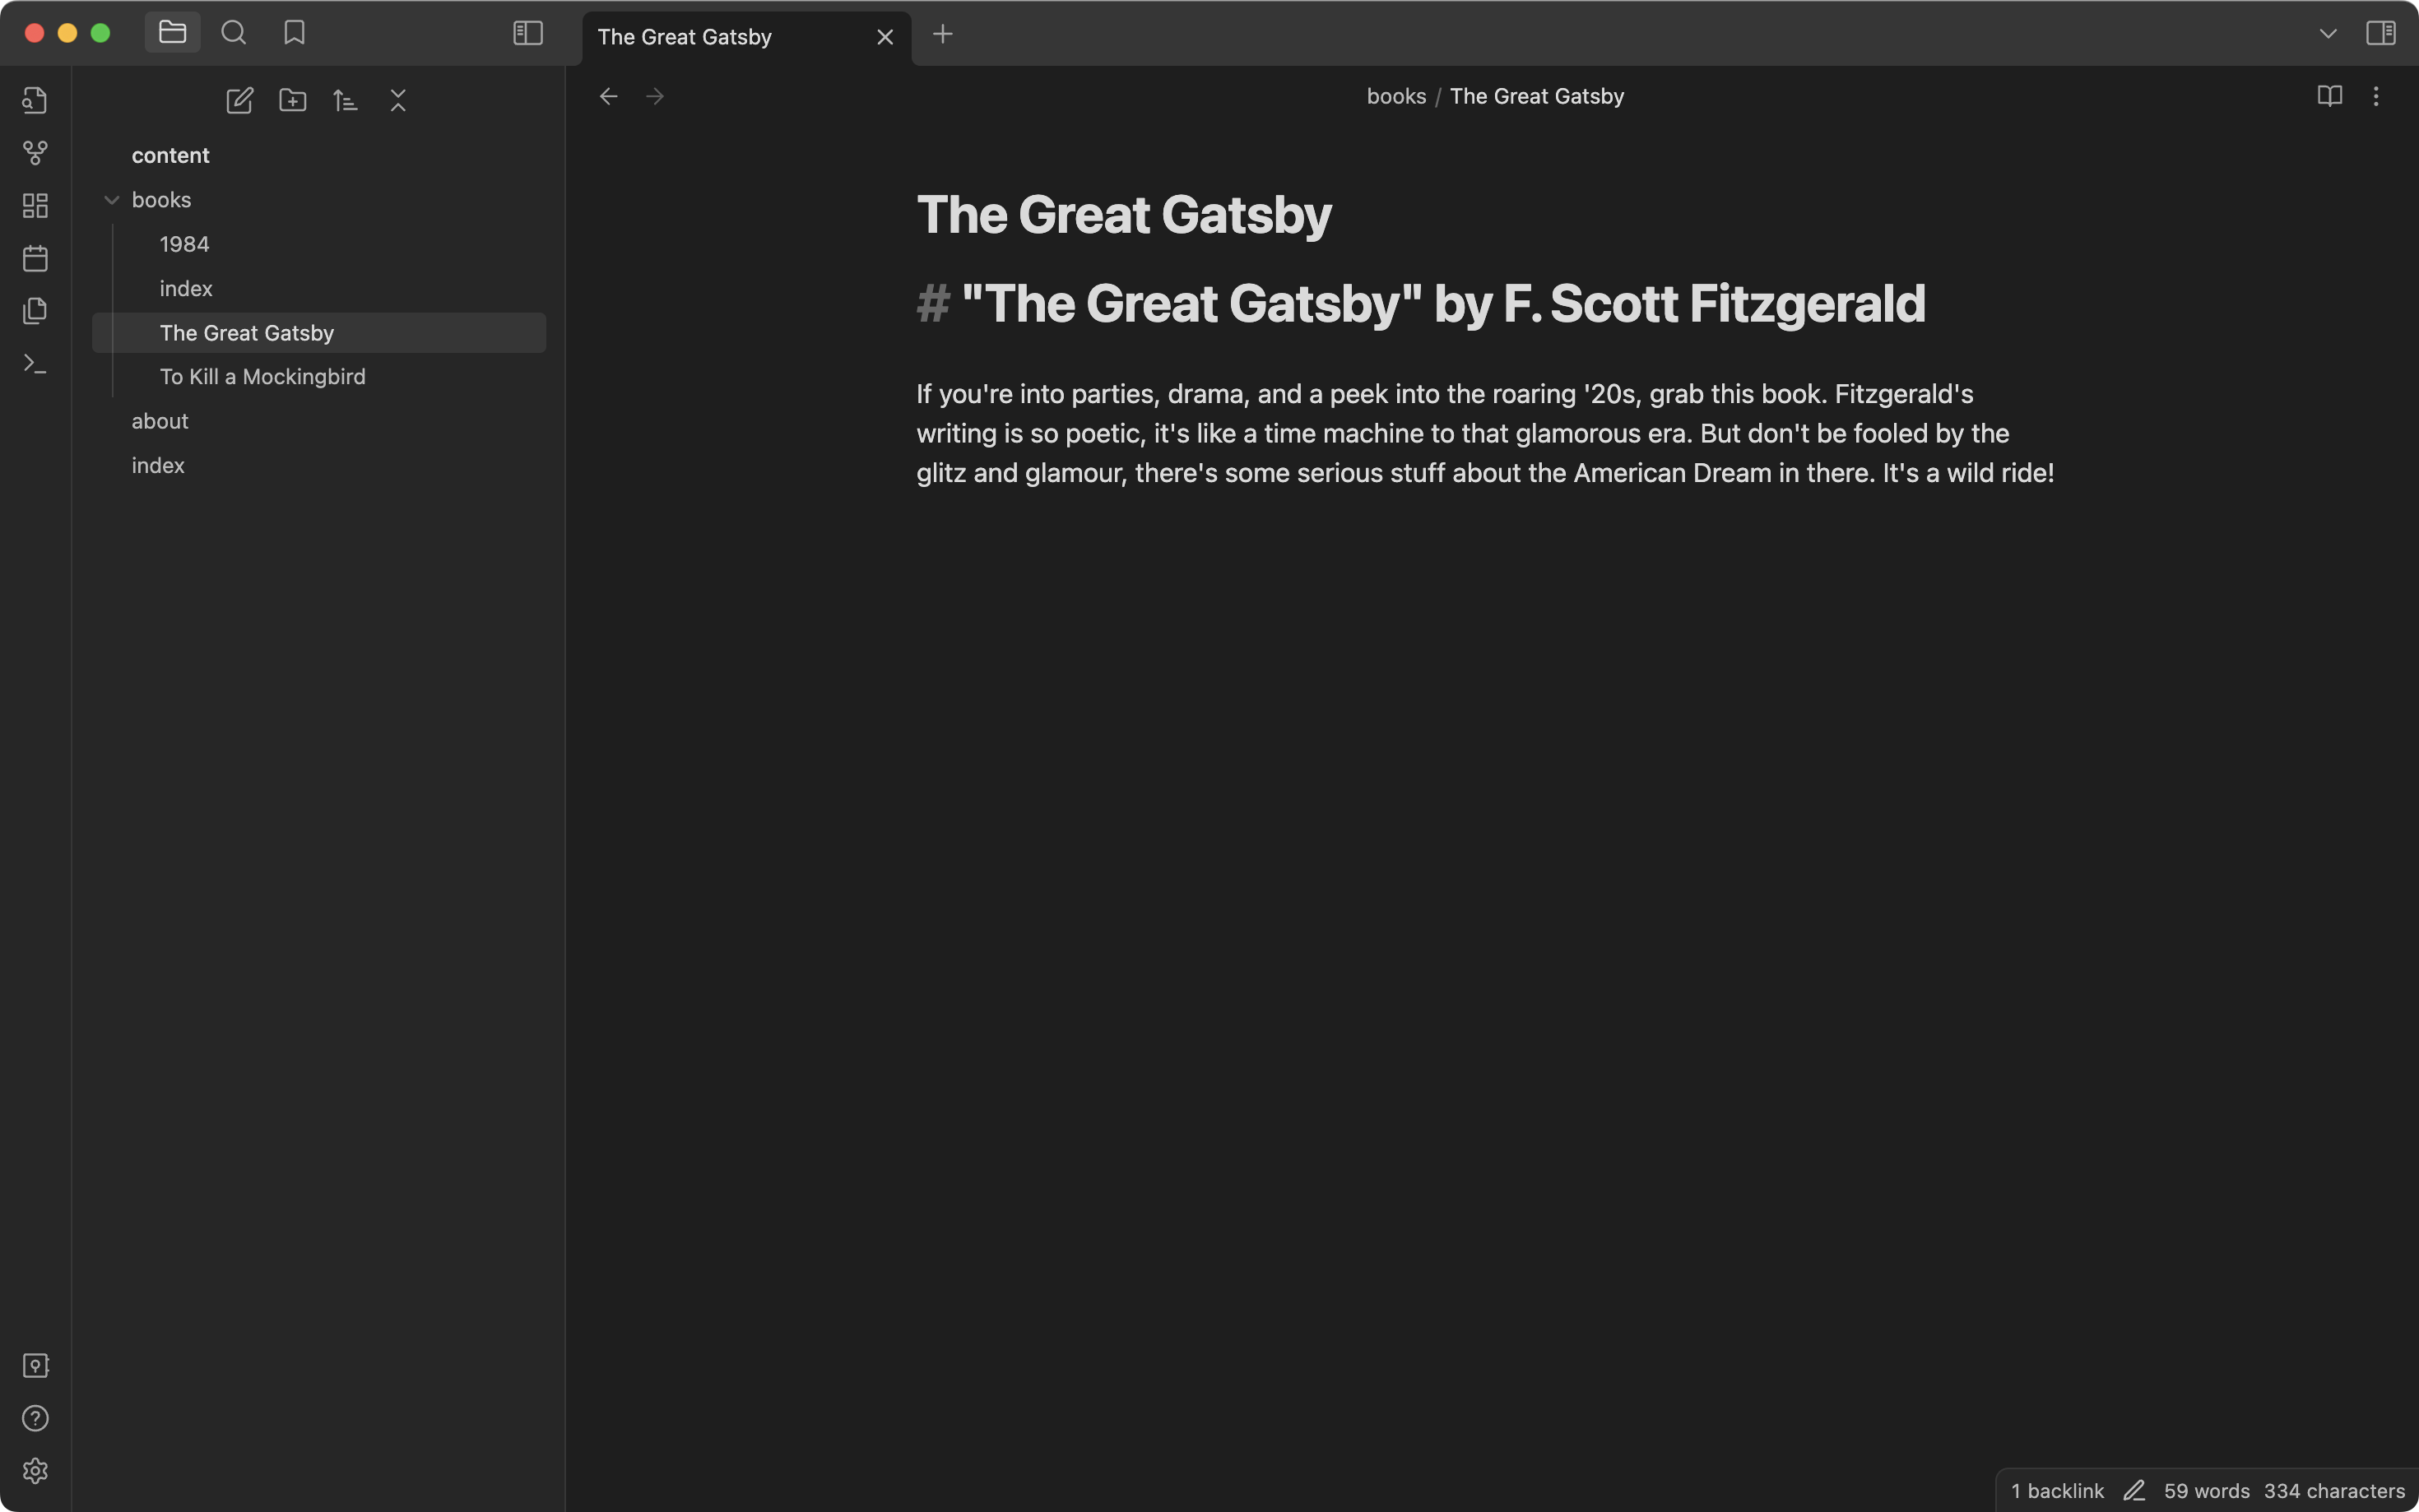
Now, let's write some book reviews. You can do this by right-clicking on the /books folder, and selecting "New note" option. Rename the newly created Untitled.md file and add some review in it. Then add some other reviews.
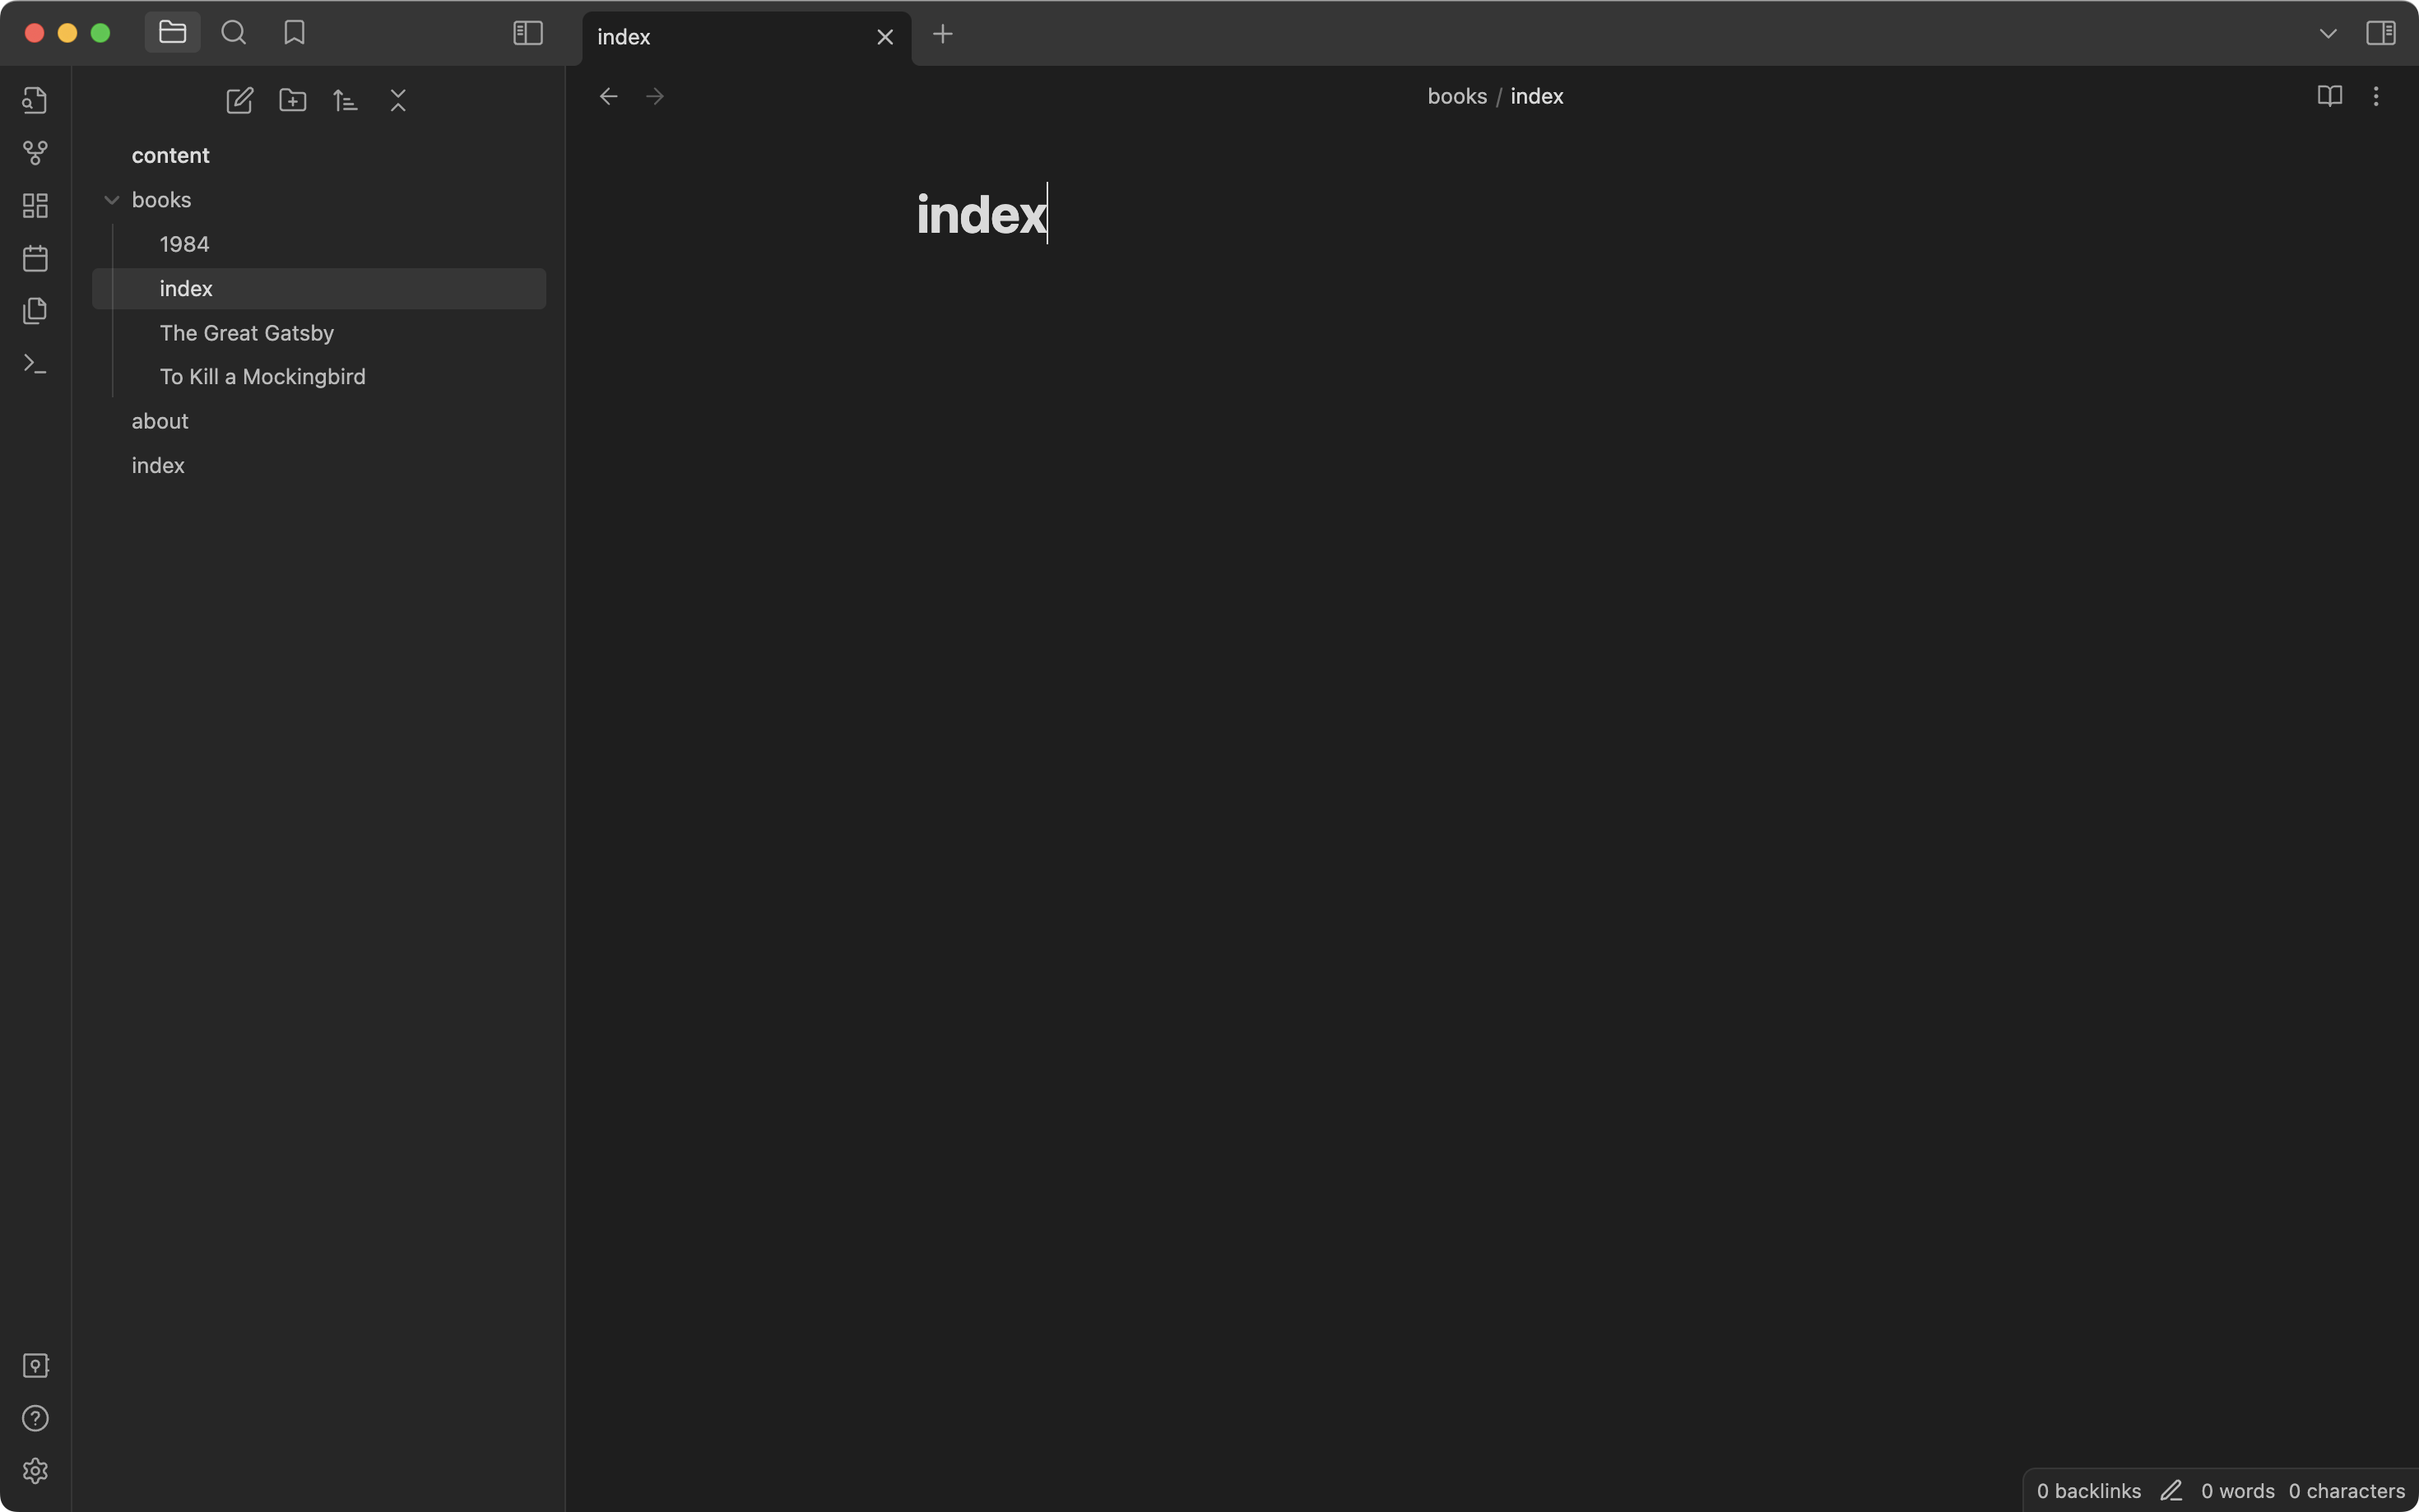
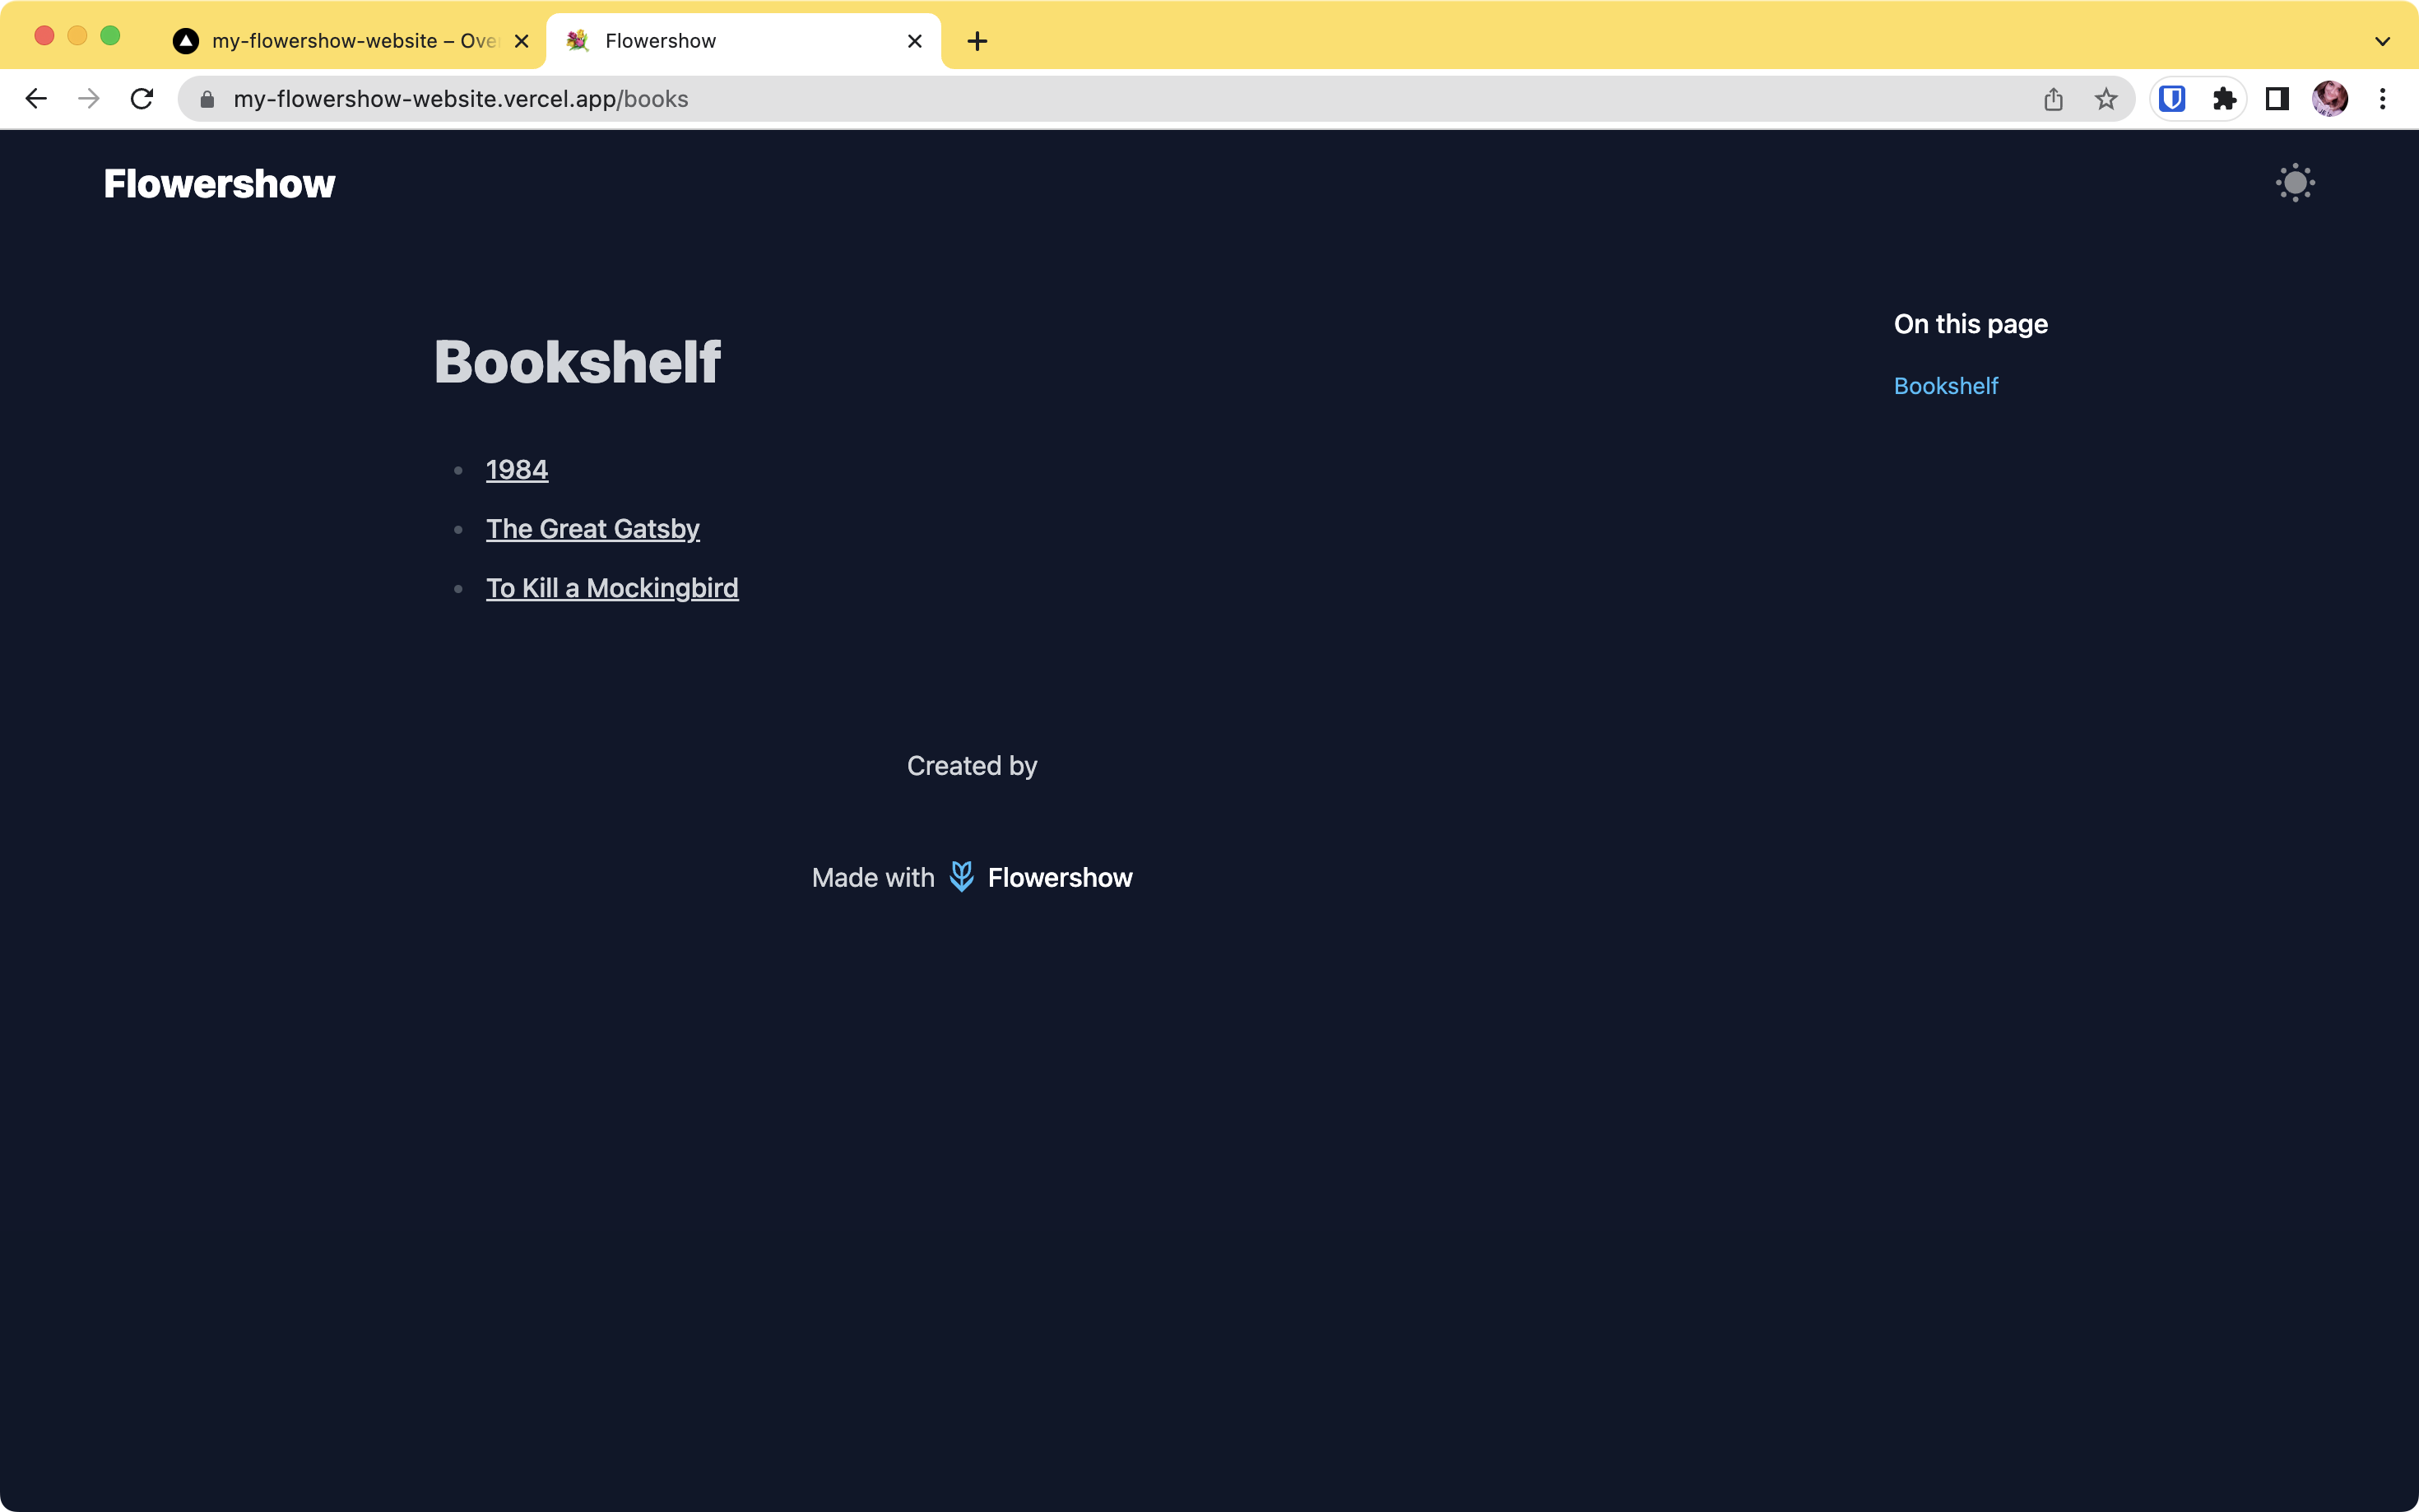
Ok, now let's make a page that will list all your books reviews - our Bookshelf! It would be nice to have it available under /books path on the website, since each of our books will be available under /books/abc. To achieve this, we have to create an index page inside our /books folder, like so:
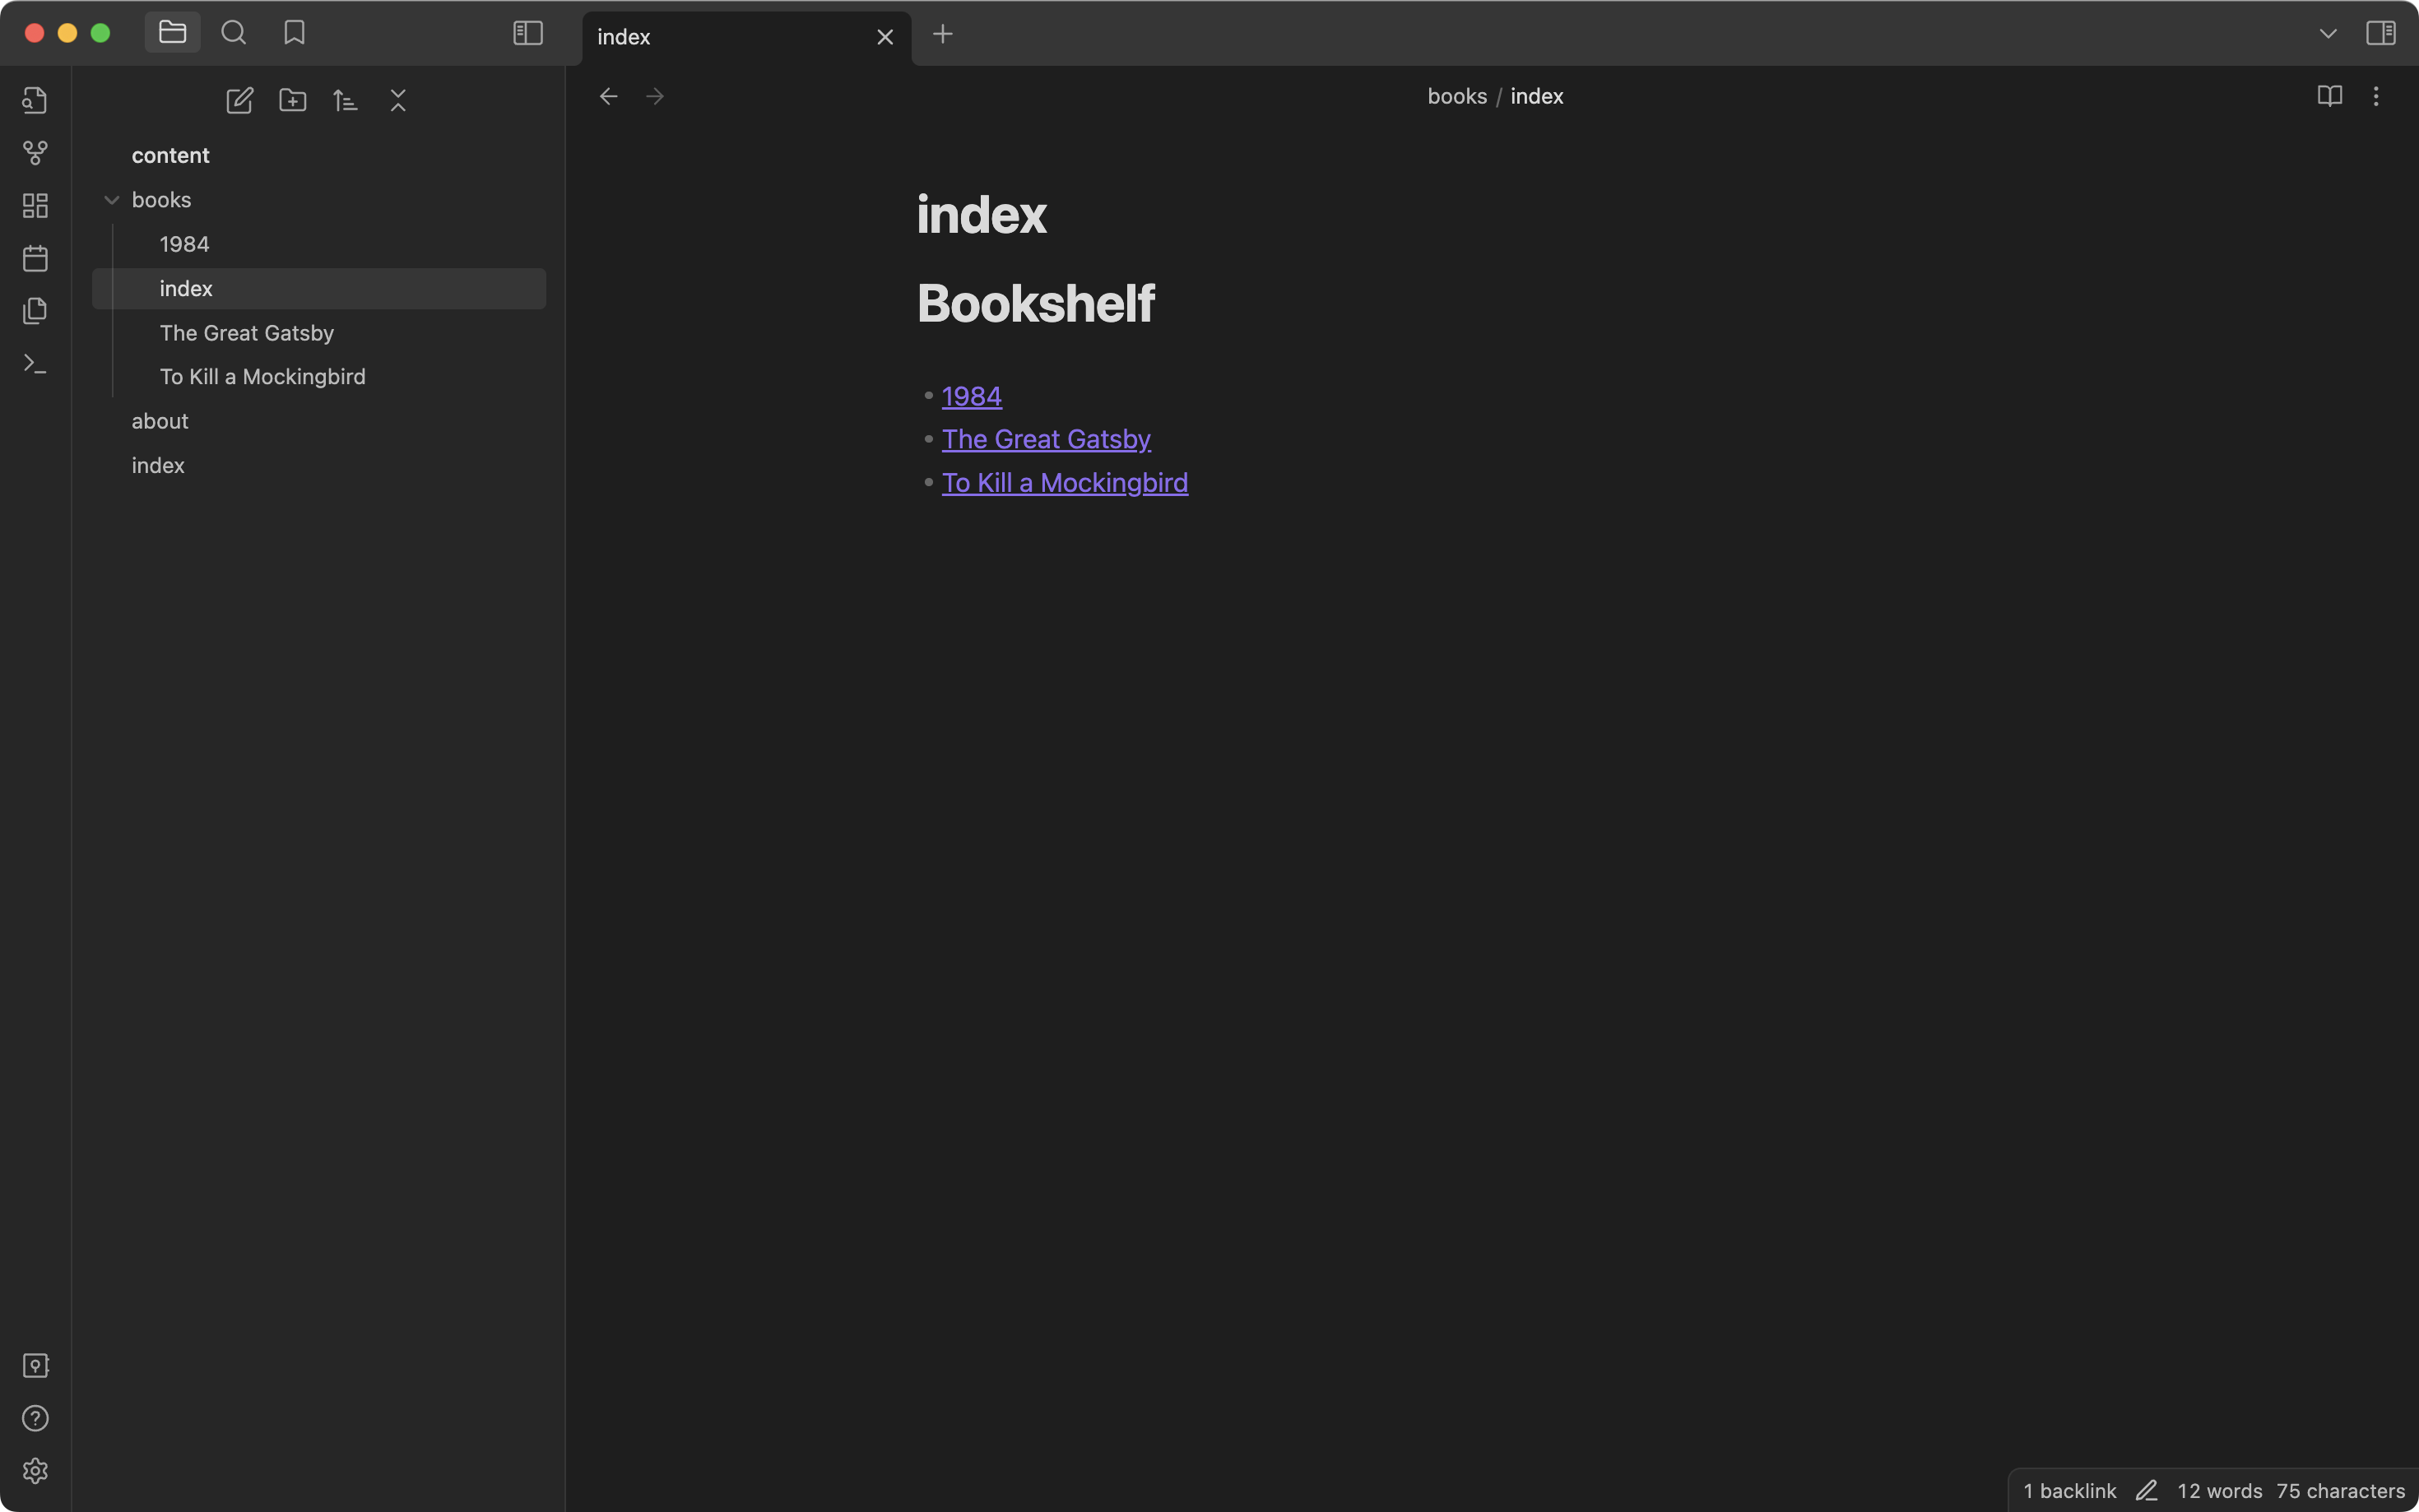
Then, let's list our book reviews with wiki-links to their pages:

Now, let's add a link to our Bookshelf page on our home page, so that it's easy to find.
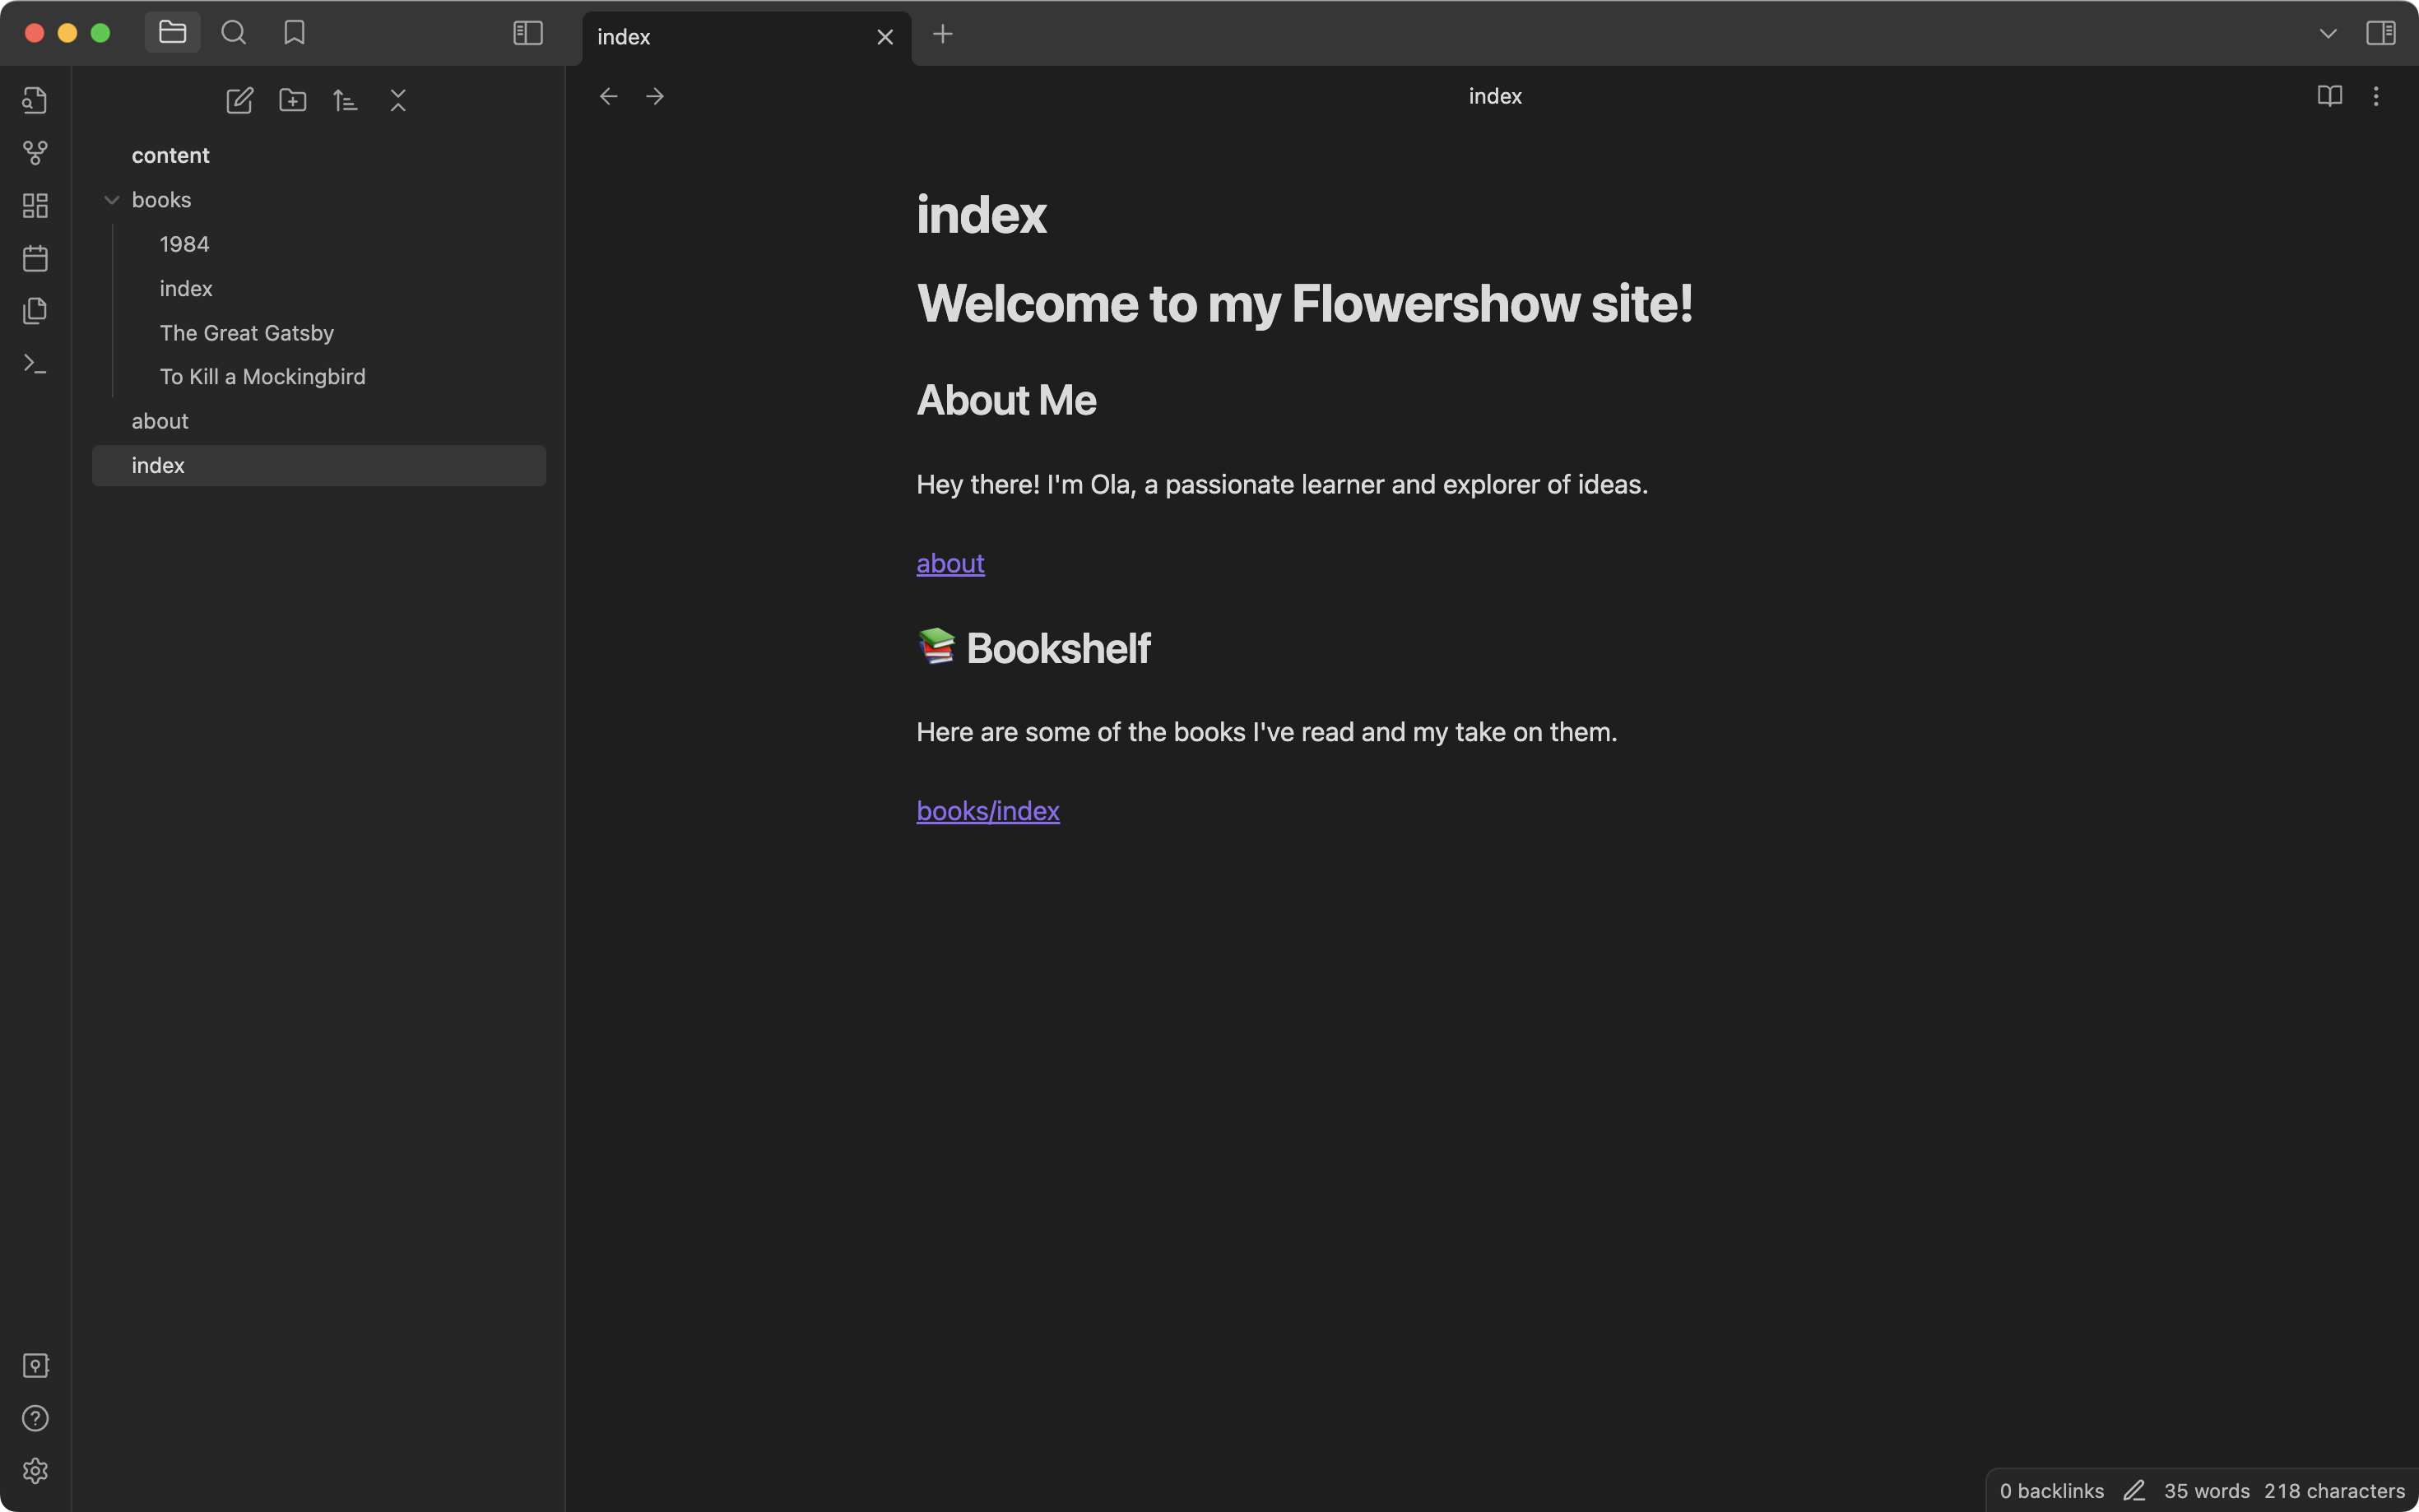
Now, if you want to have your link say something different than the raw books/index, you can do this by typing | after the path and specifying an alternative name, .e.g:
[[books/index|Bookshelf]]
Let's also do this for the about page:
[[about|About me]]

That's better!
Now, let's maybe add a short info at the bottom, that this site is new and is currently being worked on, in form of an Obsidian callout:
> [!info]
> 🚧 This site it pretty new and I'm enhancing it every day. Stay tuned!
Great, our updated site is ready to be published! 🔥
Save and publish your changes
1. Navigate to GitHub Desktop app
In the "Changes" tab, you'll see all the changes that have been made to the repository.
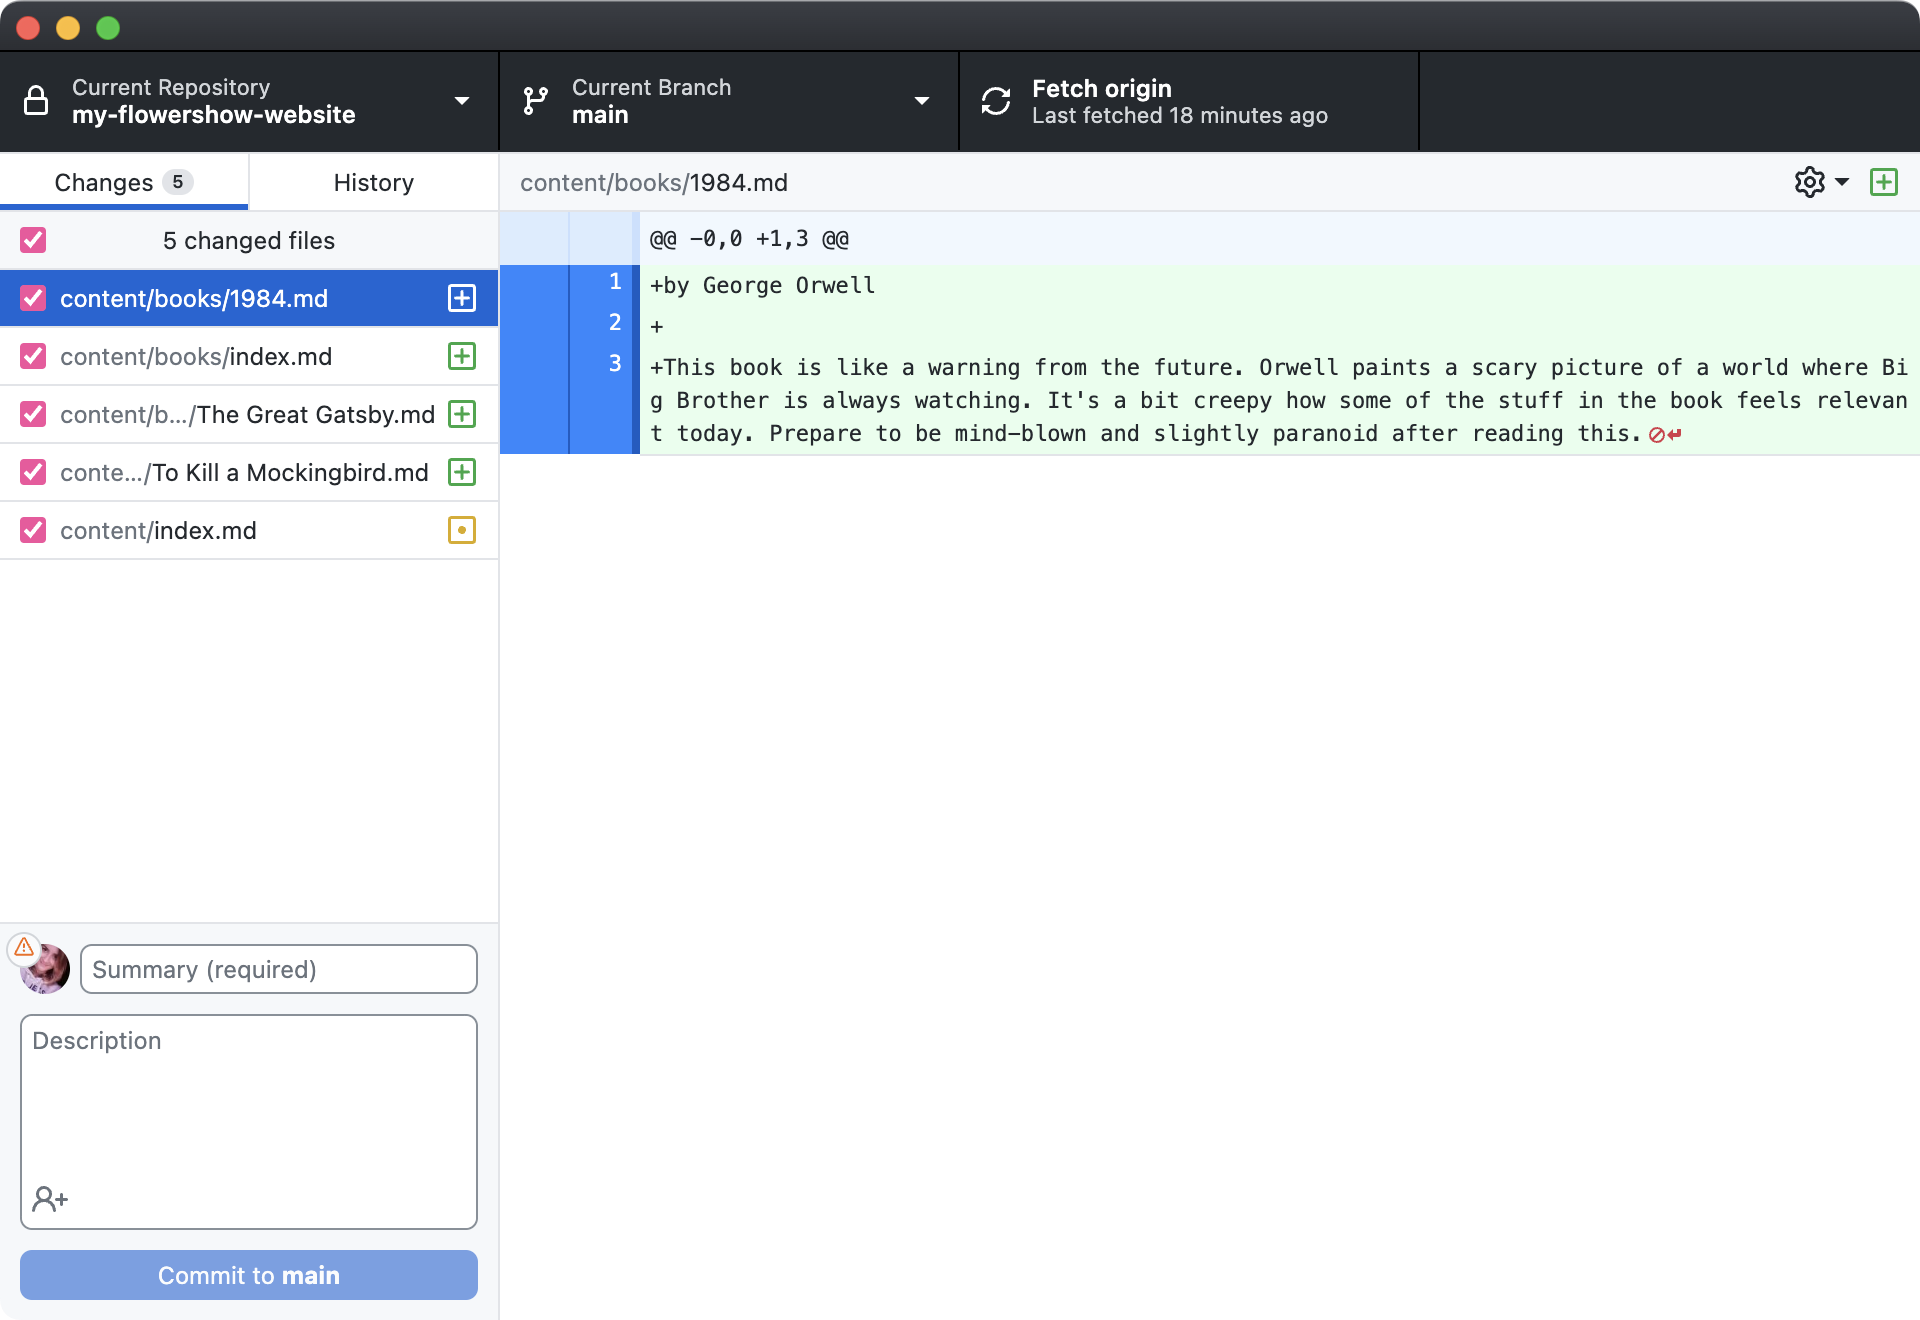
All the new files will have [+] sign next to them, and all the edited files will have [•].
2. Commit your changes
Now, to save these changes we need to "commit" them, which is a fancy term for making a checkpoint of the state at which your repository is currently in.
Let's make this checkpoint! In the bottom left corner there is a "Summary (required)" field, which is the place for a commit message - a concise description of the changes you made. The "Description" field is optional, and it's only needed if you need to add some more information about your changes that doesn't fit in the commit message.
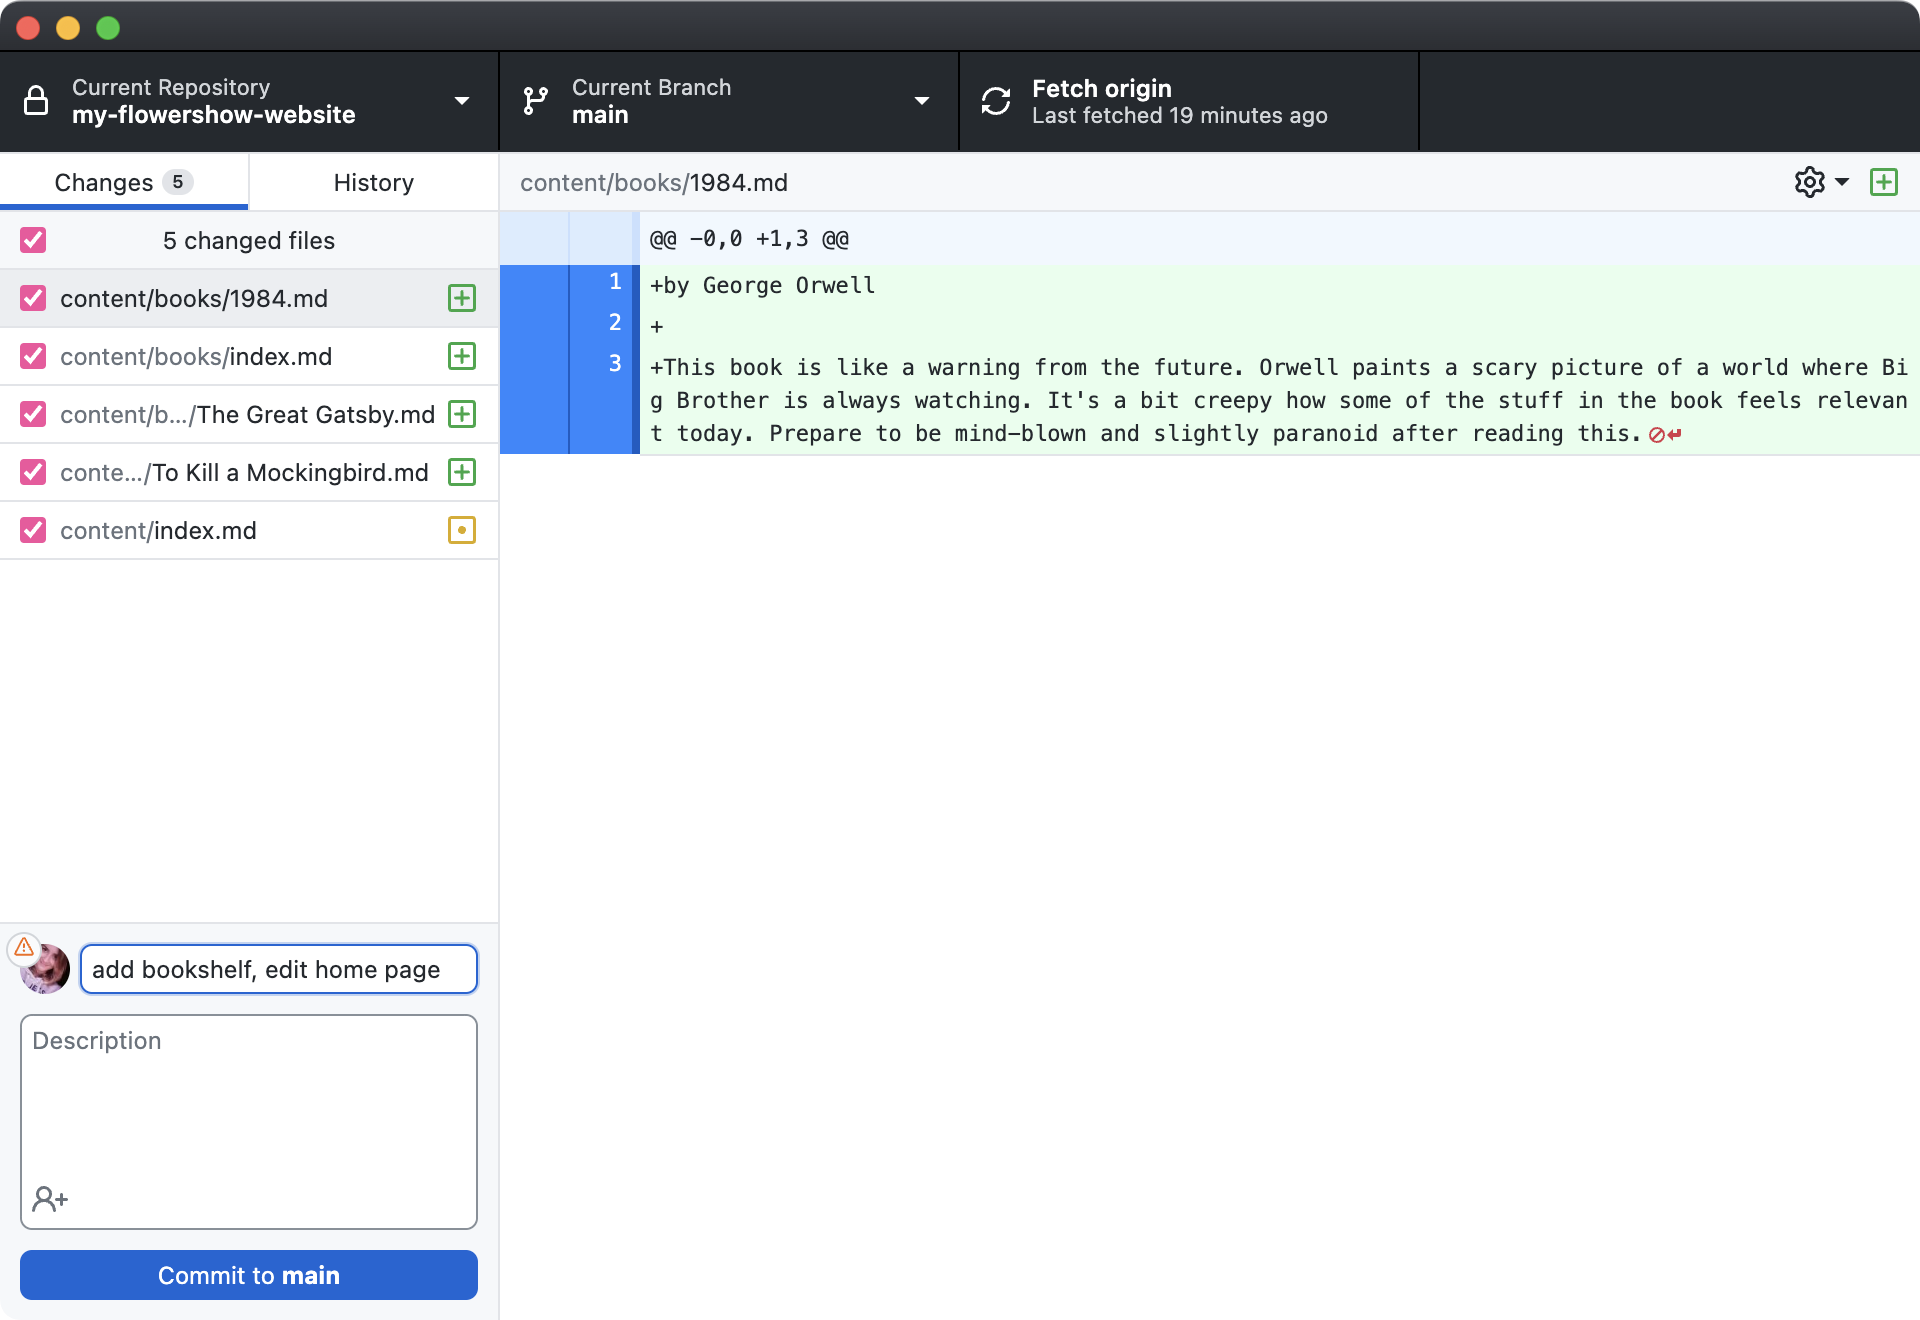
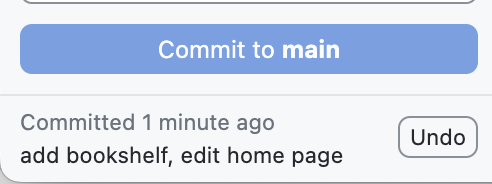
Now, hit the "Commit to main" button, and done! Now GitHub Desktop should say there are no local changes again. And that's correct, as all the changes we made have successfully been saved, and no other changes have been made since then.
You should see the last commit message under the button:
You can also inspect the whole history of past commits in the "History tab".
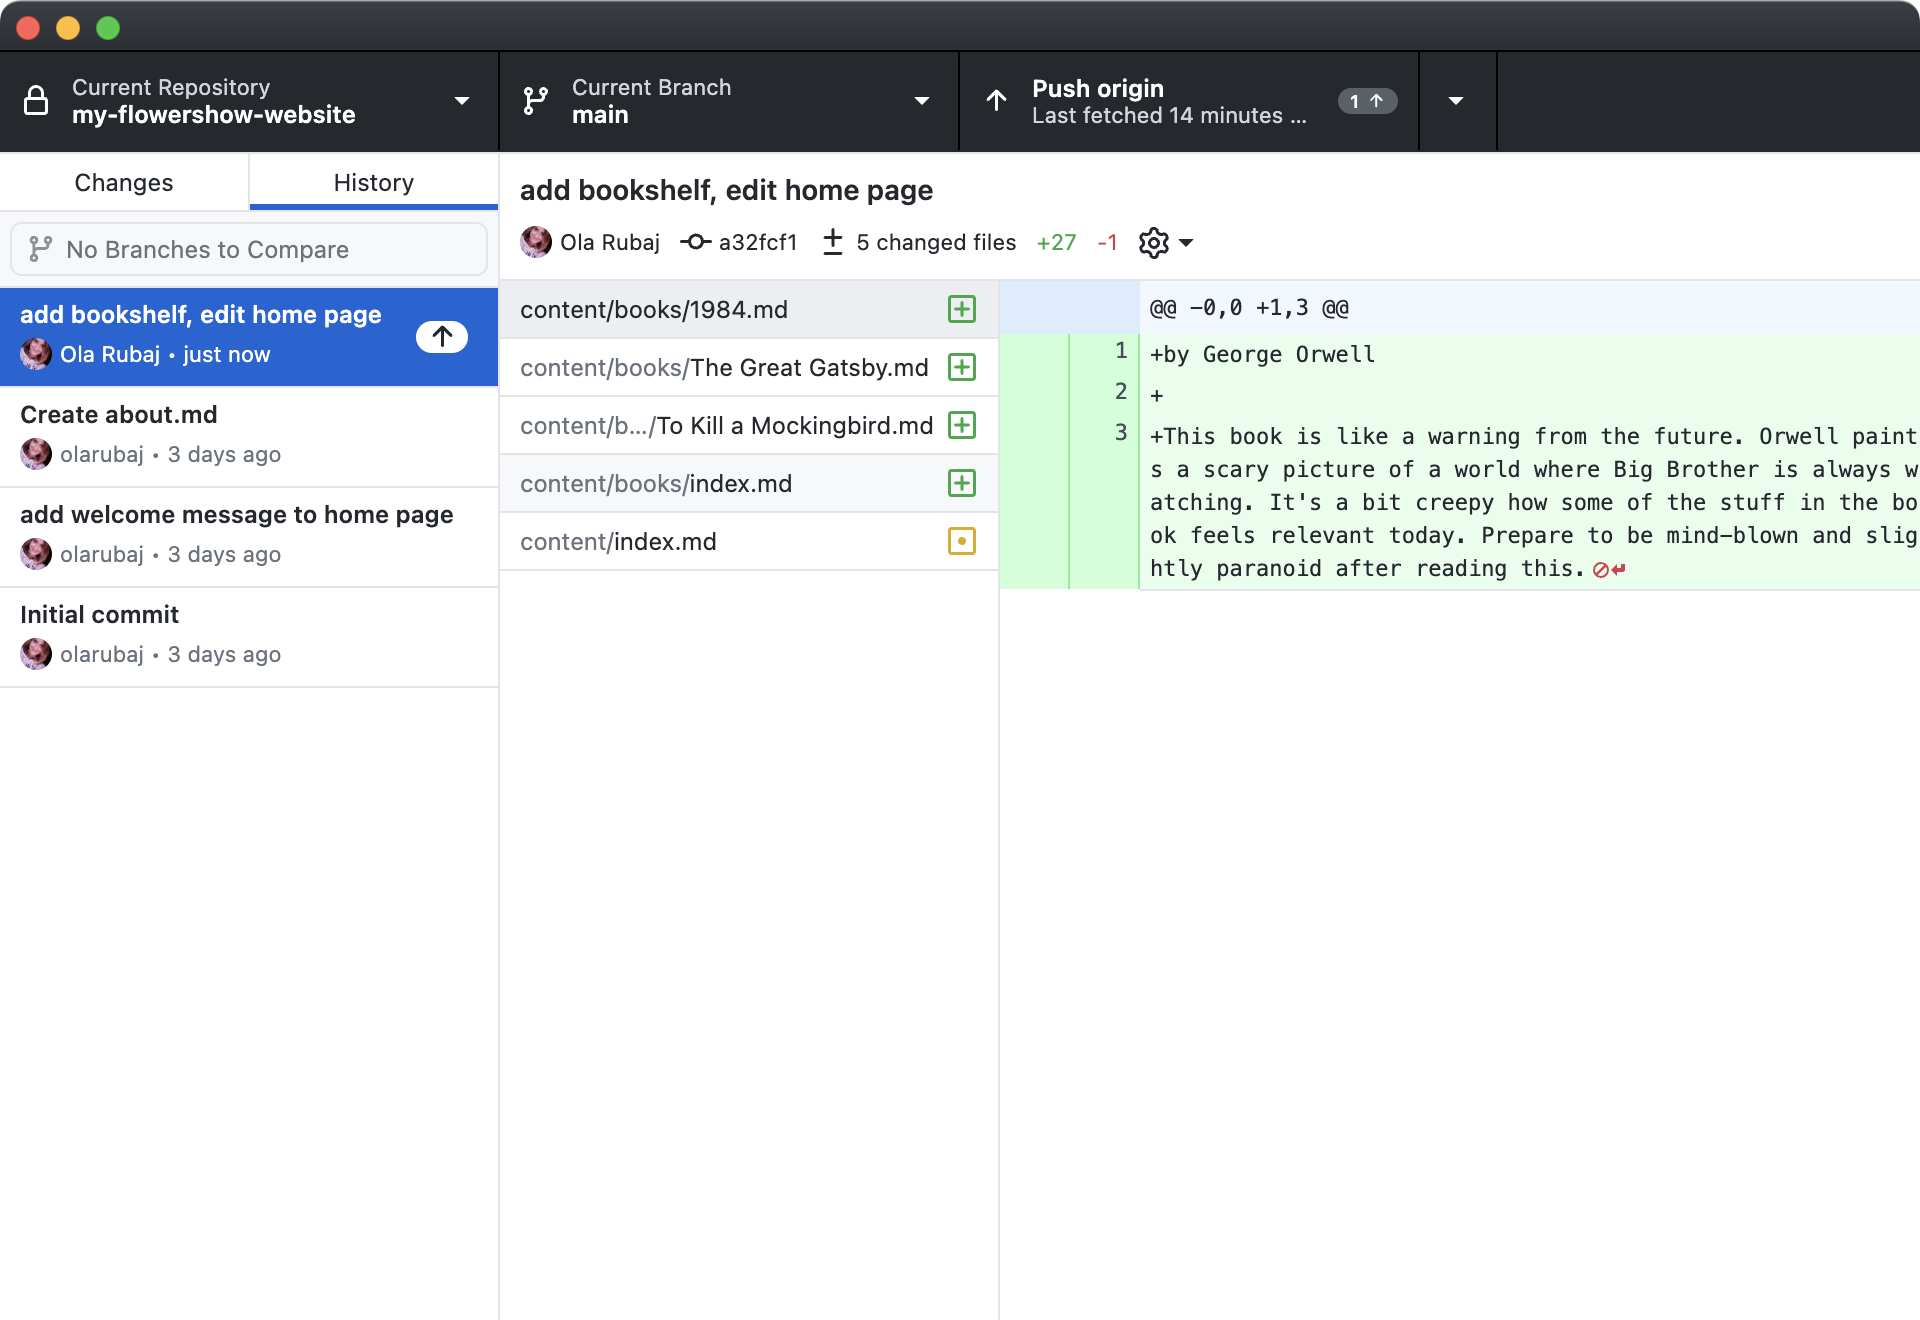
The very fist commit on top is the commit we've just made, but you can also see all the commits to the repository we made in tutorial 1, via GitHub UI.
3. Push your changes to the remote repository
The commit we've just crated has ↑ sign next to it. It means it hasn't yet been pushed to our remote version of the repository - the changes you made has been saved, but only locally on your computer. In order to push them to the cloud copy of the repository (aka "remote"), click "↑ Push origin (1 ↑)" tab.
When the "push" is complete, the arrow next to the last commit message should disappear, and there should be no (1 ) indicator next to "Push origin" button.

4. See updated site live!
Navigate to your vercel dashboard.
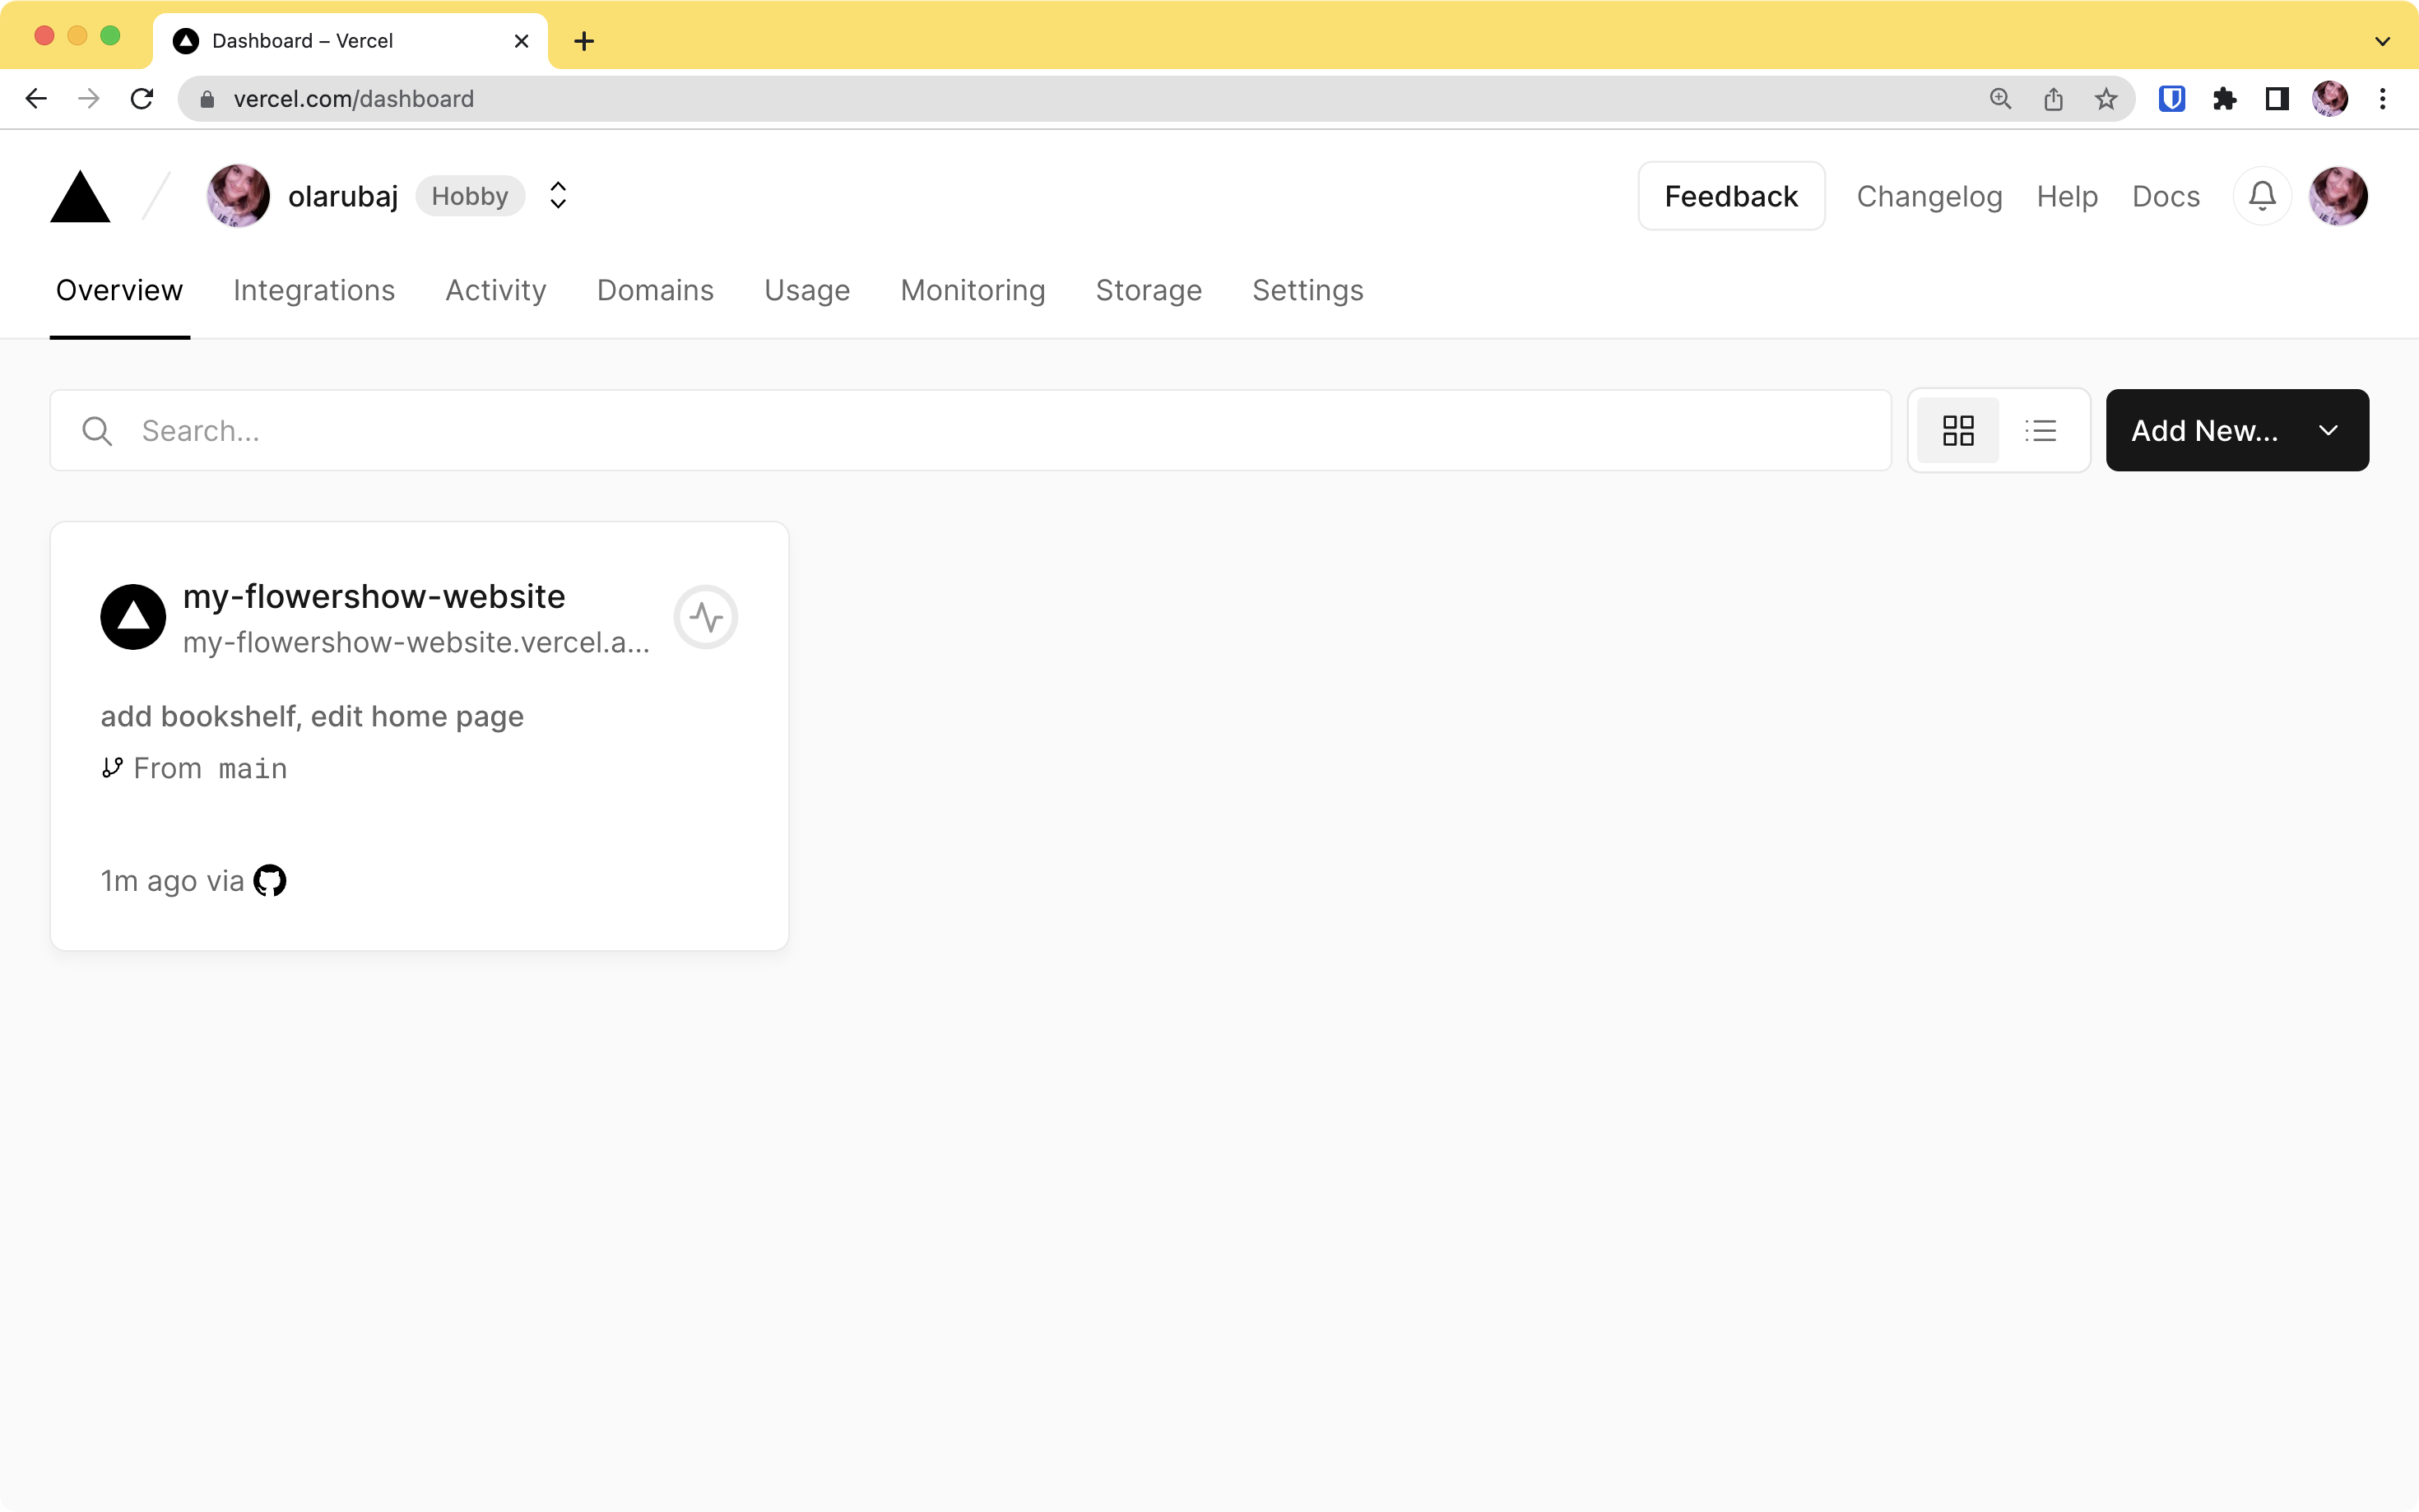
Click on the project repository to go to its dashboard.
You may have to wait a bit until the site builds, but once it's ready, you should see the preview with our latest changes.
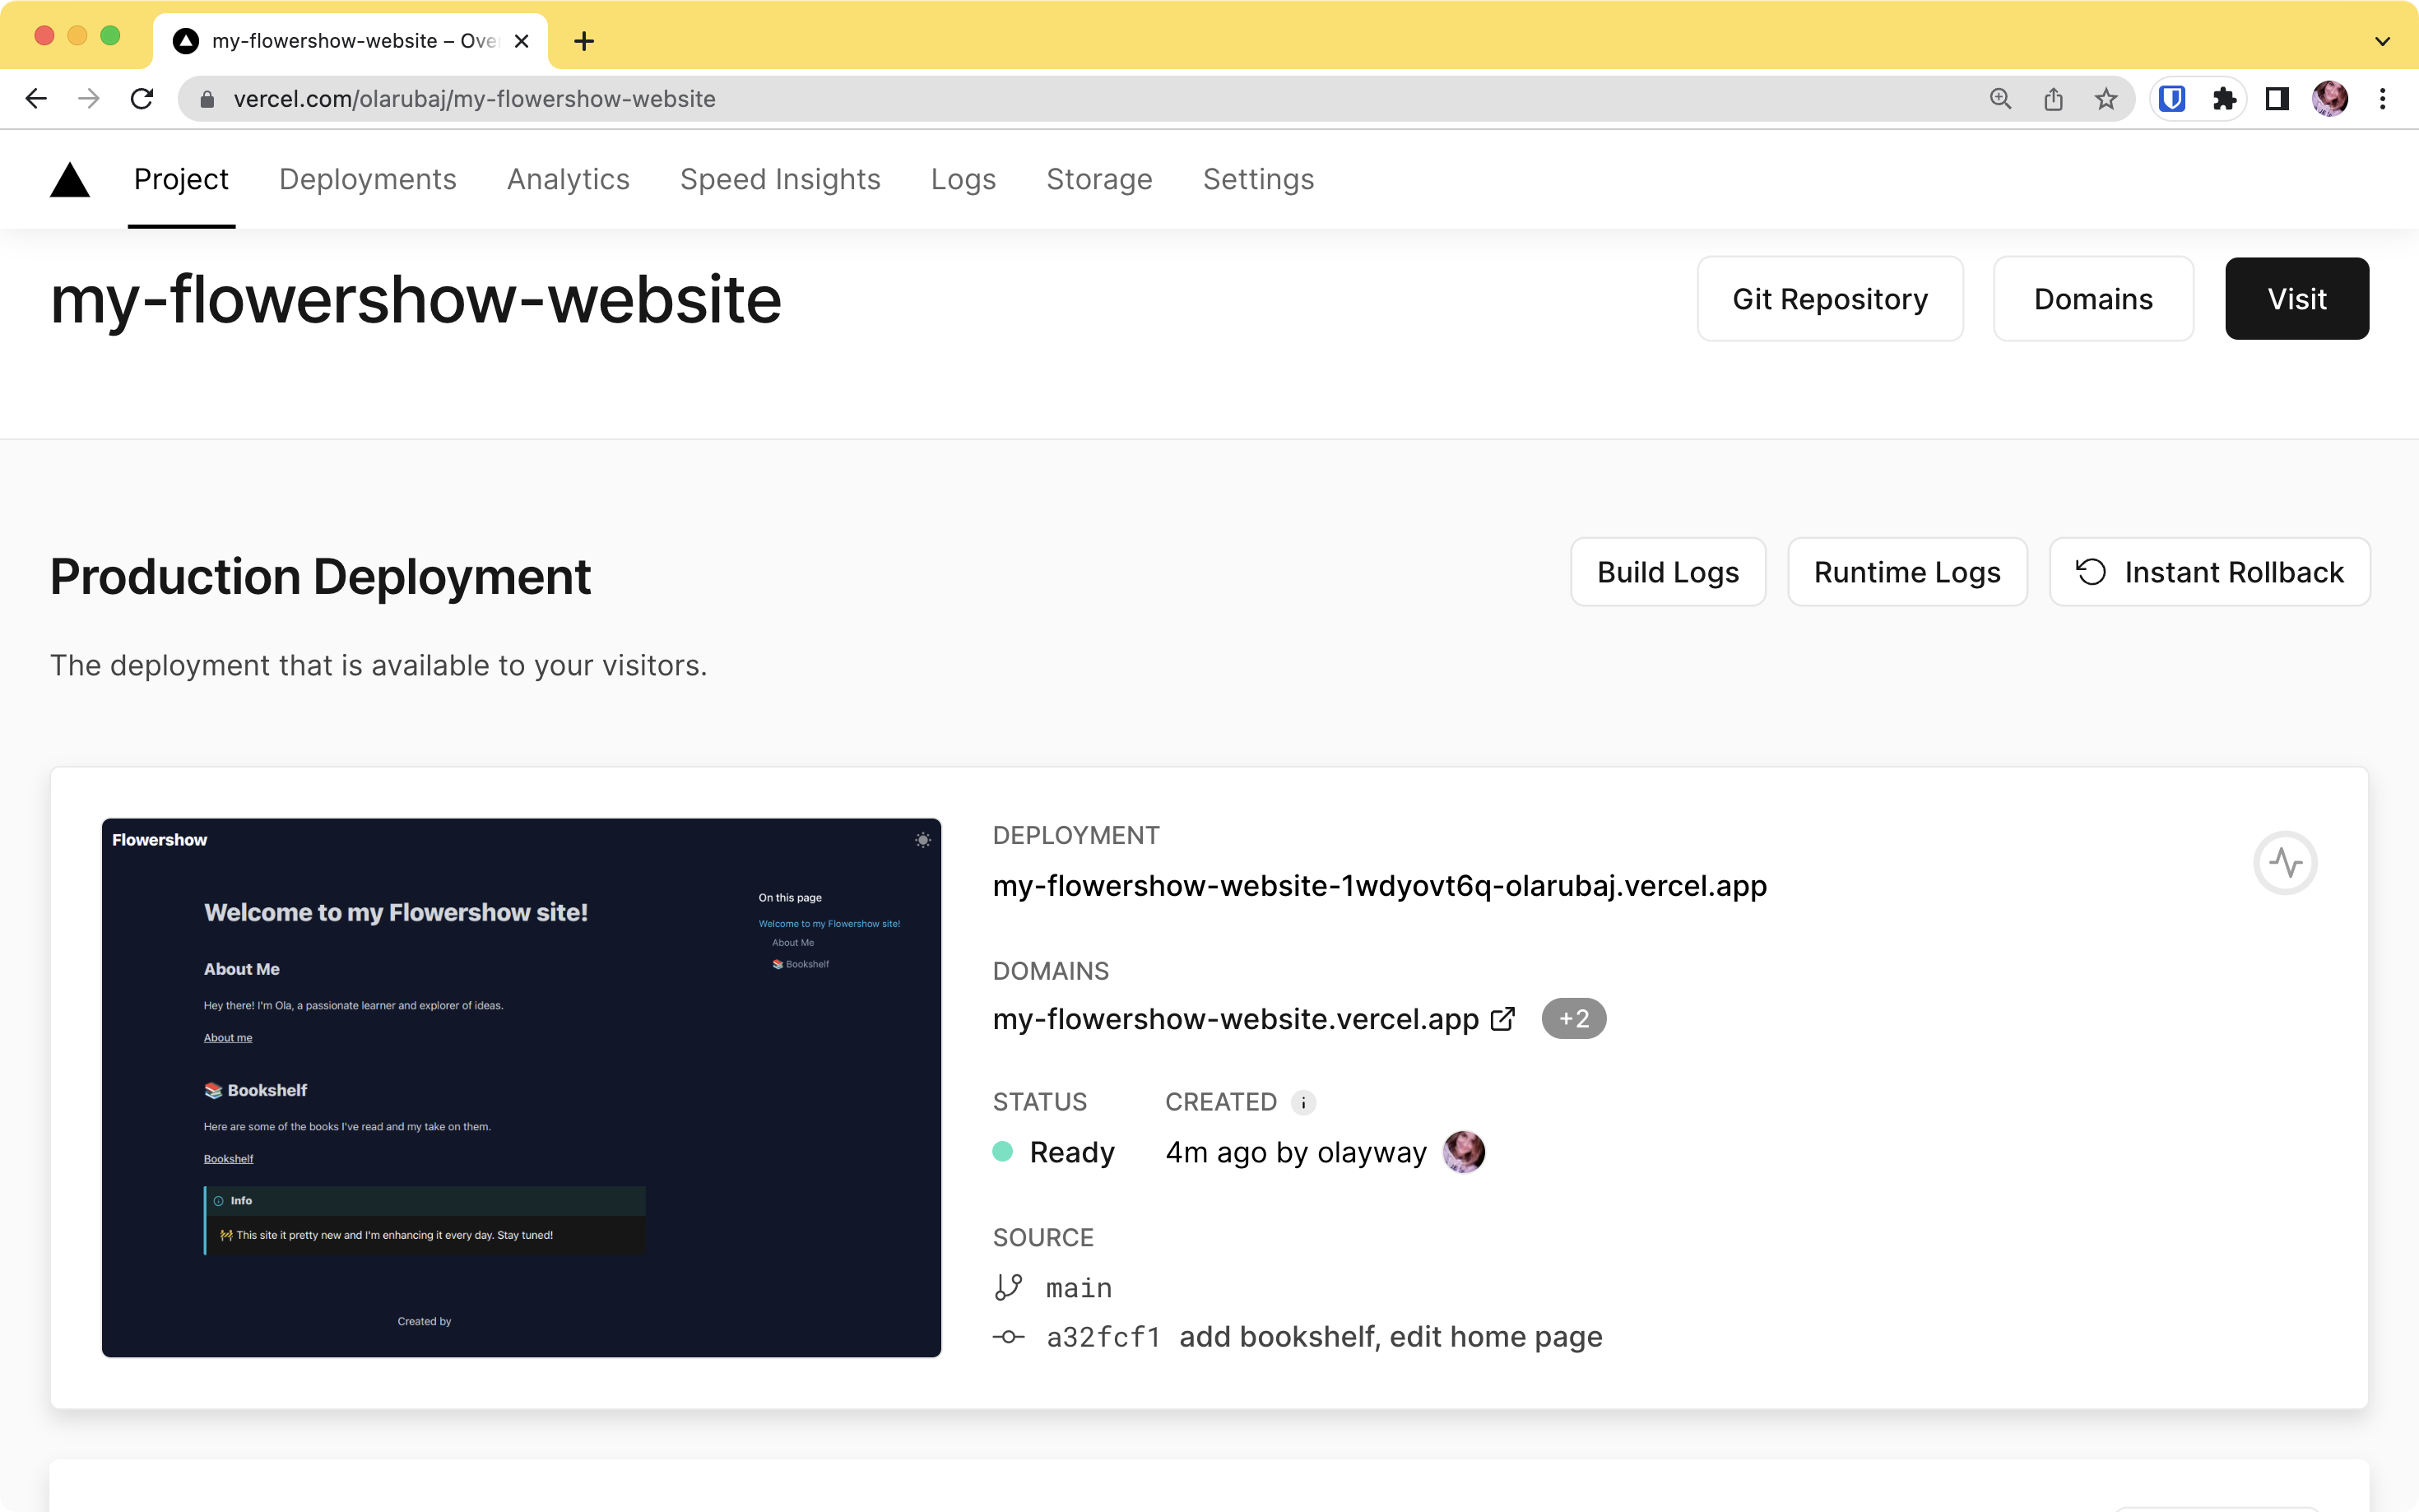
Note, that under "SOURCE" section (next to the preview) there is also our last commit message, indicating that the latest deployment has been triggered by this commit.
Click on the preview to see the updated site live!
Congratulations!
You have successfully completed the tutorial on editing your Flowershow website locally on your computer. By utilising Obsidian and GitHub Desktop, you have unlocked powerful editing capabilities and improved the overall publishing process. Now, you can enjoy the benefits of offline editing, simultaneous file editing, and previewing the extended Markdown syntax provided by Obsidian.