Markdown-based Websites
Create markdown-based website, update it, add collaborators and discover markdown superpowers
Tutorials
Tutorial 1: Create a website from scratch using markdown and PortalJS
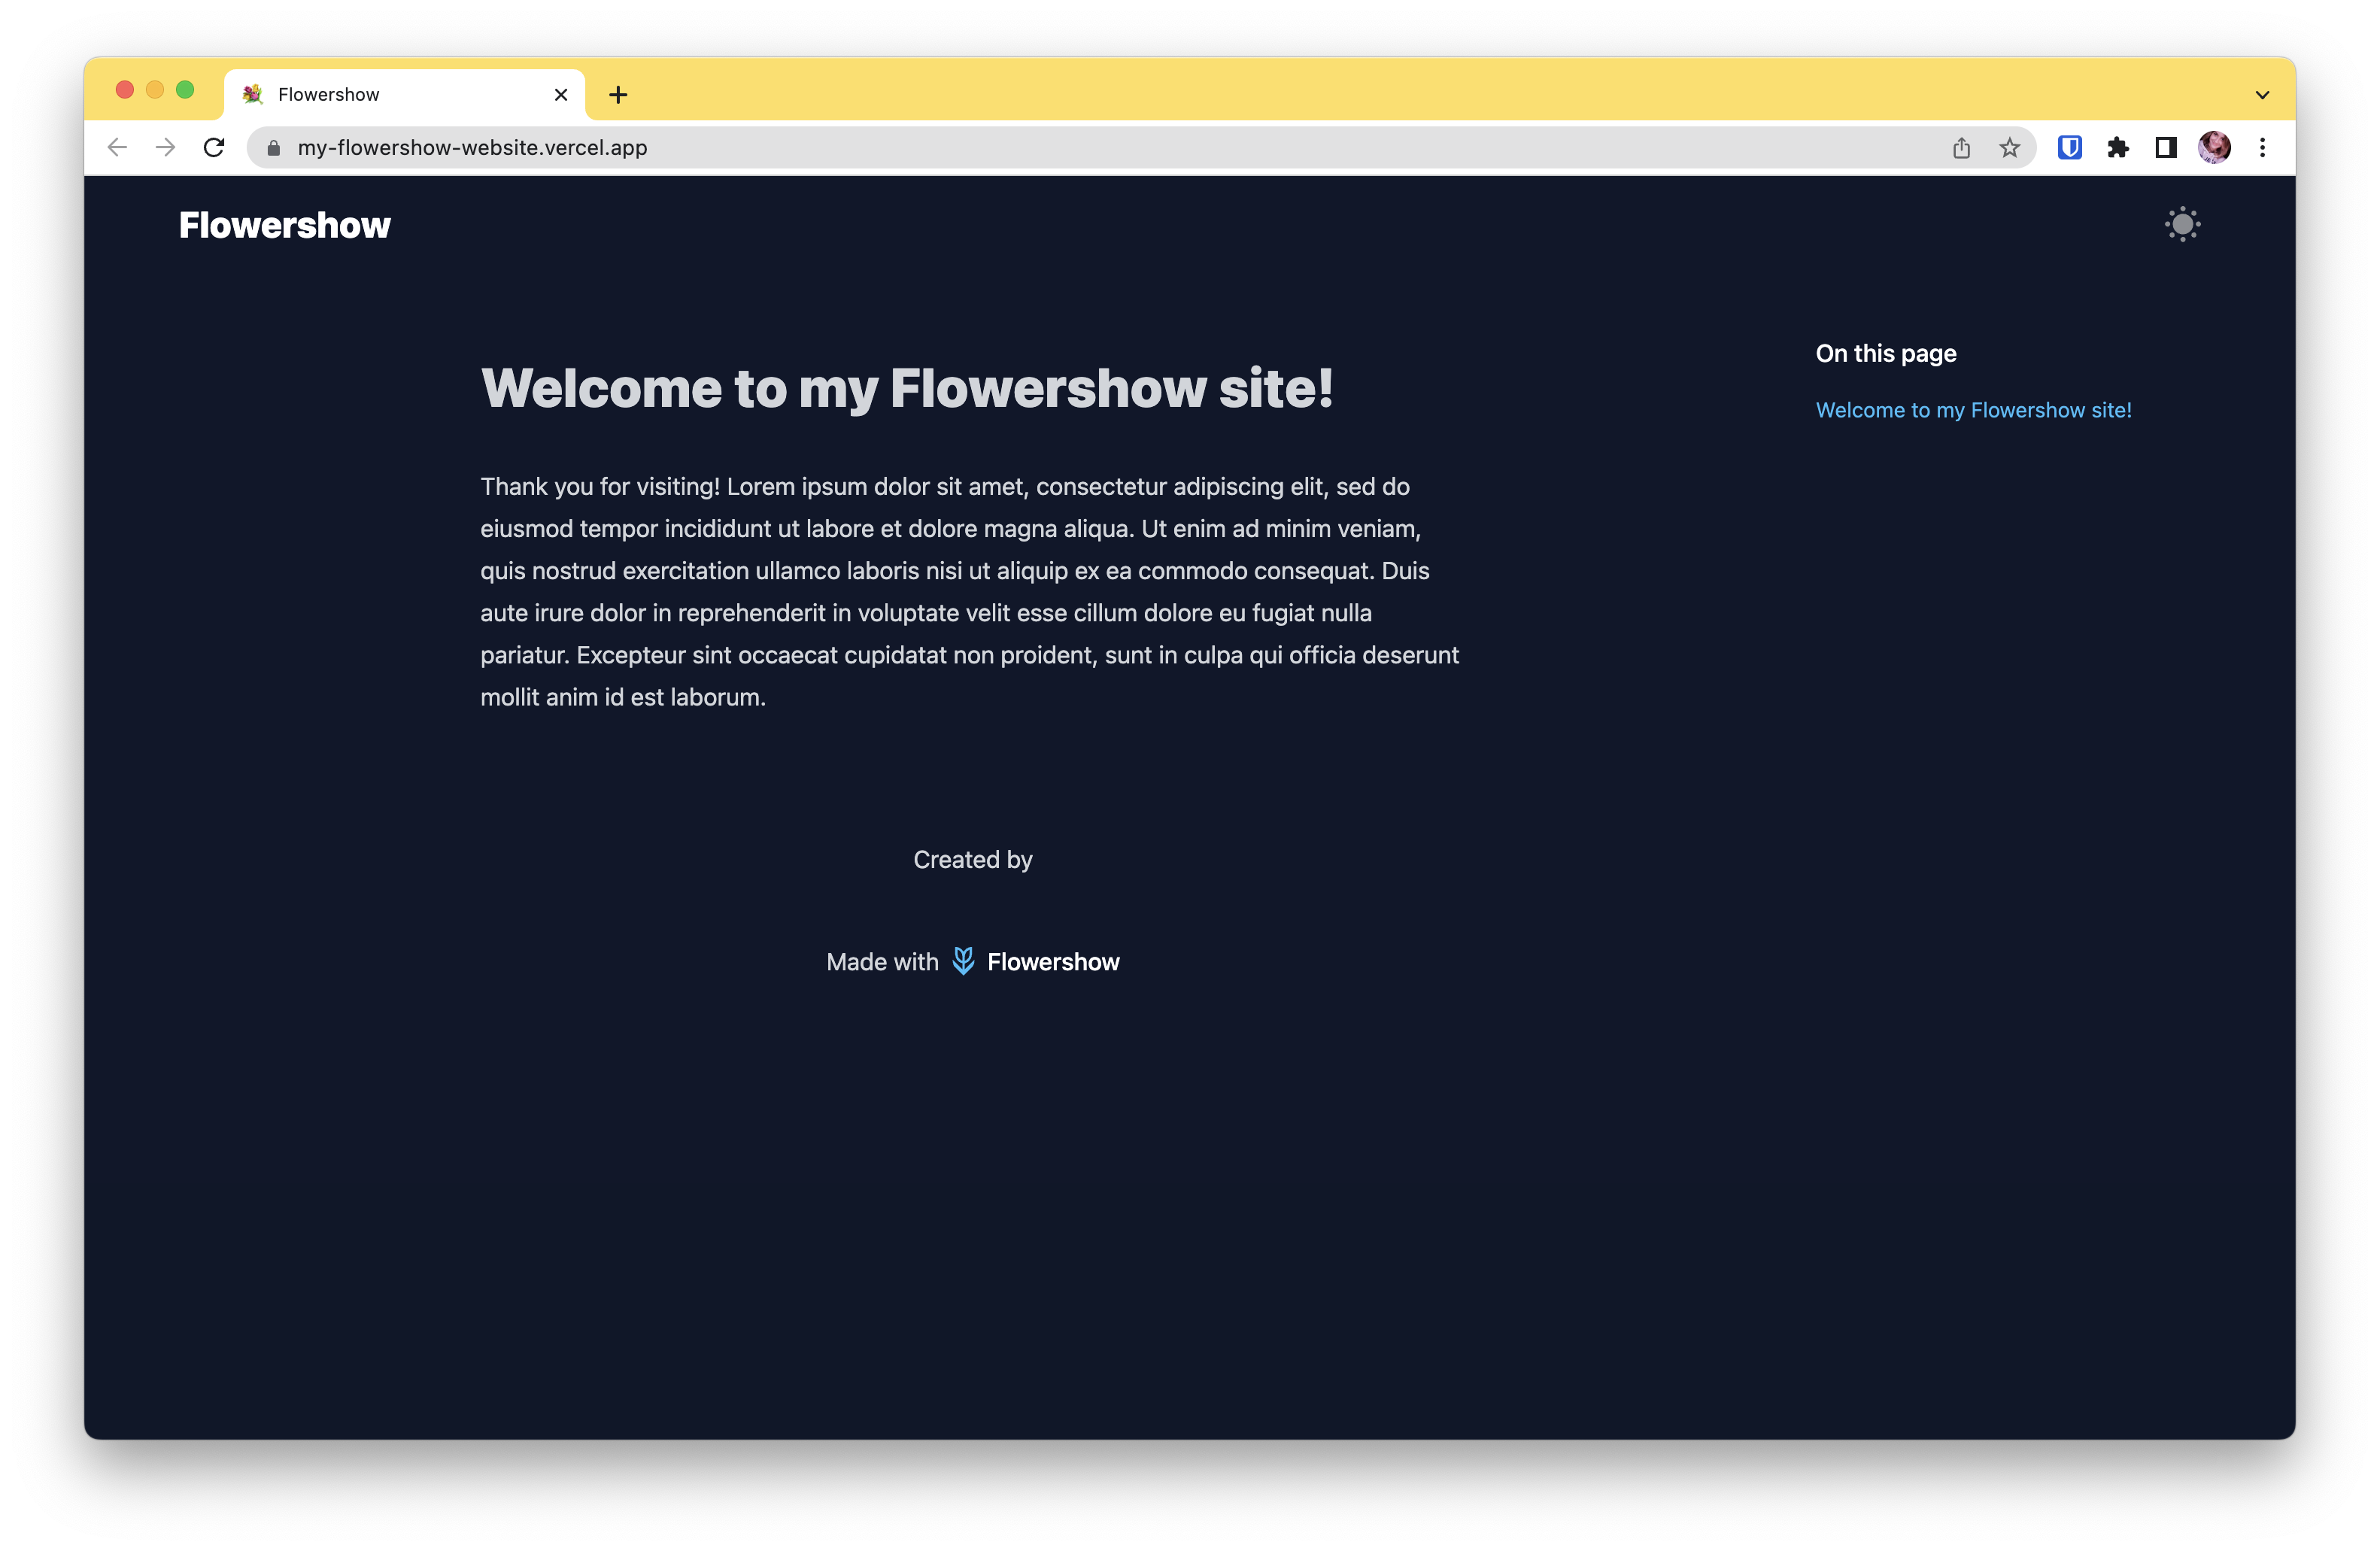
In this tutorial we will walk you through creating an elegant, fully functional website written in simple markdown and published with PortalJS.
By the end of this tutorial you will:
- have a working markdown-based website powered by PortalJS.
- be able to edit the text and add pages, all from an online interface without installing anything.
Below is a screenshot of how the final website will look like:
Setup a sandbox website including live publishing
- Prerequisites: sign up for GitHub and Vercel
- Navigate to datopian/flowershow repository
- Click on "Deploy"
- Let the site build on Vercel
- Visit the site! Yay! Your site is working! 🎉
Now, let's edit the front page
- Navigate to
content/index.mdfile in the site repository - Add some text to it
- Save and watch the site redeploy
- Visit the site! Yay! Your changes are live! 🎉
Let's add a page: e.g. about page
- Navigate to the
contentfolder in the site repository - Add
about.mdfile with some text - Save and watch the site redeploy
- Visit the site! Yay! Your changes are live! 🎉
TipRead full tutorial here!
Tutorial 2: Editing your site locally on your computer
In this tutorial, we will walk you through the process of editing your Flowershow website locally on your computer.
By the end of this tutorial, you will:
- Understand what is Markdown and why you should use Obsidian to edit content on your Flowershow websites in most cases.
- Gain a deeper understanding of working with Git and GitHub Desktop.
- Learn how to clone your website's repository to your computer.
- Learn how to edit content using Obsidian and what are the benefits of it.
- Learn how to commit (save) your changes locally and push them back to the GitHub repository.
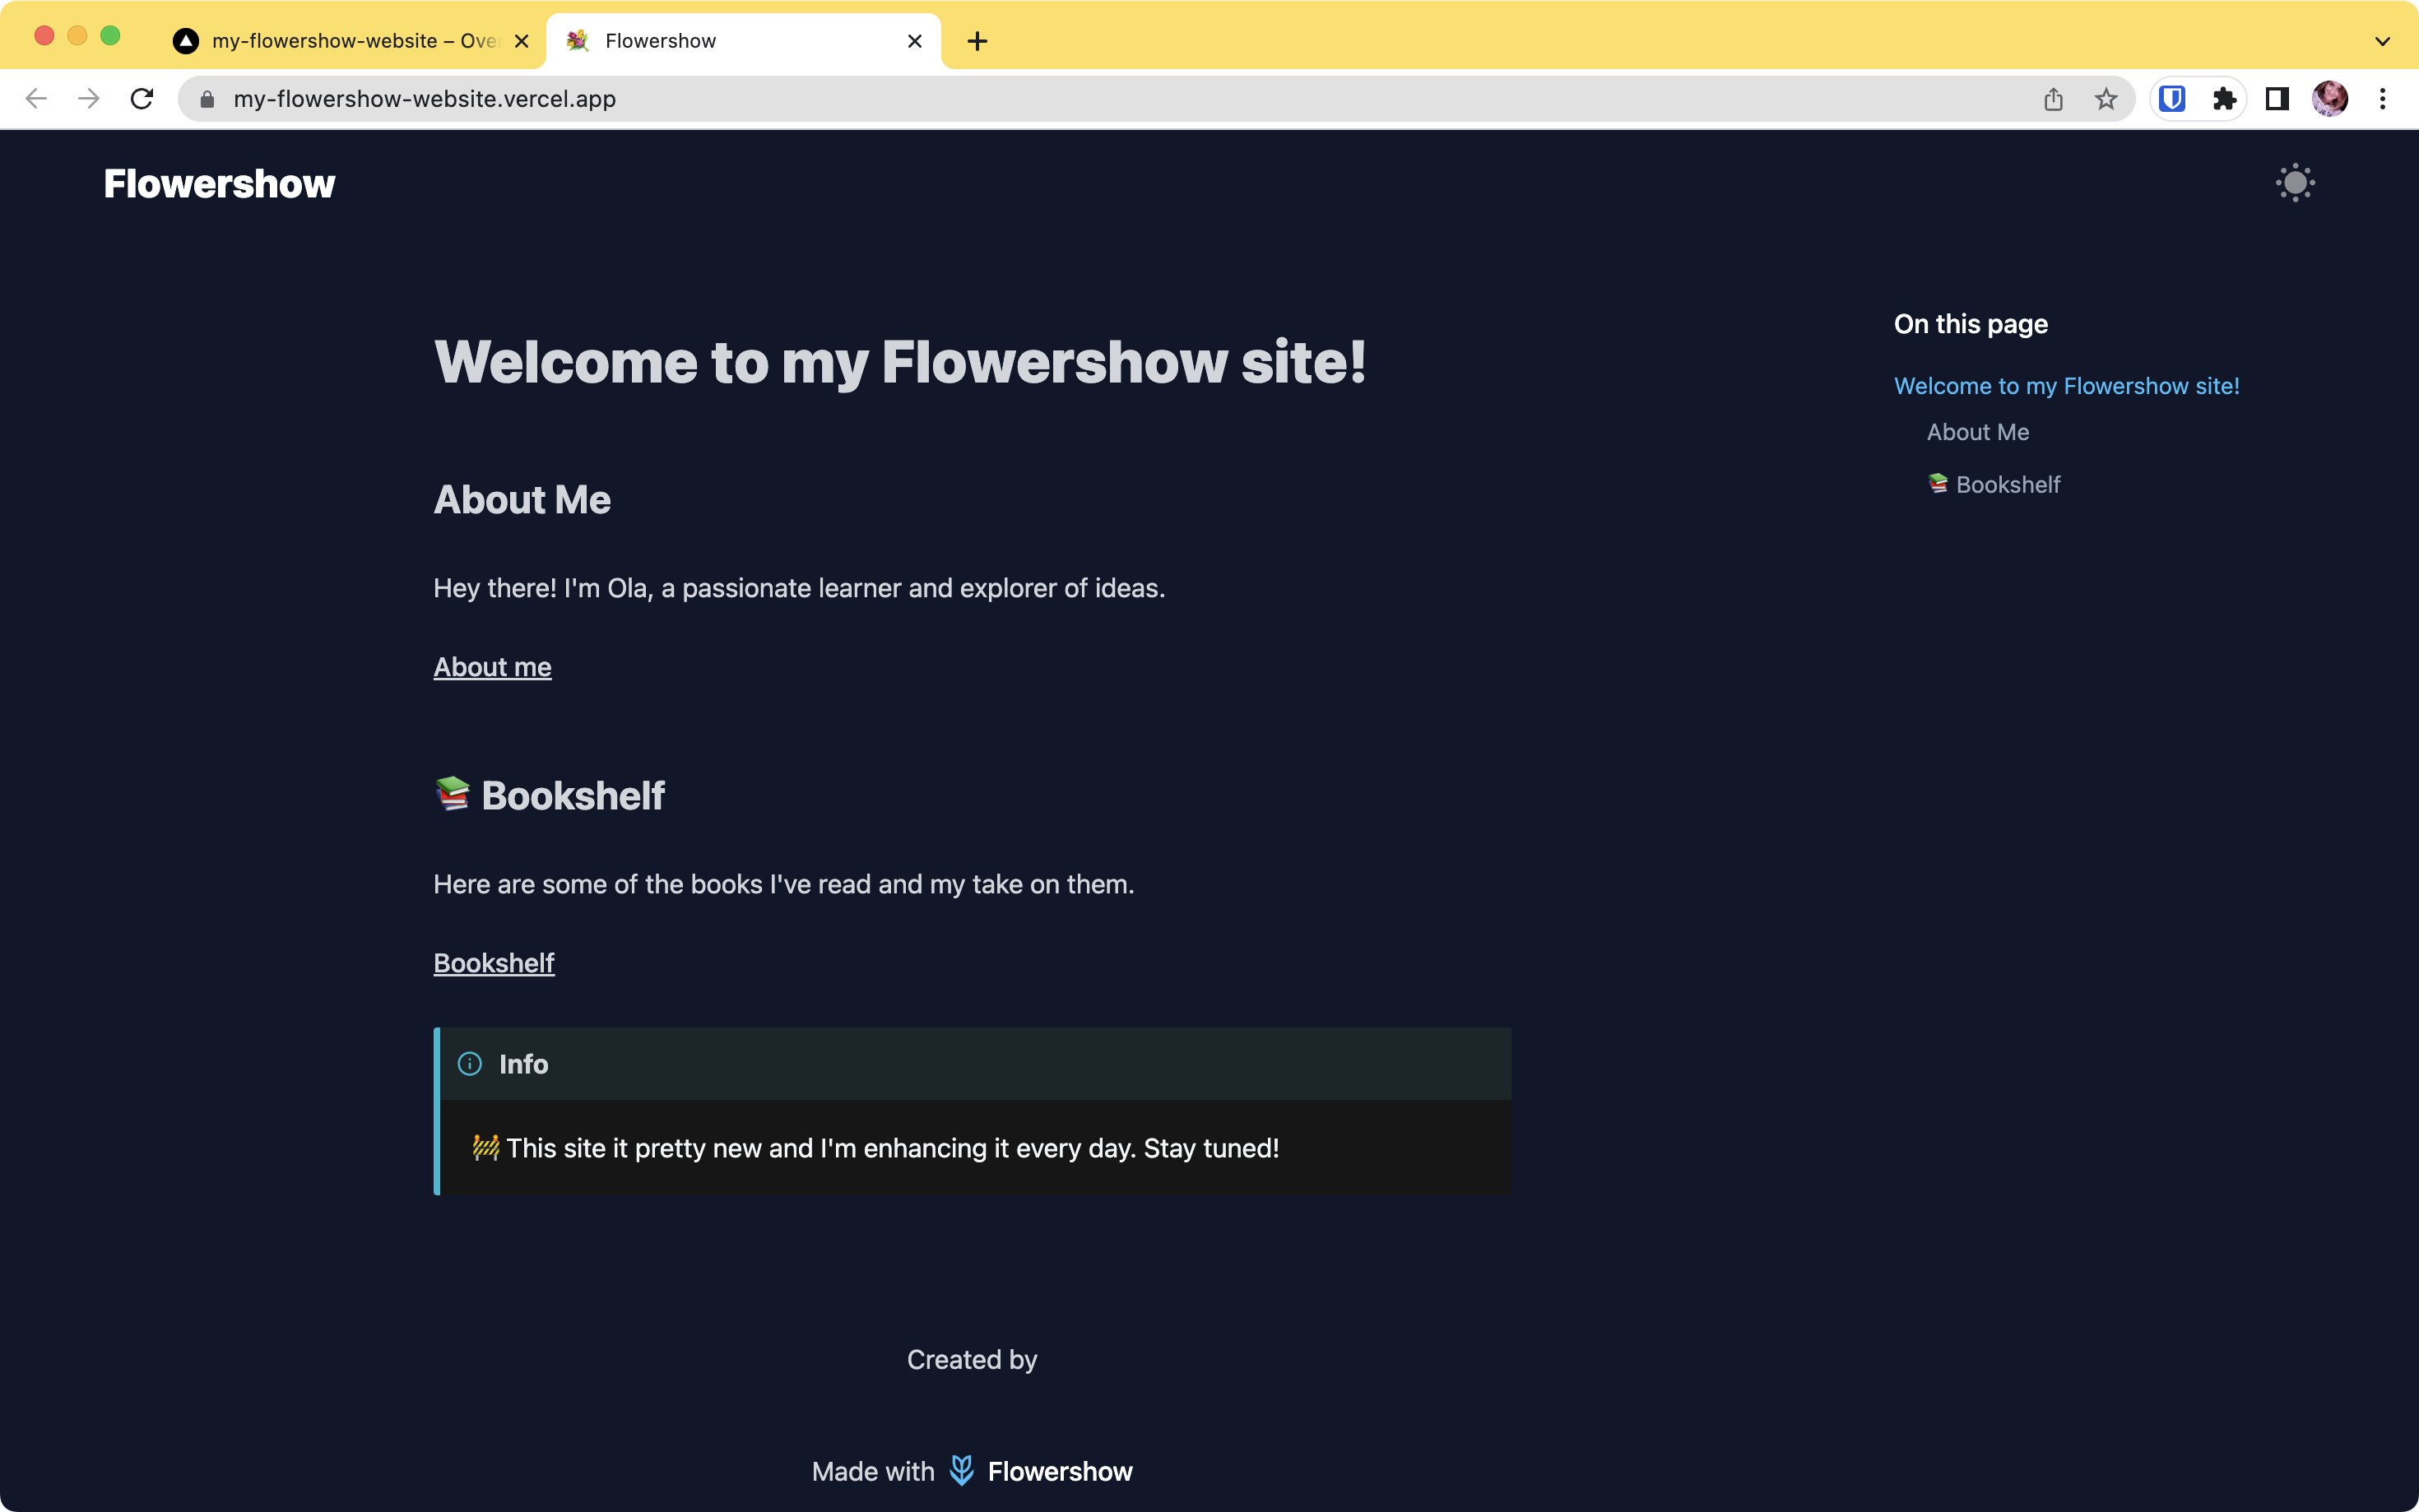
Below is a screenshot of how the final website will look like:
Clone the repository to your computer
- Setup GitHub Desktop app with your GitHub account
- Grab your site's repository URL
- Open GitHub Desktop app and clone the repository
- Yay! You have a copy of your website's repository on your computer! 🎉
Now, let's edit in Obsidian
- Open the
/contentfolder of the cloned repository in Obsidian - Edit the home page and the about page
- Create a folder with the reviews of books you've read
Commit your changes
- Commit the changes in GitHub Desktop app
- Push the changes to the remote repository
- Watch the site redeploy
- Visit the site! Yay! Your changes are live! 🎉
TipRead full tutorial here!
Tutorial 3: Collaborating with others on your website project
In this tutorial, we will guide you through collaborating with others on the same website project using GitHub.
By the end of this tutorial, you will:
- Understand what a branch is and how to create one.
- Understand what a pull request (PR) is and how to create one.
- Learn how to review and merge a PR.
- Know how to resolve conflicts if they arise.
- Collaborate with others using GitHub, following best practices.
Create a new branch
- Navigate to your site's repository on GitHub
- Click on the 'Branch' dropdown menu, type a new branch name and press Enter
- Yay! You've created a new branch! 🎉
Now, let's make changes in the new branch
- Switch to the new branch in GitHub Desktop
- Open the
/contentfolder of the repository in Obsidian - Edit the
aboutpage - Commit the changes in GitHub Desktop app and push them to the remote repository on GitHub
Create a pull request (PR)
- Go back to your site's repository on GitHub
- Click on 'New pull request'
- Select your branch from the dropdown menu
- Write a brief description of your changes, then click on 'Create pull request'
- Yay! Your changes are ready to be reviewed! 🎉
Review and merge a pull request
- Navigate to the 'Pull requests' tab in your repository
- Open the newly created pull request
- Review the changes, add comments if necessary
- If everything is in order, click 'Merge pull request', then 'Confirm merge'
- Yay! You've merged your changes into the main branch! 🎉
Resolving conflicts
- In case of conflicts between your changes and those on the main branch, GitHub will alert you
- Follow the on-screen instructions to resolve the conflicts and merge your changes
TipRead full tutorial here! (TBD)
Tutorial 4: Customising your website locally and previewing your changes locally
In this tutorial, we will dive into the more technical aspects of website customisation, but this time, everything will be done locally. You'll learn how to preview your site on your own machine before pushing changes to the live site, ensuring everything looks and works exactly as you want.
By the end of this tutorial, you will:
- Understand how to preview your site locally.
- Know how to change your website's title and description.
- Learn how to customise your website's appearance using Tailwind themes.
- Understand how to configure the navbar, navigation links, and logo.
- Learn how to integrate Google Analytics into your website.
- Be aware of additional customisation options for deeper customisation.
Previewing the site locally
- Navigate to your website's repository directory on your computer using command line
- Install the site's dependencies
- Start the local development server
- Visit the local address displayed in your command line. Yay! You can now preview your changes locally, live! 🎉
Changing the site title and description
- Perfect! You've personalised your site's title and description! 🎉
Configuring the title, description and navbar
- Open the
content/config.mjsfile in your code editor - Edit the
titleanddescriptionfields - Edit the fields in the
navbarfield to customise your navbar's title and logo. Then, add navigation links tonavLinksfield (these will be displayed in the navbar). Save and refresh your local site to see the changes.
Integrating with Google Analytics
- Still in the
content/config.mjsfile, navigate to theanalyticsfield - Enter your Google Analytics tracking ID, save and refresh your local site to ensure it's integrated correctly
- Excellent! Your website is now integrated with Google Analytics! 🎉
Customising the Tailwind theme
- Open
tailwind.config.jsfile in your code editor - Change the light and dark theme colours and fonts to your liking, save and refresh your local site to see the changes
- Awesome! Your website now has a new look! 🎉
When you're happy with all your changes, use GitHub Desktop to commit your changes and push them back to your GitHub repository.
In addition to these topics, the full tutorial shows you what other customisations options are available and where to find information on these.
TipRead full tutorial here! (TBD)
Howtos
- How to quickly create a sandbox website
- How to quickly edit text on a single Markdown-based page
- How to add a simple Markdown page
- How to edit or add Markdown-based pages locally on your computer
- How to add images to a Markdown-based page
- How to push an Obsidian vault to a GitHub repository
- How to create a simple catalog of anything in Obsidian